Dividing a square into eight equal parts sounds like the kind of thing that should take five secondsuntil you grab a pencil, stare at the square, and suddenly feel like it is judging your life choices. The good news? A square is one of the friendliest shapes in geometry. It has four equal sides, four right angles, and a beautifully predictable area, which means there are several clean ways to split it into eight equal pieces.
Whether you are helping a child understand fractions, preparing a classroom activity, designing a quilt pattern, sketching a floor plan, or simply trying to win an argument with graph paper, this guide will show you three simple ways to divide a square into eight equal parts. Each method uses a different visual approach: strips, a grid, and triangles. Best of all, every method can be checked with basic area reasoning, so you are not just drawing lines and hoping geometry is feeling generous today.
Why Equal Parts Matter in Geometry and Fractions
Before we start drawing, let’s define the mission. To divide a square into eight equal parts, each part must have the same area. The pieces do not always need to have the same shape, but they must cover the same amount of space. In many school lessons, equal parts are used to introduce fractions. If a whole square is divided into eight equal sections, each section represents one-eighth, written as 1/8.
This idea connects geometry with fractions in a very visual way. A student may memorize that 1/8 means “one out of eight equal parts,” but when they physically divide a square, the meaning becomes much clearer. The denominator, 8, tells how many equal sections make up the whole. The numerator, 1, tells how many of those sections are being considered. In other words, each slice of the square is not just a random pieceit is a measurable part of the whole.
A quick way to check your work is to think about area. If the square has side length 8 inches, its area is 8 × 8 = 64 square inches. If you divide it into eight equal parts, each part should have an area of 64 ÷ 8 = 8 square inches. The same idea works for any size square. If the square has side length s, the total area is s2, and each of the eight equal parts must have area s2 ÷ 8.
Method 1: Divide the Square Into Eight Equal Strips
The easiest way to divide a square into eight equal parts is to create eight identical strips. This method is simple, tidy, and perfect when you want a quick fraction model. You can draw the strips vertically or horizontally. Either way, the result is eight long rectangles of equal area.
How to Do It
Start with a square. Choose one direction: top to bottom or left to right. Then divide one side of the square into eight equal measurements. For example, if the square is 8 inches wide, mark every 1 inch along the top and bottom edges. Connect the matching marks with straight lines. You will end up with eight equal vertical strips.
If you prefer horizontal strips, do the same thing on the left and right sides. Mark the side into eight equal spaces, then draw straight lines across the square. Either version works because each strip has the same width and the same height.
Why This Method Works
Imagine a square with side length 8 inches. If you divide the width into eight equal strips, each strip is 1 inch wide and 8 inches tall. The area of each strip is 1 × 8 = 8 square inches. Since the full square has an area of 64 square inches, each strip is exactly 1/8 of the whole.
This method is especially helpful for beginners because the parts are visually obvious. You can count the strips from one to eight, shade one strip to show 1/8, shade two strips to show 2/8, and so on. It is a clean way to introduce equivalent fractions too. For instance, shading four out of eight strips shows 4/8, which is equal to 1/2.
Best Uses for the Strip Method
The strip method is great for worksheets, fraction bars, paper folding, and quick classroom demonstrations. It is also useful in design projects where you need equal bands, such as border layouts, simple quilt strips, or spacing guides. The downside is that it can look a little plain. It is mathematically correct, but visually it has the personality of a very responsible ruler.
Method 2: Divide the Square Into a 2-by-4 Grid
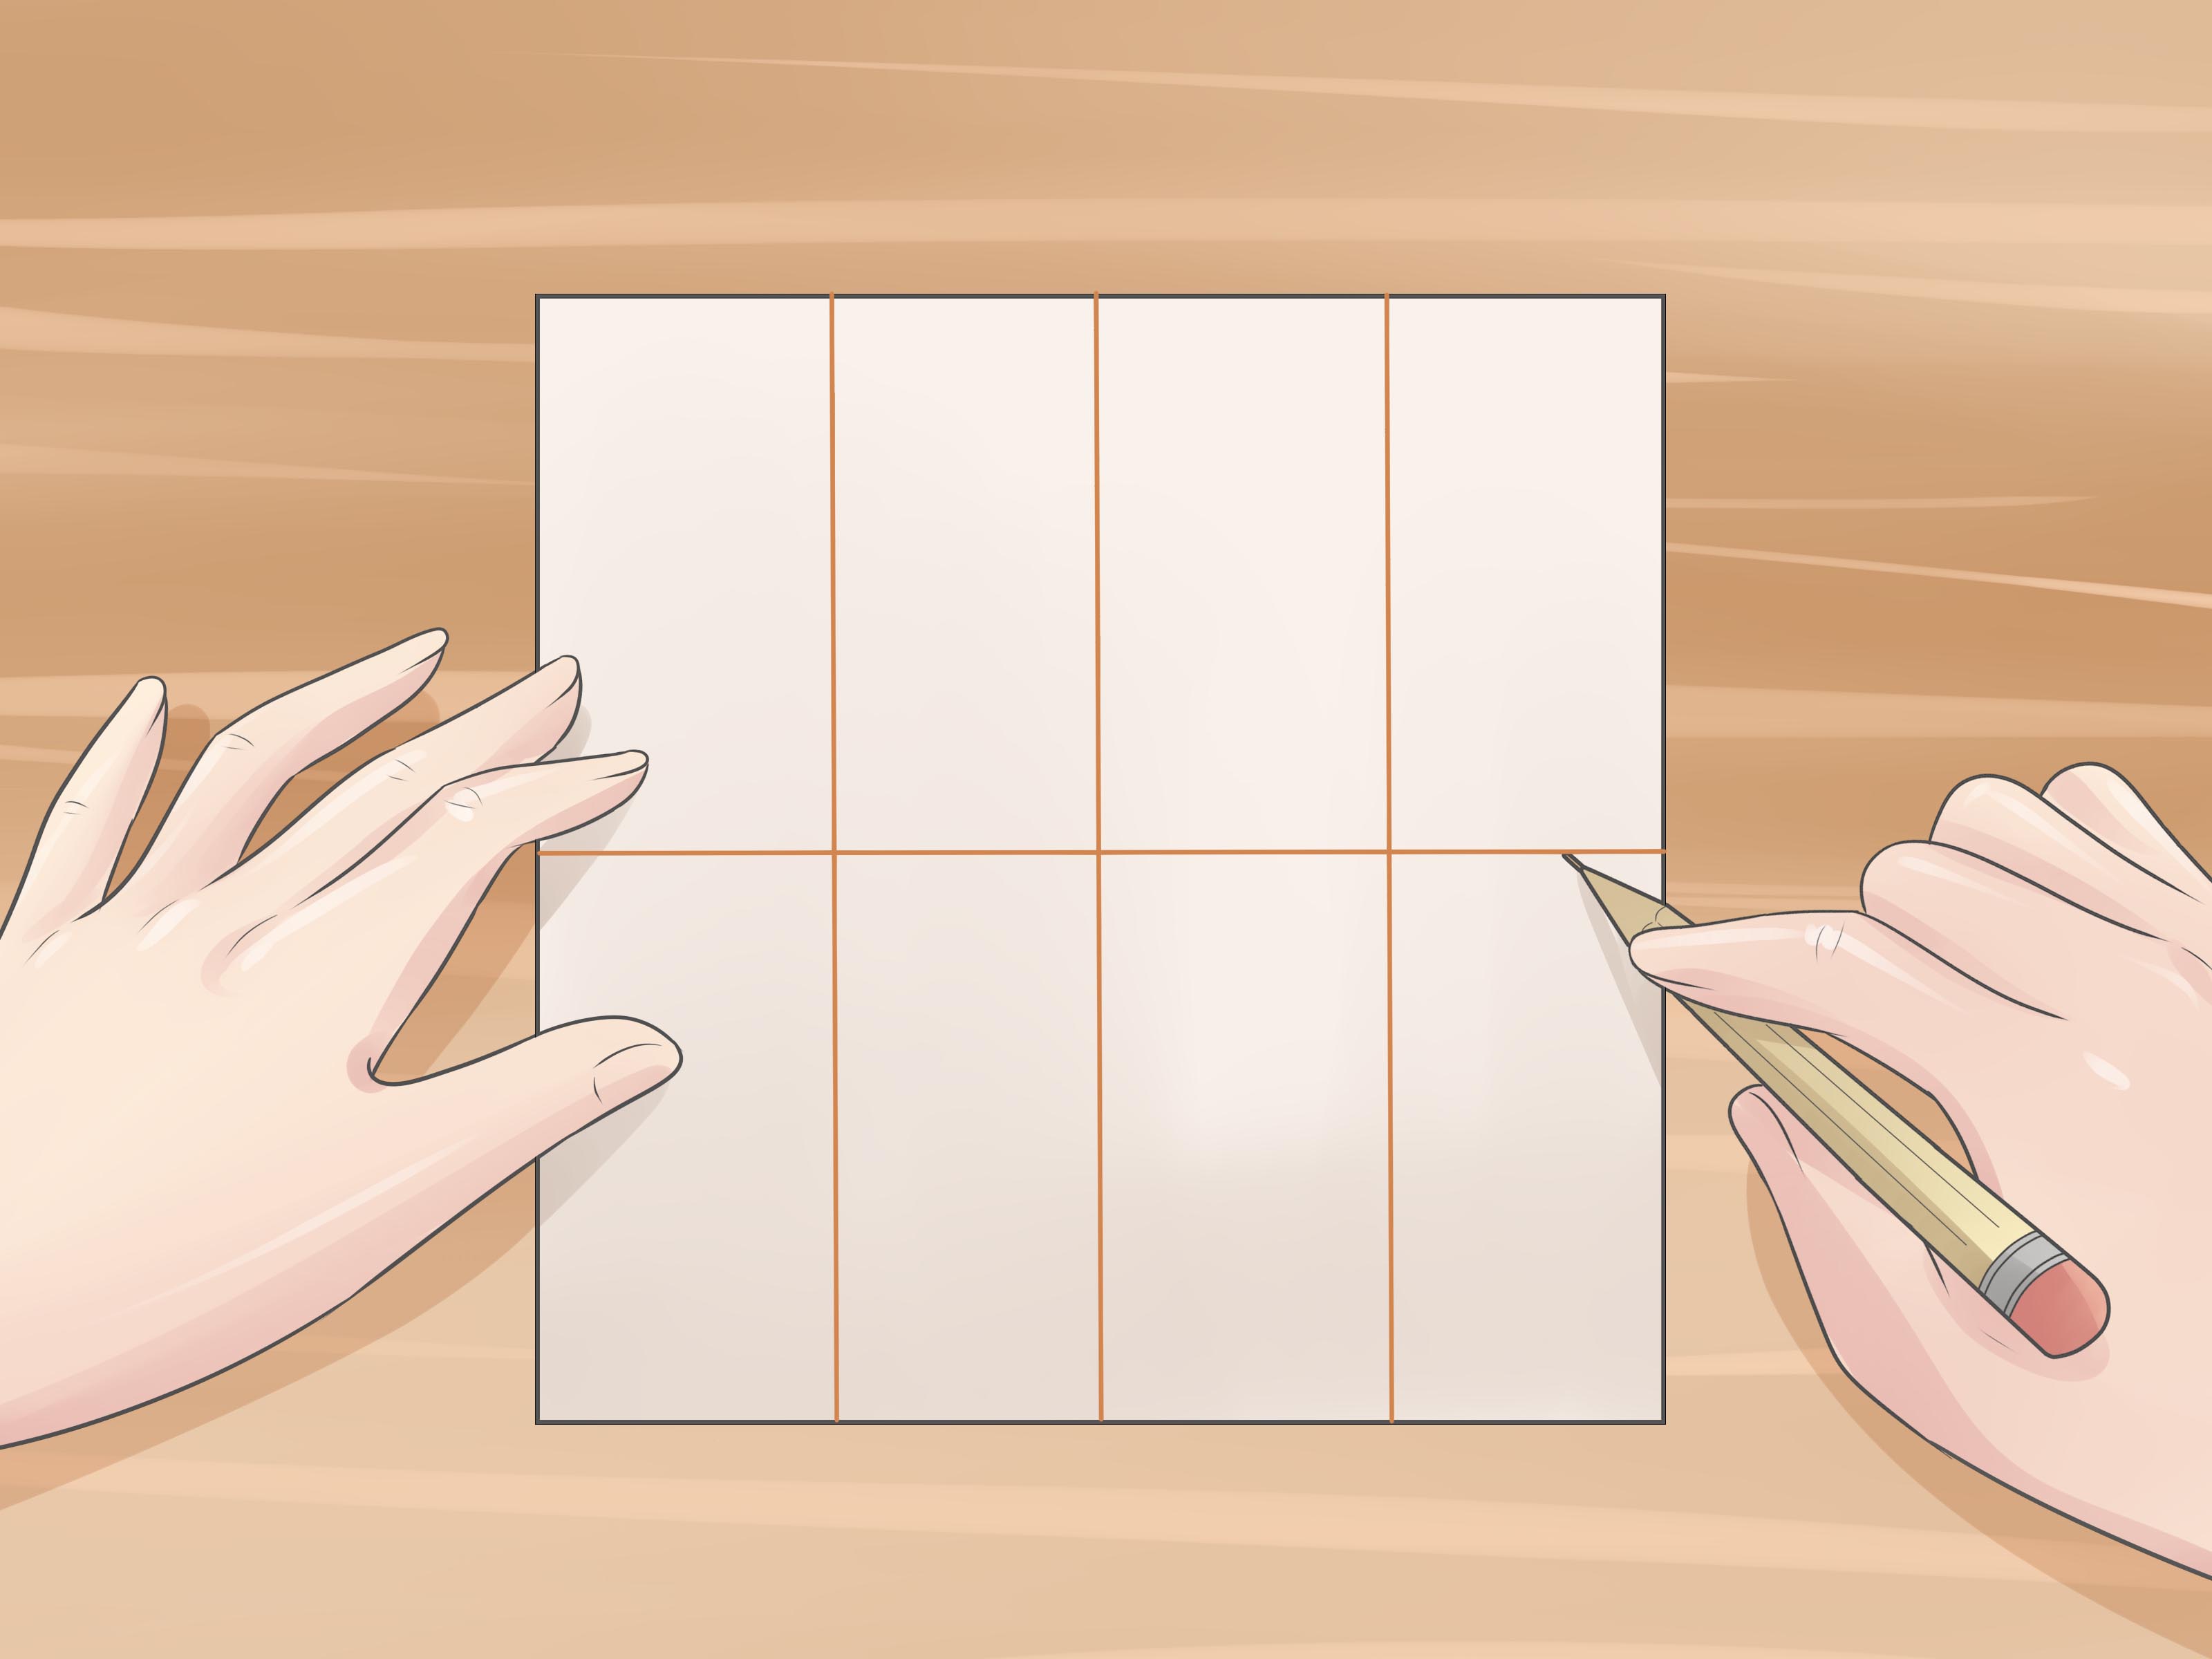
Another popular way to divide a square into eight equal parts is to make a grid with two rows and four columns. This gives you eight smaller rectangles. Compared with the strip method, the grid looks more balanced and compact, making it especially useful for visual learning, craft layouts, and geometry diagrams.
How to Do It
Begin with a square. Draw one straight line through the center from left to right, cutting the square into two equal horizontal halves. Then divide the top and bottom edges into four equal sections. Draw three vertical lines through those marks from top to bottom. The result is a 2-by-4 grid: two rows and four columns.
You can also rotate the idea and create four rows and two columns. That version is still eight equal parts. The layout changes, but the math does not. Geometry is refreshingly calm about rotation.
Why This Method Works
Suppose the square has side length 8 inches. When you split it into two rows, each row is 4 inches tall. When you divide it into four columns, each column is 2 inches wide. Each small rectangle is therefore 4 × 2 = 8 square inches. Since the original square has an area of 64 square inches, every rectangle is 1/8 of the square.
This method is a strong bridge between geometry and multiplication. Students can see that 2 × 4 = 8, so a 2-by-4 grid contains eight total sections. They also learn that equal parts can be arranged in rows and columns, which connects naturally to arrays, multiplication, area, and later concepts like coordinate grids.
Best Uses for the Grid Method
The 2-by-4 grid is ideal for teaching fractions, planning rectangular designs, making simple game boards, and organizing information visually. It works well when the goal is not just to divide the square but also to compare parts. For example, you can shade one rectangle for 1/8, two rectangles for 2/8 or 1/4, and four rectangles for 4/8 or 1/2.
This method also gives students practice with equal spacing. If the measurements are uneven, the rectangles will not be equal. That makes the grid method a gentle but effective reminder that “close enough” is not always invited to the geometry party.
Method 3: Divide the Square Into Eight Equal Triangles
If you want a more dynamic-looking solution, divide the square into eight equal triangles. This method is visually interesting and excellent for showing that equal parts do not have to be rectangles. It also introduces a valuable geometry idea: shapes with different orientations can still have equal area.
How to Do It
Start by drawing both diagonals of the square. One diagonal goes from the top-left corner to the bottom-right corner, and the other goes from the top-right corner to the bottom-left corner. These two lines meet at the center of the square and divide it into four equal triangles.
Next, draw a vertical line through the center of the square, connecting the midpoint of the top side to the midpoint of the bottom side. Then draw a horizontal line through the center, connecting the midpoint of the left side to the midpoint of the right side. Together, the two diagonals and the two center lines divide the square into eight equal triangles.
Why This Method Works
Each of the eight triangles has a base equal to half the side length of the square and a height equal to half the side length of the square. If the square has side length 8 inches, each triangle has a base of 4 inches and a height of 4 inches. The area of each triangle is 1/2 × 4 × 4 = 8 square inches.
Once again, the full square has an area of 64 square inches. Eight triangles with an area of 8 square inches each make 64 square inches total. That proves all eight triangular parts are equal in area.
Best Uses for the Triangle Method
The triangle method is excellent for art, design, paper folding, quilt blocks, geometry lessons, and visual problem-solving. It looks more like a pattern than a basic fraction model, which can make it more engaging for students who enjoy drawing or hands-on activities.
This method also helps correct a common misconception. Many learners assume “equal parts” must look like identical boxes. The triangle method shows that a square can be divided into equal parts using diagonal lines, and the resulting pieces can still represent eighths. Same area, different style. Geometry has range.
Comparing the Three Methods
All three methods divide a square into eight equal parts, but each has a slightly different purpose. The strip method is the simplest and fastest. It is perfect for introducing eighths because the sections are easy to count and shade. The grid method adds structure and connects nicely to multiplication and area. The triangle method is more visually interesting and shows that equal parts can have different orientations.
If you are teaching young learners, the strip method is often the best place to start. It keeps the focus on the meaning of 1/8 without adding too much visual complexity. Once students understand that each strip is one equal part, the grid method can deepen their understanding by showing that eight parts can be arranged in rows and columns. Finally, the triangle method expands their thinking by proving that equal areas can appear in more creative forms.
For design or craft projects, your choice depends on the final look you want. Strips create a clean, modern layout. A grid creates order and balance. Triangles create movement and energy. In other words, the square may be simple, but it has options. It is the little black dress of geometry.
Common Mistakes to Avoid
Making the Sections Look Equal Instead of Measuring Them
One of the most common mistakes is dividing the square by eye. This can work for a rough sketch, but it is not reliable if the goal is true equality. Use a ruler, grid paper, or folding marks whenever accuracy matters. Equal-looking parts are not always equal-area parts.
Forgetting That Equal Parts Must Have Equal Area
Equal parts do not always need to have identical shapes, but they must have the same area. For example, in the triangle method, the pieces point in different directions, but each triangle has the same base and height. That makes the areas equal.
Using Uneven Spacing
If you are making strips or a grid, spacing is everything. A square divided into strips of different widths is not divided into equal eighths. Measure first, draw second, celebrate third.
Assuming There Is Only One Correct Answer
There are many ways to divide a square into eight equal parts. The three methods in this article are among the clearest and most useful, but they are not the only possible solutions. Geometry often rewards flexible thinking, as long as the area of each part stays equal.
Simple Examples for Practice
Example 1: An 8-Inch Square
Draw a square with each side measuring 8 inches. To use the strip method, mark every 1 inch along the top and bottom edges, then connect the marks vertically. Each strip will be 1 inch by 8 inches, so each part has an area of 8 square inches.
Example 2: A 12-Centimeter Square
For a 12-centimeter square, a 2-by-4 grid works nicely. Divide the height into two equal rows of 6 centimeters each. Divide the width into four equal columns of 3 centimeters each. Each rectangle has an area of 6 × 3 = 18 square centimeters. The full square has an area of 144 square centimeters, and 144 ÷ 8 = 18.
Example 3: A Square on Graph Paper
Draw a square that is 8 boxes wide and 8 boxes tall. Use the triangle method by drawing both diagonals and both center lines. Count or estimate the small triangle areas using the graph paper. Each triangle should cover the same amount of space: one-eighth of the whole square.
Experience Notes: What Actually Helps When Dividing a Square Into Eight Equal Parts
In real classroom, craft, and homework situations, the hardest part is usually not understanding that a square can be divided into eight equal parts. The harder part is making the parts truly equal. When people freehand the lines, the drawing may look close, but tiny errors can add up quickly. One strip becomes a little wider, one triangle becomes slightly stretched, and suddenly the square is less “eight equal parts” and more “eight pieces with complicated feelings.”
The best experience-based tip is to start with measurement. If you are working on paper, use a ruler and lightly mark the sides before drawing the final lines. For strips, divide one side into eight equal spaces. For a grid, divide one direction into two equal parts and the other direction into four equal parts. For triangles, find the exact midpoint of each side before drawing the vertical and horizontal center lines. A small pencil dot at each midpoint can save a surprising amount of frustration.
Graph paper is another excellent helper. It turns the square into a ready-made coordinate system, making equal divisions easier to see. For example, an 8-by-8 square on graph paper can become eight vertical strips that are each one box wide, or a 2-by-4 grid where each rectangle is 4 boxes tall and 2 boxes wide. Students often understand the area more quickly when they can count boxes instead of relying only on formulas.
Paper folding also works well, especially for younger learners. Fold a square in half, then fold it again to create quarters, and fold once more carefully to create eighths. This is basically the strip method in physical form. The folds make the equal parts visible and tactile. However, folding can become less accurate if the paper shifts, so crisp edges and careful alignment matter.
Another useful teaching move is to compare two correct solutions side by side. Draw a square divided into eight strips next to a square divided into eight triangles. Ask which one shows eighths. Many learners will pick the strips first because they look simpler. Then, when they check the triangle areas, they realize both are correct. That moment is valuable because it teaches a deeper lesson: fractions describe equal amounts, not just matching shapes.
For creative projects, the triangle method often feels the most satisfying. It creates a pinwheel-like structure that can be colored in alternating shades, used in quilt designs, or turned into a simple geometric art pattern. The grid method is more practical for charts, labels, and planning spaces. The strip method is best when clarity matters most. After trying all three, most people discover that the “best” method depends on the purpose: teaching, measuring, designing, or simply making the square behave.
Conclusion
Dividing a square into eight equal parts is a small geometry task with big learning value. It builds understanding of fractions, area, symmetry, measurement, and visual reasoning. The strip method is quick and beginner-friendly. The 2-by-4 grid method is structured and useful for connecting multiplication with area. The triangle method is creative and shows that equal parts can look different while still having the same area.
The key rule is simple: each part must represent exactly 1/8 of the square. As long as every section has the same area, the division works. So grab a ruler, draw lightly, check the area, and enjoy the oddly satisfying feeling of making one square become eight perfectly fair pieces.