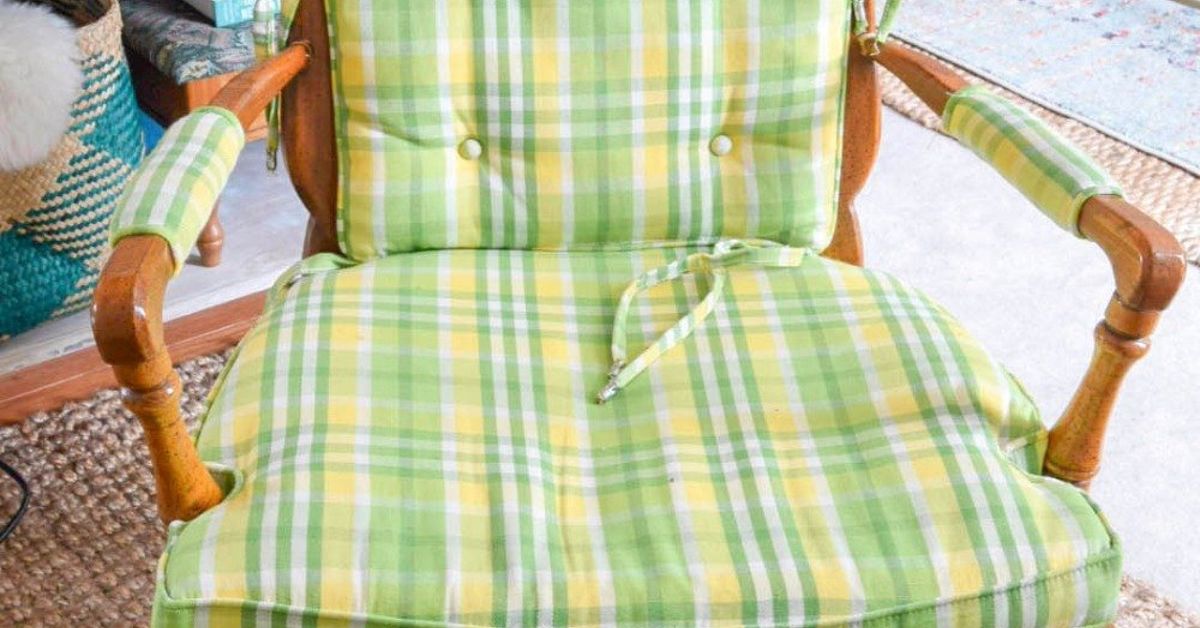
A DIY boho chic faux fur chair makeover is the kind of project that makes guests say, “Where did you buy that?” while you quietly remember the chair was once hiding in a corner looking like it had survived three yard sales and a dramatic breakup. The magic of this makeover is simple: take a tired chair, add texture, softness, personality, and a little handmade courage, then turn it into a cozy accent piece that feels equal parts boutique hotel, artist loft, and “yes, I absolutely own a glue gun.”
Boho style loves layers, natural materials, vintage finds, mixed patterns, warm neutrals, and pieces that look collected rather than purchased in one panicked weekend. Faux fur brings the plush, playful side of that look. It softens hard chair lines, hides old upholstery sins, and adds instant comfort. Whether you are upgrading a thrift-store dining chair, refreshing an old vanity seat, or rescuing a small accent chair from the land of forgotten furniture, this guide will walk you through the process with practical steps, budget-friendly ideas, styling tips, and hard-earned “please do not staple your thumb” wisdom.
Why Faux Fur Works So Well for a Boho Chair Makeover
Faux fur is not shy. It does not whisper, “I am a chair.” It announces, “I am a chair with main-character energy.” In bohemian decor, texture is everything. Rattan, macrame, linen, jute, wood, velvet, fringe, woven baskets, pottery, and patterned textiles all work together to create visual depth. Faux fur fits beautifully into that mix because it adds softness and contrast.
A faux fur chair can warm up a minimalist room, make a reading nook feel more inviting, or add a glam-boho touch to a bedroom corner. It also works surprisingly well with many chair styles. A wooden dining chair becomes whimsical. A midcentury chair turns cozy. A basic office chair suddenly looks like it belongs in a creative studio where someone drinks oat milk lattes and owns too many notebooks. Faux fur also helps disguise imperfect upholstery work because the pile hides tiny staple bumps, folded corners, and minor uneven edges better than flat fabric.
Best Chair Types for This Project
Not every chair is a perfect candidate, but many are makeover-ready. The easiest option is a chair with a removable seat cushion, such as a dining chair, vanity stool, bench seat, or small side chair. These usually require only a screwdriver, fabric, batting if needed, and a staple gun. Beginners should start here.
A chair with a separate back cushion is also manageable, especially if the cushion can be removed from the frame. More advanced DIYers may tackle a fully upholstered accent chair, but that requires more careful fabric removal, patterning, sewing, and patience. If the chair has deep tufting, complex curves, attached arms, or damaged springs, consider simplifying the project by adding a faux fur seat cover or slipcover instead of fully reupholstering it.
Before You Begin: Check the Chair’s Bones
A makeover should not be cosmetic CPR for a chair that is structurally doomed. Sit on it. Wiggle it. Listen for creaks that sound like a haunted cabin. Tighten screws, check joints, repair loose legs, and make sure the frame is stable. A beautiful faux fur seat on a wobbly chair is not boho chic; it is a lawsuit in a cardigan.
Tools and Materials You Will Need
For a simple faux fur chair makeover, gather your supplies before starting. You will need faux fur fabric, fabric scissors or a craft knife, a staple gun, upholstery staples, needle-nose pliers, a flathead screwdriver or staple remover, measuring tape, chalk or a washable marking pencil, batting or foam if the seat needs extra padding, a dust cover fabric for the underside if desired, and a screwdriver for removing the seat from the frame.
Choose staples based on your chair’s material and fabric thickness. For many seat-cushion projects, shorter staples are easier to control, while thicker wood or multiple fabric layers may require longer staples. Test first on a hidden area or scrap wood if possible. For comfort upgrades, high-density upholstery foam is a smart choice because it holds its shape better than flimsy craft foam. Add batting over the foam to round the edges and create a softer, more professional-looking cushion.
How to Choose the Right Faux Fur Fabric
The best faux fur for a chair makeover depends on the chair’s purpose. For a decorative accent chair, you can choose a longer, fluffier pile. For a daily-use dining chair or desk chair, choose a shorter pile that will not mat as quickly. Look for a backing that feels sturdy rather than thin and stretchy. A weak backing can tear around staples, especially if the fabric is pulled too tightly.
Color also matters. Ivory and cream faux fur create that dreamy boho cloud look, but they show coffee, dust, makeup, pet hair, and mysterious snack crumbs. Taupe, camel, gray, blush, rust, and soft brown are more forgiving while still feeling warm and stylish. Animal-inspired faux fur can work if the rest of the room is calm, but use it with intention. A faux sheepskin look says cozy desert retreat; an aggressive zebra print can say “I lost a bet in 2009” unless styled carefully.
Mind the Nap
Faux fur has a nap, meaning the fibers naturally lie in one direction. Before cutting, run your hand over the fabric. Decide which way you want the fur to fall on the chair. Usually, the pile should flow from the back of the seat toward the front edge. This makes the chair look smoother and more intentional. Mark the direction on the back of the fabric so you do not accidentally create a seat that looks like it is wearing a bad toupee.
Step-by-Step DIY Faux Fur Chair Makeover
Step 1: Remove the Seat or Cushion
Turn the chair upside down and remove the screws holding the seat in place. Put the screws in a small bowl or bag so they do not wander off into the same dimension as missing socks. If the seat is attached with old staples, remove them carefully using a staple remover, flathead screwdriver, or pliers.
Step 2: Remove or Keep the Old Fabric
If the old upholstery is clean, smooth, and not bulky, you can sometimes cover over it. However, if it smells musty, has stains, is torn, or makes the cushion too thick, remove it. When removing the old fabric, try to keep it intact so you can use it as a pattern for cutting the faux fur. This is one of the easiest ways to avoid guesswork.
Step 3: Refresh the Padding
Inspect the foam. If it is flattened, crunchy, stained, or shaped like a pancake with trust issues, replace it. Trace the seat board onto upholstery foam and cut it with a sharp blade using smooth, shallow passes. Add batting over the foam and pull it around the underside of the seat. Staple the batting first, starting in the center of each side and working outward. Trim excess bulk at the corners.
Step 4: Cut the Faux Fur
Lay the faux fur face down. Place the old fabric or seat cushion on top and trace around it, adding several inches on all sides so there is enough fabric to wrap underneath. Cut from the backing side only. Use small snips with scissors or a craft knife to avoid chopping the fur fibers. Cutting straight through the pile can leave blunt edges that look like the chair gave itself bangs during a crisis.
Step 5: Position the Fabric
Place the faux fur face down and center the cushion on top. Check the nap direction again. Pull the fabric gently over the seat, making sure the fur looks smooth on the visible side. Do not stretch aggressively. Faux fur should be snug, not strained. If the fabric backing is stretchy, too much tension can distort the cushion shape.
Step 6: Staple the Sides
Start by placing one staple in the center of each side: front, back, left, and right. Flip the seat over and check that the fabric is centered. If everything looks good, continue stapling from the center toward the corners, alternating sides to keep tension even. Place staples close enough to secure the fabric but not so close that the underside looks like a tiny metal picket fence.
Step 7: Handle the Corners
Corners are where DIY confidence goes to be tested. Fold the fabric neatly, almost like wrapping a present, but with more fur and less holiday cheer. Trim excess backing if the corner becomes too bulky. Tuck the folds toward the underside and staple securely. Because faux fur is forgiving, the top edge will usually look smooth even if the underside is not winning any beauty contests.
Step 8: Add a Dust Cover
For a cleaner finish, staple a piece of black cambric, muslin, or sturdy fabric to the underside of the seat. This hides raw edges and gives the project a more finished look. It also keeps loose fur backing or batting fibers from shedding underneath the chair.
Step 9: Reattach the Seat
Place the cushion back onto the chair frame and reinsert the screws. Check that no fabric is blocking the screw holes. Tighten everything securely, then sit down carefully. This is the official “please hold” moment between crafting and furniture.
Optional Boho Upgrades for Extra Personality
Once the faux fur seat is complete, you can stop there and admire your work like a proud raccoon with a treasure. Or you can add more boho charm. Paint the chair frame matte black for contrast, warm white for a soft coastal look, terracotta for desert style, or sage green for earthy calm. If the chair has wooden legs, sanding and staining them can create a more natural, vintage feel.
For extra flair, wrap parts of the frame with jute rope, add brass nailhead trim, tie a small macrame accent to the back, or pair the chair with a lumbar pillow in kilim, mudcloth, or block-print fabric. The secret is balance. Faux fur already has plenty of texture, so pair it with natural and grounded materials rather than adding every boho accessory you own. The goal is “collected and cozy,” not “craft store aisle seven exploded.”
Styling Ideas for Your Faux Fur Boho Chair
Place your chair in a reading corner with a woven basket, a floor lamp, and a small wood side table. Add a plant nearby for that relaxed, organic boho feeling. In a bedroom, use the chair as a vanity seat or a cozy place to toss a robe. In a living room, let it act as a statement accent beside a neutral sofa. The contrast between smooth upholstery, woven rugs, and fluffy faux fur makes the space feel layered and warm.
For color palettes, try ivory faux fur with rattan and tan leather, rust faux fur with cream walls and black accents, gray faux fur with walnut wood and woven baskets, or blush faux fur with brass, white, and natural linen. Boho chic does not require a rainbow. Often, the strongest rooms use a calm base with a few interesting textures and one unforgettable piece.
Common Mistakes to Avoid
The first mistake is buying too little fabric. Always measure twice and add extra for wrapping, nap direction, and mistakes. Faux fur is directional, so you may need more yardage than expected. The second mistake is choosing fur that is too long for a high-use chair. Long pile looks glamorous, but it can flatten where people sit often.
Another mistake is ignoring the frame. If the chair legs are scratched, loose, or outdated, the new seat may look disconnected from the rest of the piece. Clean, paint, stain, or touch up the frame so the whole chair feels intentional. Finally, do not skip cleaning and maintenance. Faux fur is cozy, but it can collect dust. A little regular care keeps it looking plush instead of like it has been emotionally supporting a golden retriever.
How to Clean and Maintain a Faux Fur Chair
Vacuum the chair gently using a brush attachment or handheld vacuum on low suction. Shake out removable cushions if possible. For spills, blot immediately with a clean cloth. Do not rub aggressively, because that can push stains deeper and mat the fibers. Check the fabric care label before using water or detergent. Many faux fur fabrics prefer spot cleaning, gentle soap, and air drying.
After cleaning, fluff the fibers with your fingers or a wide-tooth comb once the fabric is fully dry. Keep the chair away from high heat, direct heater vents, and harsh sunlight. Heat can damage synthetic fibers, while strong sun can fade colors over time. If pets claim the chair as their throne, use a lint roller frequently and consider a darker or patterned faux fur next time. Pets respect no design vision.
Budget Breakdown: How Much Does This Makeover Cost?
A simple DIY boho chic faux fur chair makeover can be surprisingly affordable. A thrifted chair may cost $10 to $40. Faux fur fabric may range widely depending on quality, pile, and width, but many small chair seats need less than a yard. Foam, batting, staples, and a dust cover may add another $15 to $40 if you do not already own them. A staple gun is an upfront tool investment, but it can be reused for future upholstery projects, bench makeovers, wall fabric panels, and other home upgrades.
Compared with buying a new accent chair, this makeover can save money while giving you a one-of-a-kind piece. It is also a more sustainable choice because it extends the life of existing furniture. A chair with good bones deserves a second act. Sometimes all it needs is fabric, patience, and someone brave enough to say, “What if this chair were fluffier?”
Real-Life Experience: What This Makeover Feels Like from Start to Finish
The first time you attempt a faux fur chair makeover, the project may feel suspiciously easy for the first ten minutes. You remove the seat, lay out the fabric, and think, “I am basically an upholsterer now.” Then you meet the corners. The corners are where humility enters wearing safety goggles. Faux fur is bulky, and when several layers gather underneath a seat, it can feel like trying to fold a winter coat into an envelope. The trick is to trim the backing, not the visible fur, and make small folds instead of one giant wad of fabric.
One of the most satisfying parts of this project is the instant transformation. Unlike painting furniture, where you wait for coats to dry and question your life choices between sanding sessions, upholstery gives quick visual rewards. As soon as the faux fur is pulled over the cushion, the chair changes personality. A dull brown seat becomes soft and sculptural. A plain stool becomes a vanity moment. An old dining chair becomes the star of a reading nook.
The project also teaches you to respect fabric direction. At first, nap direction may sound like something only professional upholsterers care about. Then you accidentally place one cushion panel with the fur flowing sideways and realize the chair looks like it woke up confused. Running your hand across the surface before stapling saves you from this fate. Marking arrows on the back of the fabric is a tiny step that makes the final result look much more polished.
Another experience worth mentioning is the mess. Faux fur sheds during cutting. It will float onto your clothes, your floor, your coffee, and possibly your soul. Cut slowly from the backing side, keep a vacuum nearby, and accept that you may look like you wrestled a very stylish sheep. After the project is finished, brush or shake the chair outside if possible, then vacuum the workspace. This is not failure. This is texture having a dramatic exit.
Comfort is the biggest surprise. Even a thin faux fur layer can make a chair feel warmer and more inviting. If you add fresh foam or batting, the difference is even better. A chair that used to be “decorative seating,” also known as “nobody wants to sit there,” can become the favorite spot in the room. This is especially true for vanity chairs, desk chairs used for short sessions, and bedroom accent chairs.
The final lesson is that imperfections matter less than you think. Most people will notice the overall softness, color, and style before they inspect the underside for staple spacing. If the top looks smooth, the cushion is secure, and the chair feels stable, you have succeeded. DIY is not about creating factory-perfect furniture. It is about making something personal, useful, and joyful with your own hands. And if your chair ends up looking like it belongs in a chic desert bungalow owned by a poet with excellent Wi-Fi, congratulations. That is the boho dream.
Conclusion
A DIY boho chic faux fur chair makeover is one of the most approachable ways to transform old furniture into a statement piece. It combines texture, comfort, creativity, and budget-friendly design in a project that even beginners can handle with the right chair and tools. Start with a sturdy frame, choose faux fur with the right pile and backing, pay attention to nap direction, staple with even tension, and finish the chair with thoughtful styling.
The beauty of this project is that it does not demand perfection. Boho chic style celebrates personality, collected details, and pieces that feel lived-in rather than showroom-stiff. Your finished chair can be soft, quirky, elegant, earthy, glamorous, or all of the above. In other words, it can be exactly what your space needs: a cozy little throne with a secondhand soul and a fabulous new outfit.