An upholstered chair is one of those home items that quietly does a lot of work. It holds your morning coffee routine, your late-night scrolling sessions, your pet when it thinks no one is looking, and that pile of laundry you absolutely planned to fold yesterday. So yes, it gets dirty. Dust settles into the fabric, crumbs disappear into seams like they are entering witness protection, and mystery spots appear out of nowhere.
The good news is that cleaning an upholstered chair is usually much easier than people think. The bad news is that many people attack stains like they are auditioning for a disaster movie. Too much water, the wrong cleaner, or aggressive scrubbing can leave the chair looking worse than before. That is why the smartest approach is simple: know your fabric, use the gentlest method that works, and do not soak the poor thing.
In this guide, you will learn three practical ways to clean an upholstered chair, from routine freshening to deeper stain removal. You will also learn what to do before you start, which mistakes to avoid, and how to keep your chair looking fresh longer. Whether you are dealing with a light layer of dust or the ghost of a spilled latte, there is a method here for you.
Before You Start: Read the Chair’s Cleaning Code
Before you do anything, flip the chair over, check under the cushion, or inspect the manufacturer’s tag. Most upholstered furniture has a cleaning code that tells you what kind of method is safe.
Common upholstery cleaning codes
- W: Safe for water-based cleaners
- WS or W/S: Safe for water-based or solvent-based cleaners
- S: Use solvent-based cleaners only
- X: Vacuum or brush only; no water or liquid cleaner
If the tag is missing, do a spot test in a hidden area before cleaning the whole chair. This step is not glamorous, but it is much more glamorous than explaining why the chair now has a giant faded patch in the middle.
Basic supplies that help
- Vacuum with upholstery or brush attachment
- Microfiber cloths or clean white cloths
- Soft-bristle brush
- Mild dish soap
- Distilled water
- White vinegar
- Baking soda
- Spray bottle
- Fan or open windows for drying
Method 1: Vacuum and Freshen for Routine Cleaning
This is the best method for chairs that are dusty, mildly dingy, or starting to smell a little stale but do not have serious stains. Think of it as maintenance cleaning. It will not erase every life choice your chair has witnessed, but it will make it look and smell noticeably better.
Step 1: Vacuum the entire chair
Use a vacuum with an upholstery brush and crevice tool. Go over the seat, back, arms, seams, and any tufting. Remove crumbs, hair, lint, and dust before they get pushed deeper into the fabric. Pay special attention to corners and folded areas where debris likes to hide.
Step 2: Brush the fabric lightly
If the upholstery is durable, use a soft-bristle brush to lift dirt and loosen dried residue. Brush gently, especially on textured or delicate fabrics. The goal is to wake up the fibers, not start a turf war with them.
Step 3: Use baking soda for odor control
Sprinkle a light, even layer of baking soda over the fabric. Let it sit for 20 to 60 minutes. If the chair smells extra musty, you can leave it a bit longer. Then vacuum it thoroughly. This helps absorb odors and freshen the fabric without adding moisture.
When this method works best
- Weekly or biweekly upkeep
- Chairs in bedrooms, living rooms, or reading corners
- Light odor removal
- Homes with pets, kids, or a snack habit
Routine vacuuming is one of the easiest ways to extend the life of upholstered furniture. It removes grit that can wear down fibers over time, which means your chair stays cleaner and ages more gracefully. Basically, vacuuming is the boring hero of upholstery care.
Method 2: Spot-Clean Stains With a Gentle Solution
This is the method to use when the chair has visible spots, food drips, body oils, or that suspicious ring left by a cup someone swore had a coaster. Spot-cleaning works best on W and WS fabrics, but always test first.
Step 1: Blot the stain immediately
If the spill is fresh, blot it with a dry white cloth or paper towel. Do not rub. Rubbing spreads the mess and pushes it deeper into the fibers. Blot from the outside of the stain inward so you do not create a larger mess.
Step 2: Mix a mild cleaning solution
For general upholstery cleaning, mix a small amount of mild dish soap with distilled water. You can also add a little white vinegar for odor and light stain support. Use just enough soap to clean, not enough to create a bubble festival inside your furniture.
A simple option is:
- 1 teaspoon mild dish soap
- 1 cup to 2 cups distilled water
- Optional: 1 tablespoon white vinegar
Step 3: Apply the cleaner to a cloth, not directly to the chair
Dampen a microfiber cloth with the solution and gently blot the stain. Avoid soaking the fabric. Work slowly and patiently. Upholstery usually responds better to repeated light passes than one dramatic flood.
Step 4: Rinse lightly
Use a second clean cloth dampened with plain distilled water to blot away soap residue. This matters more than many people realize. Leftover cleaner can attract dirt, which means the “clean” chair may get dirty again faster.
Step 5: Dry thoroughly
Blot with a dry towel, then let the chair air-dry completely. Open windows or run a fan nearby to speed things up. Fast drying helps prevent mildew, water marks, and that damp smell nobody invited.
Good stain examples for this method
- Coffee or tea drips
- Light food stains
- Everyday grime on arms and headrests
- Pet drool, paw marks, or minor accidents
Special tip for solvent-only fabrics
If your chair has an S code, skip water-based solutions and use a solvent-based upholstery cleaner made for that fabric type. Apply it carefully according to the label, and keep the room ventilated. If you are unsure, professional cleaning is the safer move.
Method 3: Deep Clean With Steam or an Upholstery Machine
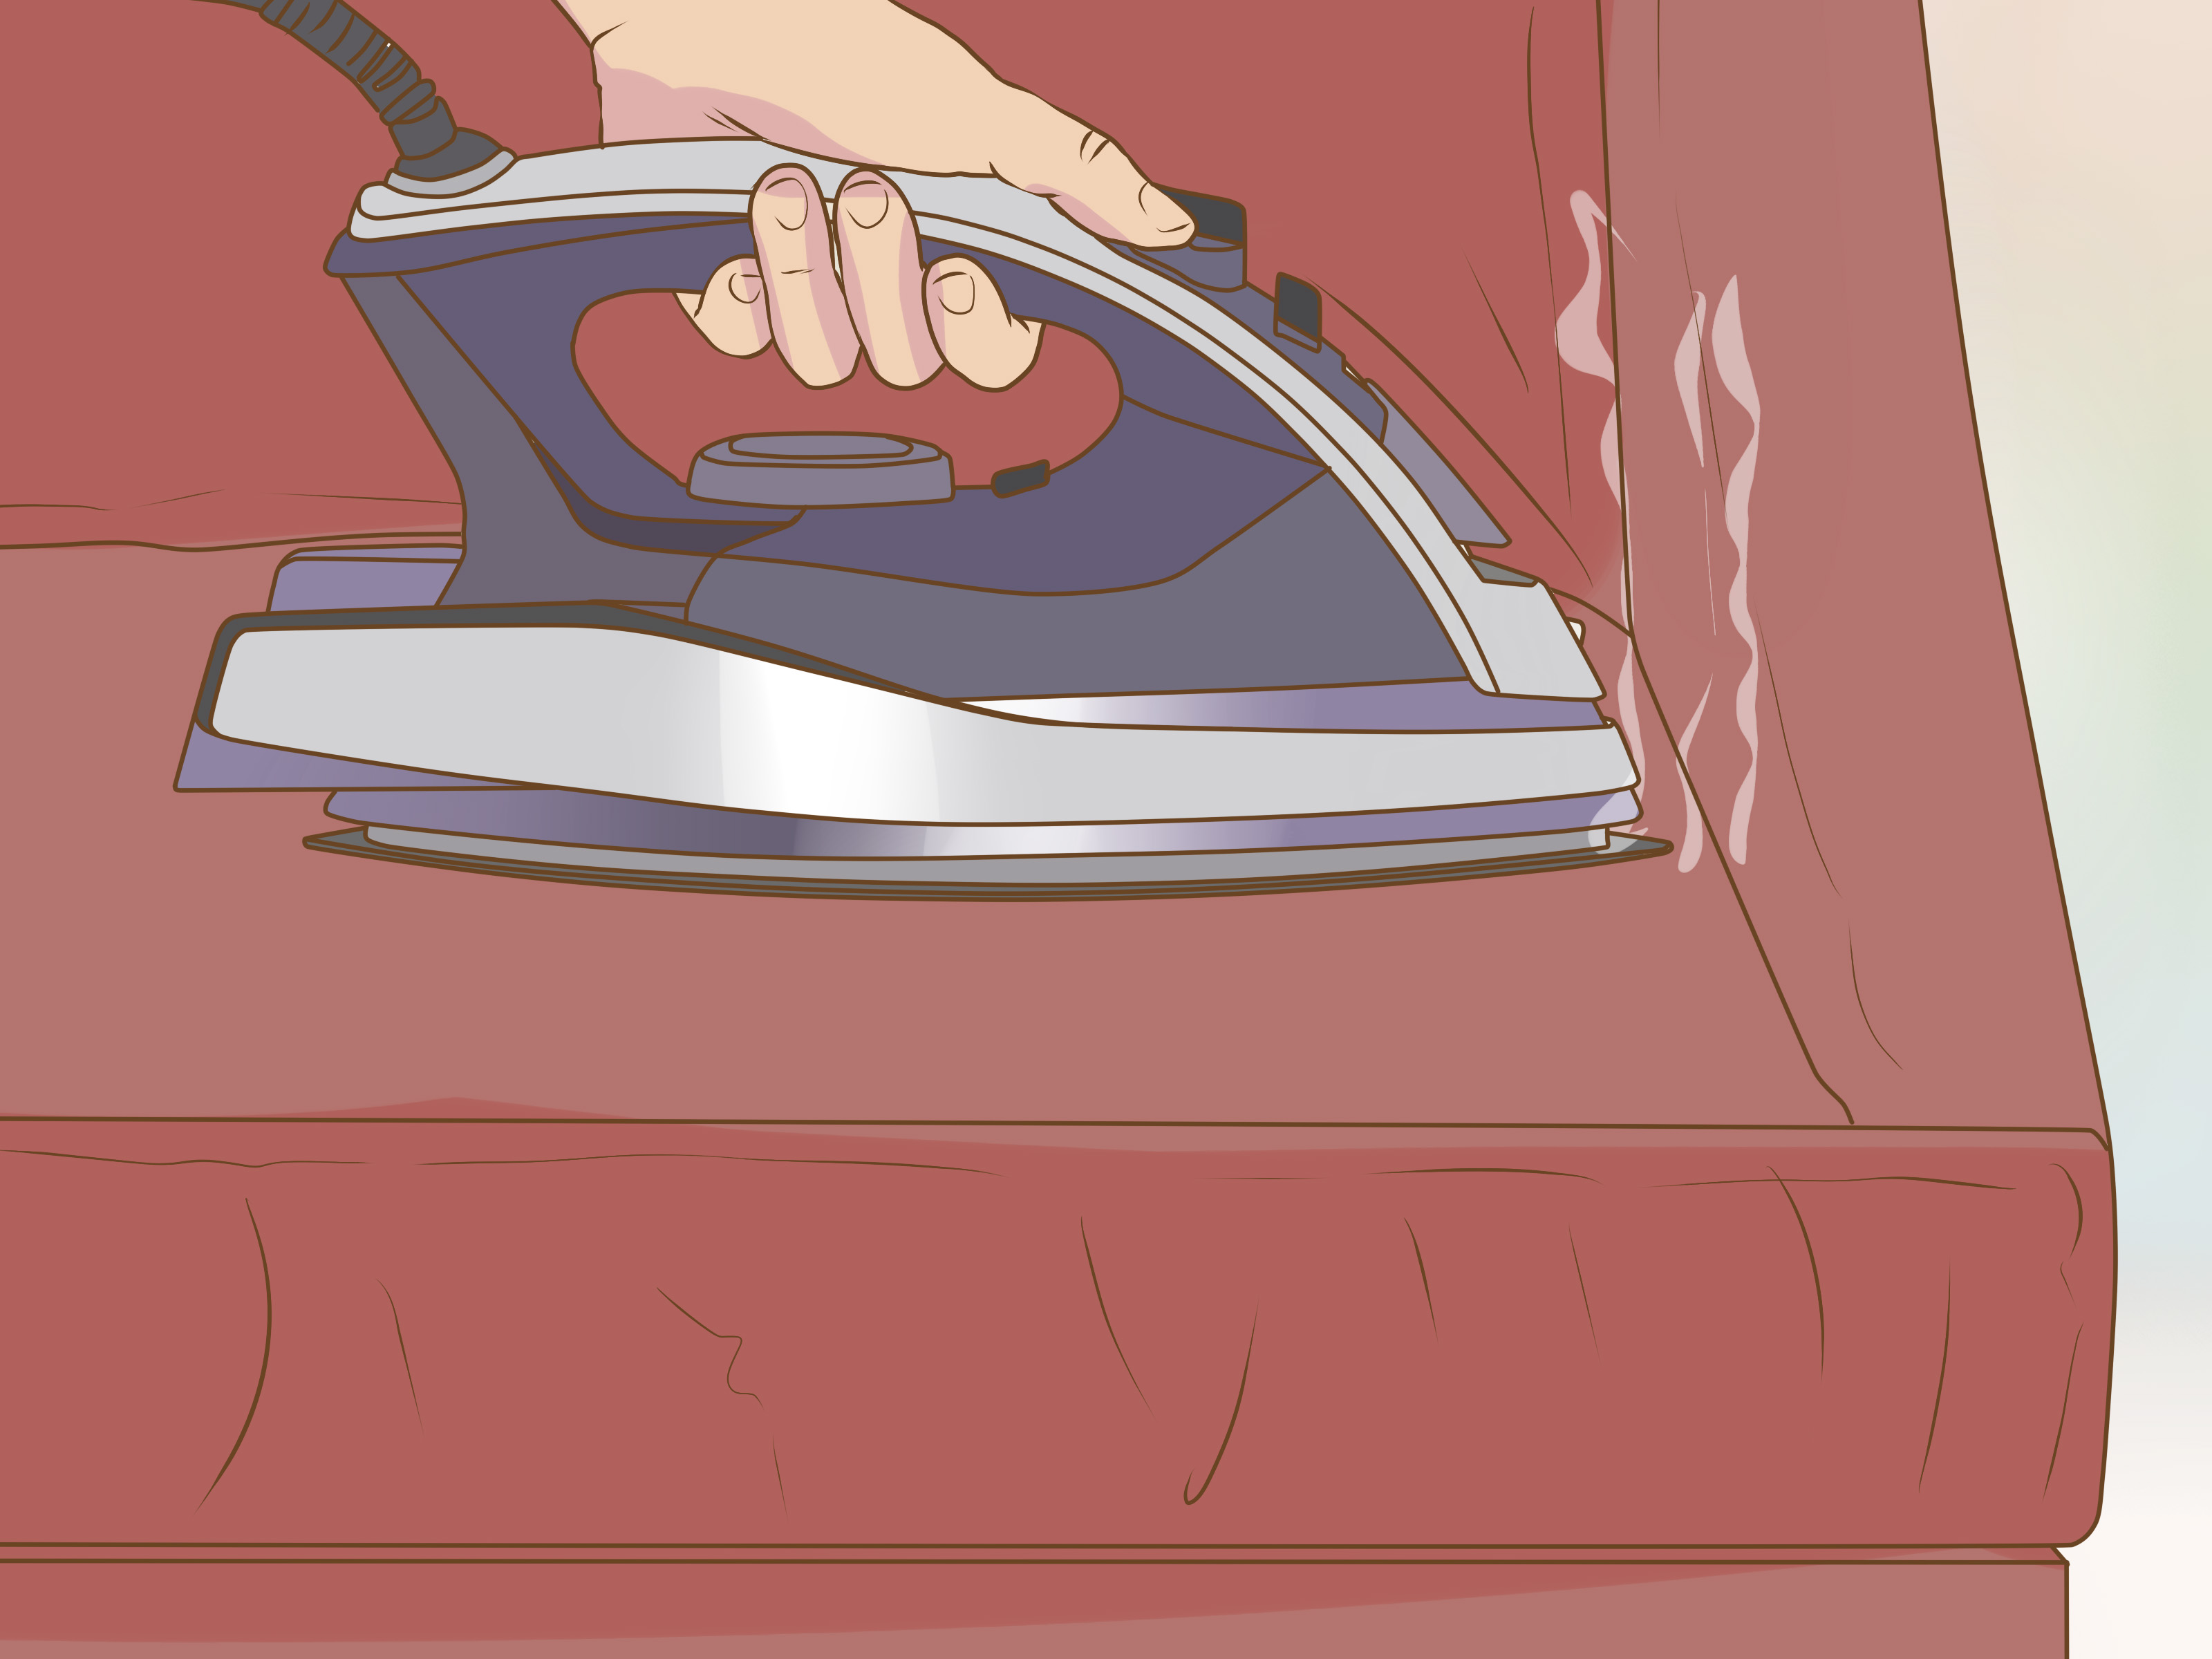
Sometimes your chair needs more than a touch-up. Maybe it looks dull, smells tired, or has built-up grime from months of everyday use. In that case, a deep clean may be the answer. For many chairs with W or WS codes, a handheld steamer or upholstery-cleaning machine can lift dirt from deeper in the fibers.
Step 1: Vacuum first
Never skip this part. Deep cleaning over loose dirt turns the mess into muddy sludge, which is not the interior design direction most people are aiming for.
Step 2: Pre-treat visible stains
Blot stains with a gentle cleaner before steaming or extracting. This improves results and reduces the amount of moisture needed during the main cleaning process.
Step 3: Clean in sections
Follow the machine instructions and work from top to bottom using even, overlapping passes. Do not stay too long in one spot. Oversaturation can leave water marks, flatten fabric texture, or create a drying issue.
Step 4: Let the chair dry completely
Use fans, ventilation, and patience. The chair should feel completely dry before you sit on it again. Yes, that means resisting the urge to “just test it for one minute.”
When deep cleaning makes sense
- The chair smells musty even after vacuuming
- The fabric looks generally dirty, not just stained
- You have pets, allergies, or heavy daily use
- Routine cleaning is no longer enough
When to call a professional instead
- Antique or delicate upholstery
- Silk, suede, leather, or velvet that requires special care
- Large, old, or set-in stains
- Water damage, mildew, or strong persistent odors
- Furniture labeled X or pieces with unclear fabric content
Professional upholstery cleaning is often worth it for expensive or sentimental furniture. It can also save you from experimenting your way into a bigger problem, which is a polite way of saying, “Please do not steam your grandmother’s antique chair just because you watched one cleaning video.”
Common Mistakes to Avoid
Using too much water
More moisture does not mean more clean. Over-wetting can leave rings, attract soil, and lead to mold or mildew inside the cushion.
Scrubbing aggressively
Harsh scrubbing can damage fibers, distort texture, and spread stains. Gentle blotting wins more often than elbow-grease theatrics.
Skipping the spot test
This small step can prevent discoloration, shrinkage, or fabric damage. It is the tiny insurance policy of furniture cleaning.
Using colored towels
Dyes from dark cloths can transfer to damp fabric. Stick with white or colorfast microfiber cloths.
Ignoring the drying stage
A chair that looks clean but stays damp too long can develop odors and mildew. Airflow matters just as much as the cleaner you use.
How to Keep an Upholstered Chair Cleaner Longer
- Vacuum it regularly, especially seams and arms
- Rotate cushions if possible to spread wear evenly
- Clean spills right away before they set
- Keep food and dark drinks at a respectful distance
- Use arm covers or throws in high-use spaces
- Brush pet hair off often instead of letting it build up
- Avoid direct sunlight that can fade fabric over time
Maintenance is what separates a chair that looks charmingly lived-in from one that looks like it has survived several minor historical events. A few minutes of care every week can save you from a major cleaning project later.
Final Thoughts
The best way to clean an upholstered chair depends on what kind of mess you are dealing with. For routine care, vacuuming and deodorizing may be all you need. For spills and stains, gentle spot-cleaning with the right solution usually does the trick. For deeper grime, steam or machine cleaning can refresh the chair when used carefully.
The real secret is not some magical product hiding in a dramatic bottle. It is knowing your fabric, using the mildest effective method, and drying the chair properly. Once you get that right, upholstered furniture becomes much less intimidating to clean and much easier to keep looking good.
So the next time your chair starts looking tired, do not panic. Grab the vacuum, mix a gentle solution, and remember: the goal is a fresh, clean seat, not a reenactment of a cleaning-commercial explosion.
Real-Life Experiences and Lessons From Cleaning Upholstered Chairs
One of the biggest lessons people learn after cleaning upholstered chairs a few times is that the simplest method is usually the best one. A chair in a quiet bedroom may only need regular vacuuming and the occasional baking soda treatment to stay fresh. On the other hand, a dining chair with fabric seating lives a much rougher life. It deals with crumbs, drink drips, sauce splatters, and the occasional mystery mark that appears after guests leave and nobody admits anything. In those cases, quick spot-cleaning right away makes a huge difference. The stain that takes two minutes to remove today may take two hours next month.
Another common experience is realizing that over-cleaning causes almost as many problems as under-cleaning. Many homeowners see one stain and go straight for a soaking-wet cloth, a random spray cleaner, and a level of scrubbing that suggests personal betrayal. Then the fabric dries unevenly, the cushion smells damp, or the stain spreads into a wider halo. After that happens once, most people become much gentler and much smarter. They use less liquid, blot more carefully, and dry the chair faster. That small change in technique often brings much better results.
People with pets usually develop their own upholstery-cleaning instincts pretty quickly. They learn where fur collects, how often arms and seat edges need attention, and which chairs are secretly the dog’s favorite despite all evidence to the contrary. A vacuum with a good upholstery attachment becomes less of an appliance and more of a household sidekick. Pet owners also tend to appreciate deodorizing steps more because even when furniture looks clean, trapped odors can linger in the fabric. A chair can look perfectly innocent while quietly smelling like wet retriever and old snacks.
Families with kids often notice a different pattern. The dirtiest areas are not always the most obvious ones. Instead of one dramatic stain in the middle of the seat, there may be gradual darkening on the arms, edges, and headrest from daily contact. That kind of buildup responds best to light but regular cleaning, not one giant annual battle. In real homes, consistency beats intensity almost every time.
There is also the emotional side of cleaning upholstered furniture that people do not talk about enough. A freshly cleaned chair can change how a room feels. It looks brighter, smells better, and suddenly seems welcoming again. A tired reading nook becomes cozy instead of neglected. A thrifted chair starts to feel like part of the home rather than a rescue mission in progress. Even one clean accent chair can make the whole room seem more put together.
In the end, the experience most people report is this: cleaning an upholstered chair is rarely as scary as it seems before you begin. Once you understand the fabric, use the correct method, and stay patient, the process becomes manageable. You stop guessing. You stop panicking. And your chair gets to go back to its full-time job of making the room look good while holding people, pets, books, laundry, and the occasional plate of cookies.