Factory resetting a NOOK is a bit like cleaning out a junk drawer: useful, slightly nerve-racking, and guaranteed to make you wonder why you saved so much stuff in the first place. Whether your Barnes & Noble NOOK is frozen, being sold, passed to a family member, or simply acting like it needs a long weekend, a factory reset can restore it to its original settings.
Before you tap the big scary reset button, know this: a factory reset is not the same as restarting your NOOK. Restarting only gives the device a quick nap. A factory reset wipes local data, removes account registration, clears settings, and makes the device behave like it just came out of the boxminus the fresh plastic smell.
This guide explains how to factory reset a NOOK in 13 clear steps, including what to do before resetting, how to reset NOOK GlowLight eReaders, how to reset NOOK Tablet devices, and how to troubleshoot common problems. The instructions are written in plain English, because nobody should need a computer science degree just to erase an eReader.
What Does Factory Resetting a NOOK Do?
A NOOK factory reset restores the device to its default factory settings. On many NOOK eReaders, Barnes & Noble calls this process Erase & Deregister. That phrase sounds formal enough to require a clipboard, but it simply means your NOOK is erased and disconnected from your Barnes & Noble account.
Depending on your model, a factory reset may remove:
- NOOK account registration from the device
- Wi-Fi passwords and device settings
- Downloaded books stored locally on the NOOK
- Sideloaded EPUB and PDF files
- Personal shelves, highlights, notes, and reading preferences
- Apps, photos, videos, and files on NOOK Tablet models
Here is the good news: books and magazines purchased from your Barnes & Noble account are usually not deleted from your online library just because you reset the device. After registering the NOOK again, you can normally download your purchased content again. Think of the reset as emptying the backpack, not burning down the library.
Before You Factory Reset Your NOOK
Do not sprint into a reset like a raccoon discovering an open trash can. Take a few minutes to prepare. A little caution can save you from losing personal files, notes, or login access.
Back Up Personal Files
If you transferred EPUBs, PDFs, documents, photos, or other files from your computer to your NOOK, copy them back to your computer before resetting. Purchased NOOK books may be tied to your Barnes & Noble account, but sideloaded files are your responsibility. The NOOK will not politely mail them back to you after the reset.
Charge the Battery
Make sure the battery has enough charge before you begin. A reset interrupted by a dead battery can lead to extra troubleshooting. A safe rule is to charge your NOOK to at least 50%, or keep it plugged into a reliable power source while preparing.
Confirm Your Login Information
After resetting, you may need your Barnes & Noble account email and password to register the device again. For NOOK Tablet models, you may also need your Google account information. If you are resetting the device because you forgot your password, recover the account first if possible.
Remove a microSD Card
If your NOOK model uses a microSD card, remove it before resetting. A factory reset usually focuses on internal storage, but removing external storage prevents accidental confusion and protects files you may want to keep.
How to Factory Reset a NOOK: 13 Steps
The exact menu names vary by model, but the overall process is similar. Use the steps below as your main roadmap, then follow the model-specific notes for NOOK GlowLight or NOOK Tablet devices.
Step 1: Identify Your NOOK Model
Start by figuring out which NOOK you have. Is it a GlowLight eReader, a NOOK Tablet, a NOOK HD, a NOOK Color, or an older NOOK Simple Touch? This matters because eReaders often use the Erase & Deregister option, while tablet models may use an Android-style Erase all data factory reset menu.
Step 2: Decide Whether You Need a Factory Reset
If the NOOK is only slow, frozen, or refusing to wake up, try a soft reset first. Hold the power button for about 20 seconds, release it, then turn the device back on. A soft reset restarts the device without wiping your books or registration. It is the digital equivalent of saying, “Take a breath, buddy.”
Step 3: Sync Your Library
Connect your NOOK to Wi-Fi and allow it to sync. This helps make sure your purchased content, reading position, and account-based library information are as current as possible before the reset.
Step 4: Back Up Sideloaded Content
Connect your NOOK to a computer using a USB cable. Open the device storage and copy any personal EPUB, PDF, image, music, or document files you want to keep. Save them somewhere obvious, not in a folder named “New Folder 17,” where files go to retire.
Step 5: Check Your Wi-Fi Connection
Many NOOK eReaders need Wi-Fi to deregister from your Barnes & Noble account. Go to Wi-Fi settings and confirm the device is connected. If the connection fails, restart your router, move closer to the access point, or try another network.
Step 6: Open Settings
From the Home screen, tap Settings. On some models, you may need to tap an app drawer or menu icon first. If your NOOK has a physical NOOK button, use it to return to the main screen before opening settings.
Step 7: Go to Device Information
On NOOK GlowLight and many older eReader models, tap Device Info or About Your NOOK. This section usually shows information such as battery level, storage, model number, and software version.
Step 8: Choose Erase & Deregister
Look for Erase & Deregister Device or Erase & Deregister. Tap it. Your NOOK may show a warning explaining that the process removes account information and resets the device to factory settings.
Step 9: Confirm the Reset
Read the warning carefully. If you are sure you backed up what you need, tap Erase & Deregister Device, Reset NOOK, or the equivalent confirmation button. This is the point where the NOOK says, “Are you really, really sure?” and you say, “Yes, tiny book machine.”
Step 10: Wait While the NOOK Clears Data
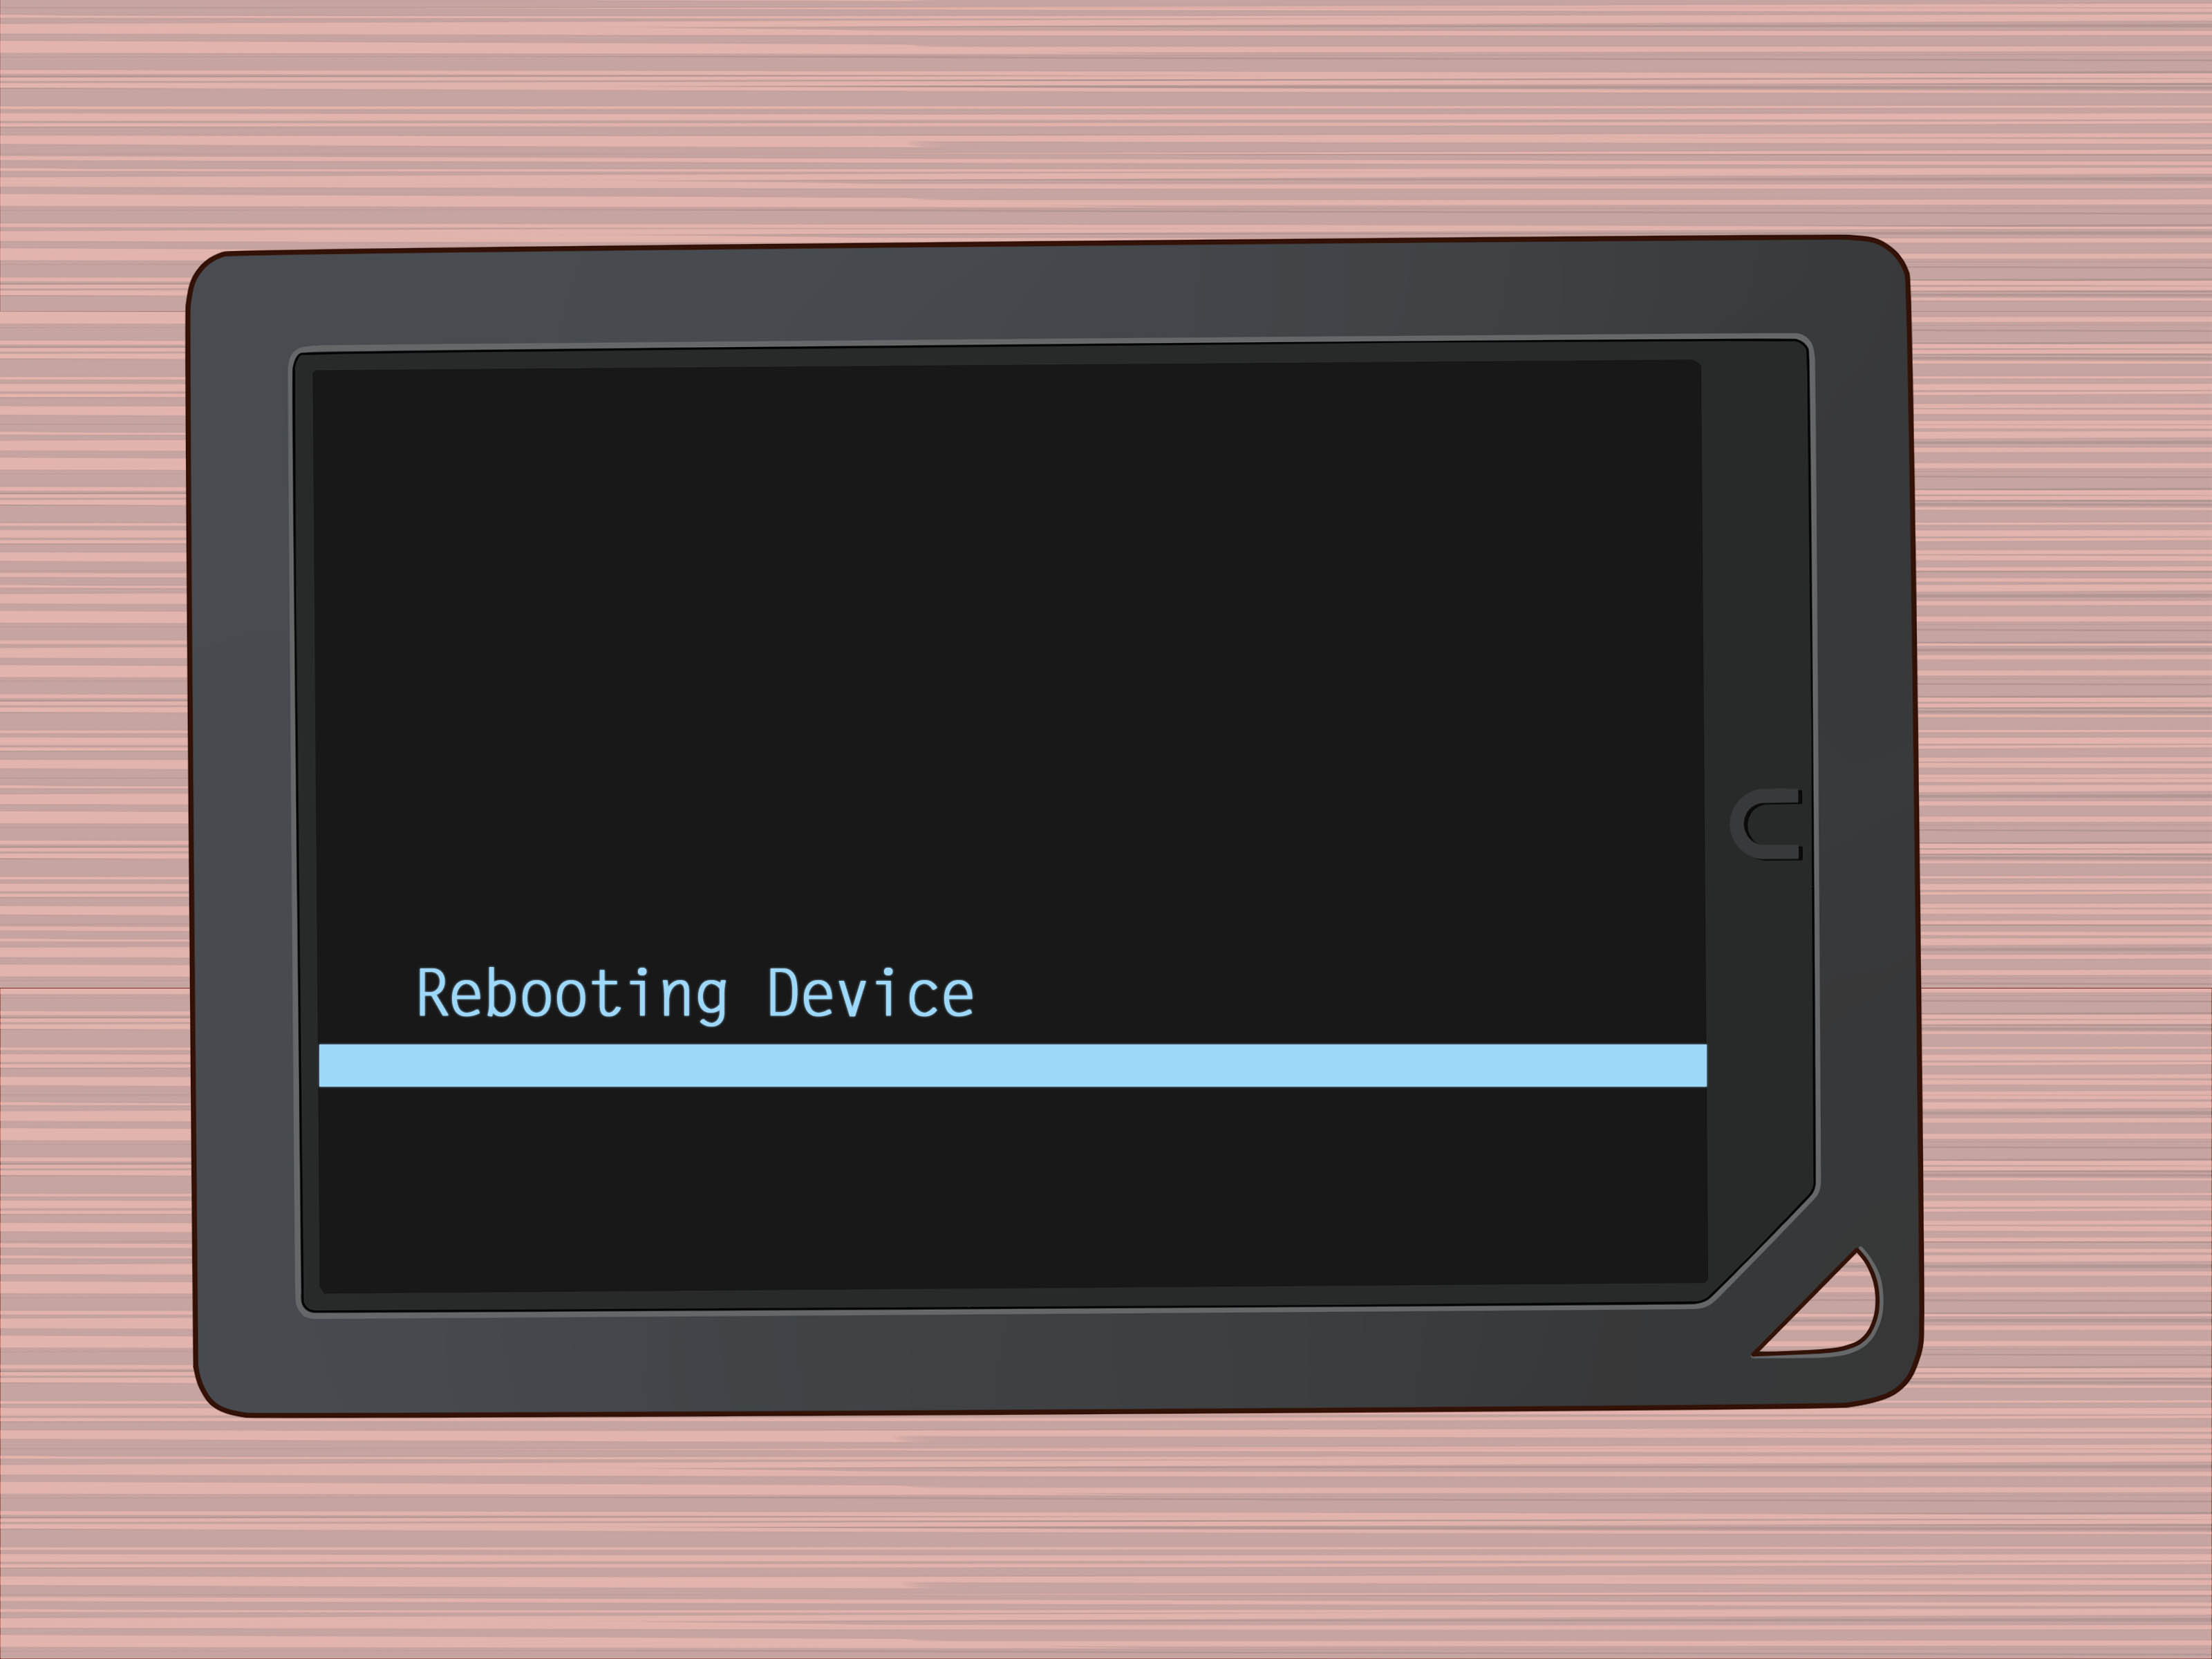
The NOOK may display messages saying it is deregistering, clearing data, or restarting. Do not press random buttons during this process. Do not unplug it if it is charging. Let the device finish its dramatic little makeover.
Step 11: Follow the Setup Screen
After the reset, the NOOK should restart and display the setup screen. At this point, it behaves like a new device. You can register it with your Barnes & Noble account, connect to Wi-Fi, and download your library again.
Step 12: Reset a NOOK Tablet Through Android Settings
For NOOK Tablet models, the path may look different. From the Home screen, open the app drawer, then go to Settings > System > Reset Options > Erase all data. Tap Reset Tablet and follow the prompts. This process can erase accounts, apps, settings, downloaded files, photos, videos, music, and other local data.
Step 13: Reinstall, Re-Register, or Prepare the NOOK for Sale
Once the factory reset is complete, decide what comes next. If you are keeping the NOOK, register it again and download your books. If you are giving it away or selling it, leave it on the setup screen so the next owner can sign in with their own account.
How to Factory Reset a NOOK GlowLight
For many NOOK GlowLight devices, the standard reset path is simple:
- Tap Settings.
- Open Device Info.
- Tap Erase & Deregister Device.
- Confirm by tapping Reset NOOK.
- Wait for the device to clear data and restart.
This removes the device registration and restores factory settings. It may also delete shelves, notes, highlights, and files stored locally on the device. If you use your NOOK for carefully organized reading lists, make sure you are comfortable losing local organization before resetting.
How to Factory Reset a NOOK Tablet
NOOK Tablet devices are closer to Android tablets than basic eReaders. Their factory reset option is usually found under system settings.
- From the Home screen, tap App Drawer.
- Open Settings.
- Tap System.
- Choose Reset Options.
- Tap Erase all data.
- Select Reset Tablet.
- Follow the on-screen prompts.
Because tablet models can store apps, Google account data, downloaded media, and personal files, back up anything important first. Also confirm you know your Google account credentials, especially if the device uses account protection after reset.
Factory Reset vs. Soft Reset: What Is the Difference?
A soft reset restarts your NOOK. It can fix freezing, sluggish behavior, and temporary glitches without deleting your account or books. Most soft resets involve holding the power button for about 20 seconds, waiting for the device to shut down, and turning it back on.
A factory reset erases local data and returns the device to default settings. Use it when you are selling the device, giving it away, troubleshooting serious software issues, changing accounts, or starting fresh.
In everyday language: a soft reset is coffee. A factory reset is moving to a new apartment and pretending the junk drawer never happened.
Common Problems When Resetting a NOOK
The NOOK Says It Needs Wi-Fi
If your NOOK says it cannot deregister without a network connection, connect to a reliable Wi-Fi network and try again. Restart the device, check the wireless password, move closer to the router, or use another network. Some older NOOK models are especially picky about Wi-Fi, because apparently even eReaders can have trust issues.
The Screen Is Frozen
Hold the power button for about 20 seconds, release it, then press it again for a couple of seconds to turn the NOOK back on. If that fails, charge the device for several hours and try again. A frozen screen does not always mean the device is dead; sometimes it is just being extremely committed to one page.
The Reset Option Is Missing
Check under Settings, Device Info, About Your NOOK, System, or Reset Options. Menu names differ by model and software version. If you still cannot find the reset option, identify your exact model number and look for model-specific support instructions.
You Forgot the Account Password
Reset your Barnes & Noble or Google account password before resetting the device if possible. After the factory reset, you may need those credentials to register the NOOK again or restore access to your library.
When Should You Factory Reset a NOOK?
A factory reset is useful when your NOOK is being sold, donated, passed to someone else, or connected to the wrong account. It can also help when the device is badly misbehaving and lighter fixes have failed.
However, do not factory reset as your first troubleshooting step. Try charging, restarting, updating software, checking Wi-Fi, and removing a microSD card first. Factory reset is powerful, but it is not magic. It will not repair broken hardware, revive a dead battery, or convince an ancient device to become a brand-new tablet.
Safety Tips Before Selling or Giving Away a NOOK
If you are selling or gifting your NOOK, resetting it is a smart privacy step. Deregistering removes your account from the device and helps prevent the next person from accessing your library or personal settings.
Before handing it over:
- Factory reset the NOOK.
- Remove any microSD card.
- Confirm the device restarts to the setup screen.
- Remove personal stickers or labels if they contain private information.
- Keep your Barnes & Noble account password private.
If the NOOK was lost or stolen, changing your Barnes & Noble password and removing saved payment methods from your account can add another layer of protection.
Real-World Experiences: What Resetting a NOOK Is Actually Like
Factory resetting a NOOK sounds more dramatic than it usually feels. In real life, the experience is often quick, quiet, and slightly anticlimactic. You tap a few settings, confirm the warning, watch the screen think very hard, and then the device returns to its setup screen as if it has never met you before. Rude? A little. Useful? Absolutely.
One common experience is resetting a NOOK before giving it to a parent, younger sibling, or friend. Many people keep older eReaders in drawers for years, then rediscover them during a cleaning spree. The battery is low, the software may be outdated, and the library is filled with books from a previous era of life. A factory reset makes the device easier to pass along because the new owner can register it with their own account and create their own reading space.
Another common situation is preparing a used NOOK for resale. Buyers generally prefer a clean setup screen, not a device still logged into someone else’s account with half-finished mystery novels and a Wi-Fi network named “Pretty Fly for a Wi-Fi.” Resetting shows that the device has been cleared and is ready for setup. It also protects your privacy, which matters more than squeezing one extra dollar out of an online listing.
Some users reset a NOOK because it has become slow or glitchy. In that case, it is worth trying a soft reset first. Many frozen or sluggish NOOK devices recover after a simple restart. But if the device still acts strangely, a factory reset can clear corrupted settings or messy local data. It is not guaranteed to fix every problem, especially on aging hardware, but it can give the software a clean start.
The most frustrating experience usually involves Wi-Fi. Some NOOK models need an active internet connection to deregister properly, and older devices may struggle with modern routers, hidden networks, or incorrect passwords. If your reset fails because of Wi-Fi, do not panic. Move closer to the router, restart the NOOK, double-check the password, and try another network if possible. Sometimes the device just needs a friendlier connection.
A practical tip from hands-on use: write down your account email before resetting. Many people remember the password but forget which email address they used years ago. Was it Gmail? Yahoo? That old school address? The one with numbers you regret? Confirm it first. Future you will be grateful, and future you is already dealing with enough.
Also, do not assume every file will magically return. Purchased NOOK books usually remain tied to your account, but sideloaded PDFs, EPUBs, and personal documents may disappear from the device after reset. If you added study materials, manuals, fan fiction, recipes, or that one PDF you absolutely swear you will read someday, copy it to a computer first.
Overall, factory resetting a NOOK is straightforward when you prepare properly. Back up your files, charge the battery, check Wi-Fi, confirm your passwords, and follow the correct menu path for your model. Do that, and the reset becomes less of a scary tech ritual and more of a tidy digital reset button. Your NOOK gets a fresh start, your account stays safer, and your reading life can continue with fewer glitches and fewer ghosts from old downloads.
Conclusion
Learning how to factory reset a NOOK is useful whether you own a NOOK GlowLight, NOOK Tablet, or an older Barnes & Noble eReader. The main idea is simple: back up anything important, make sure the device has power and Wi-Fi, open the correct settings menu, choose the reset option, and let the NOOK erase and restart.
For NOOK GlowLight devices, look for Settings > Device Info > Erase & Deregister Device. For NOOK Tablet models, use Settings > System > Reset Options > Erase all data. If your device is only frozen, try a soft reset first before wiping everything.
A factory reset is powerful, but it is not something to fear. Treat it like a fresh notebook: blank, clean, and ready for whatever you want to read next.