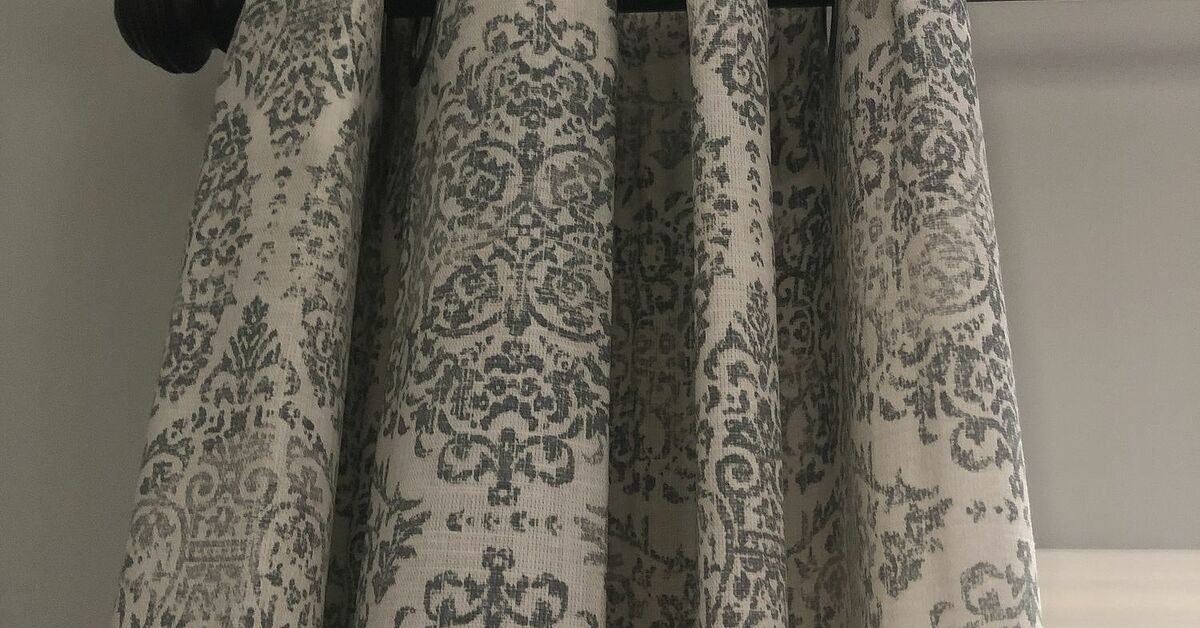
Grommet curtains are supposed to fall into smooth, magazine-worthy waves. In real life, they often bunch at one end, flatten in the middle, and develop random gaps that make the window look as though the curtains got dressed during a power outage. Fortunately, there is a cheap, reversible fix hiding in the summer aisle: a hollow pool noodle.
Cut the noodle into short rings and place the rings between curtain grommets. The foam acts as a hidden spacer, preventing neighboring grommets from collapsing into one lumpy stack. This pool noodle curtain hack requires no sewing, costs very little, and does not permanently alter the fabric or hardware.
The method works best on lightweight or medium-weight grommet panels used for privacy, decoration, or occasional light control. It can also be adapted for some tab-top curtains. The goal is not to imitate expensive custom drapery perfectly; it is to make ready-made panels look tidier without threatening them with a sewing machine.
Why the Pool Noodle Grommet Curtain Fix Works
A grommet is the reinforced ring around each opening at the top of a curtain. When the rod passes through alternating grommets, the fabric forms forward and backward waves. Sewing guidance for grommet panels recommends even grommet placement and arranging the finished curtain into balanced folds.
After daily use, however, the fabric can slide freely along the rod. Several grommets crowd together while another section spreads apart. A foam ring limits how closely two grommets can approach each other, creating a more regular rhythm across the header.
Many pool noodles are made from flexible polyethylene foam, which is lightweight and holds its shape reasonably well. That makes the material useful as a removable indoor spacer, provided it stays away from high heat and open flame.
Is This Hack Right for Your Curtains?
Try it when your panels look uneven after hand-arranging, you want a no-sew curtain fix, and the curtains do not need to compress into an extremely tight stack every day. It is especially handy for inexpensive decorative panels that need a little more structure at the top.
Skip or modify the idea for very heavy lined drapes, traverse systems, rods wider than the noodle’s center hole, or windows beside radiators, fireplaces, hot bulbs, and other heat sources. Also make sure the rod is level and securely mounted. Retail curtain guides consistently emphasize accurate measuring, strong brackets, and rod placement that suits both appearance and function. Foam cannot rescue a sagging rod or a panel that is far too narrow for the window.
Tools and Materials
- One hollow pool noodle
- Measuring tape or ruler
- Fine-tip marker
- Sharp utility knife, craft knife, or serrated project knife
- Cutting mat, scrap wood, or thick cardboard
- Optional painter’s tape and small scissors
A sharp blade produces cleaner foam cuts than a dull one. Cutting-tool makers list foam among the materials suited to utility and craft blades. Protect the work surface, keep your fingers out of the cutting path, and cover or retract the blade as soon as you finish.
How Long Should the Foam Spacers Be?
There is no universal length because curtain fullness, grommet spacing, fabric thickness, and rod size vary. For most ready-made panels, begin with test rings between 1 1/2 and 2 1/2 inches long. Short rings let the curtain compress more tightly. Longer rings create deeper, more architectural waves but consume more rod space.
- Close the curtain and arrange its best-looking folds by hand.
- Measure the visible rod distance between two neighboring grommets.
- Subtract about 1/4 inch so the foam does not force the rings apart.
- Cut two or three samples in slightly different lengths.
- Test them before cutting the entire noodle.
Testing matters. A dramatic three-inch spacer may look elegant on airy linen and ridiculous on a narrow blackout panel. Curtains, like houseplants and relatives, do not all respond to the same treatment.
Step-by-Step Pool Noodle Curtain Hack
Step 1: Inspect the Curtain Rod
Tighten the brackets, confirm that the rod is level, and check whether a finial can be removed. Secure hardware is the foundation of a clean-looking treatment. The foam weighs almost nothing, but it does change how the curtain slides.
Step 2: Decide Whether to Remove the Rod
The neatest method is to remove the rod, take off one finial, and slide the curtain and foam rings on in sequence. When removing the rod is inconvenient, cut a straight slit through one side of each ring. The slit allows the foam to open and snap around the installed rod.
Complete rings keep their shape better. Slit rings are easier to retrofit. This is DIY, not a congressional hearing; practical compromises are allowed.
Step 3: Mark and Cut the Pool Noodle
Lay the noodle on a protected surface and mark equal sections using your test measurement. Painter’s tape wrapped around each mark can serve as a cutting guide. Rotate the noodle while making shallow passes instead of crushing it with one heroic chop.
Keep the cuts as square as possible. Angled pieces may tilt against the grommets and become visible. Trim loose foam crumbs with scissors. Never melt the edges with a lighter or heat gun; polyethylene foam should be kept away from ignition sources and excessive heat.
Step 4: Alternate Grommets and Foam Rings
Slide the first grommet onto the rod, followed by a foam ring, then the next grommet and another ring. You may not need a spacer in every gap. Begin with the inward-facing valleys, where the foam will stay hidden behind the fabric.
On a two-panel window, mirror the spacing pattern on both sides. If the panels have different grommet counts, prioritize balance near the center opening and at the outer edges.
Step 5: Rehang and Shape the Curtain
Return the rod to its brackets and close the curtains. Stand several feet away, then adjust each fold from top to bottom. The spacers control the header, but the lower fabric may still need smoothing. Let the panels hang for a day so compressed areas can relax.
If the care label permits steaming, remove the foam first and steam the fabric carefully. Do not aim concentrated heat at the noodle pieces.
Step 6: Test Daily Operation
Open and close the curtains several times. Watch for grommets catching on rough edges and check whether the panels expose enough glass when open. If movement feels stiff, shorten the rings or use fewer of them. If folds still collapse, add spacers gradually rather than replacing everything with oversized chunks.
How to Adapt the Fix for Tab-Top Curtains
Grommet and tab-top curtains are different. Grommet panels have reinforced rings; tab-top panels hang from fabric loops. The same spacing idea can still help, but the foam sits between adjacent tabs rather than inside them.
Use slit rings so they can snap around the rod after the tabs are installed. Keep each spacer narrow enough that it does not pull the loops sideways. Because soft tabs can twist, point each slit toward the wall and rotate the spacer until the tab faces forward. The folds will be softer than grommet waves, but the spacing should look more regular.
For hidden back-tab panels, clear tubing, drapery spacing clips, or a lightly tacked header may be less bulky than pool noodle rings.
Common Problems and Quick Fixes
The Foam Is Visible
Shorten the rings, rotate them behind the folds, or choose a noodle close to the curtain, rod, or wall color. Bright foam can show through sheer fabric, so neutral white, gray, beige, or black works better for translucent panels.
The Curtain Will Not Open Wide Enough
Every spacer consumes rod length. Use fewer rings, make them shorter, or leave the outermost grommet gaps unspaced so the panels can compress near the brackets.
The Rod Is Too Thick
Use a jumbo hollow noodle or foam pipe insulation with a suitable center opening. Do not force tight foam over a finished rod because friction can scratch painted or plated surfaces.
The Folds Look Rigid
Trim 1/4 to 1/2 inch from each spacer. The curtain should look organized, not as though it is wearing orthodontic headgear.
Safety, Cleaning, and Long-Term Care
Keep foam spacers away from candles, fireplaces, heaters, and hot bulbs. Inspect them every few months and replace pieces that split, crumble, flatten permanently, or transfer color. Test brightly dyed foam against the back of a pale curtain header before installing a complete set.
Remove the rings before washing, dry-cleaning, or steaming the curtains. Wipe the foam with a slightly damp cloth and allow it to dry fully before reinstalling it. Numbering custom-sized rings with a marker can save time later.
Practical Experience Notes: What Usually Happens After Installation
The first improvement is usually most noticeable at eye level. Before the fix, the top of the curtain may show three crushed folds near a bracket and one enormous gap near the center. After spacers are added, the header reads as a repeating pattern. Even when the lower fabric is not perfectly trained, the window looks calmer because the eye uses the top edge as a visual ruler.
Consider two 52-inch-wide grommet panels on a 60-inch bedroom window. The curtains close at night and open only partway in the morning. Two-inch rings might create attractive spacing, but installing one in every gap can prevent the panels from stacking beyond the glass. A better arrangement is often to place spacers between the middle grommets and leave the two outer gaps open. The center stays neat when closed, while the edges still compress.
Lightweight polyester panels usually respond quickly because the foam can hold the grommets apart without fighting much fabric weight. Thick blackout curtains are less predictable. Their lining may already create deep folds, and extra spacers can make the header bulky. Shorter one-inch or 1 1/2-inch rings are often enough. Cutting the whole noodle before testing is the classic mistake: it leaves a pile of identical foam donuts and the realization that the curtains needed half that width.
Another common experience involves friction. Metal grommets normally slide easily on a smooth rod, but foam introduces drag. Slight resistance is helpful because it keeps the folds in position. Too much turns opening the curtain into a two-handed tug. Slit rings can also rotate until the cut edge catches a grommet. Pointing all slits toward the wall usually keeps them hidden and reduces snagging.
Color matters less than expected on opaque curtains because properly sized rings disappear behind the folds. A neon-green noodle can hide behind navy fabric without causing a decorating emergency. With sheer white panels, however, bright foam may glow through. A neutral noodle is easier than wrapping every ring in matching fabric, which rather defeats the “quick hack” portion of the program.
The project can expose unrelated problems. Once the folds are evenly spaced, a crooked rod becomes obvious. So does a panel that is slightly shorter than its partner. Tightening brackets, leveling the rod, steaming the fabric, and adding enough total panel width may improve the result as much as the spacers. Better Homes & Gardens notes that curtains need adequate fullness to avoid a sparse appearance.
Long-term, the best installations are conservative. The foam pieces are short, hidden, removable, and used only where needed. They do not strain the grommets or force the curtain into a rigid shape. You can remove them for cleaning, shorten them later, or move them to another window. That reversibility is the real advantage: a low-cost pool noodle can improve a window without turning a temporary decorating experiment into a permanent sewing decision.
Conclusion
Using pool noodles to do a grommet tab curtain fix is an inexpensive way to create more even folds without permanently altering the panels. Measure the best-looking gap, cut a few test rings, alternate the foam with the grommets, and adjust until the curtain moves comfortably.
The hack will not correct weak brackets, an undersized panel, or poor rod placement, but it can make ordinary ready-made curtains behave much better. Start with short spacers, keep them hidden, and let the window enjoy its promotion from “slightly rumpled” to “surprisingly polished.”
Note: This is a reversible decorative hack, not a manufacturer-approved curtain component. Test the foam for fit and color transfer, keep it away from heat and flame, and remove it before cleaning or steaming the curtains.