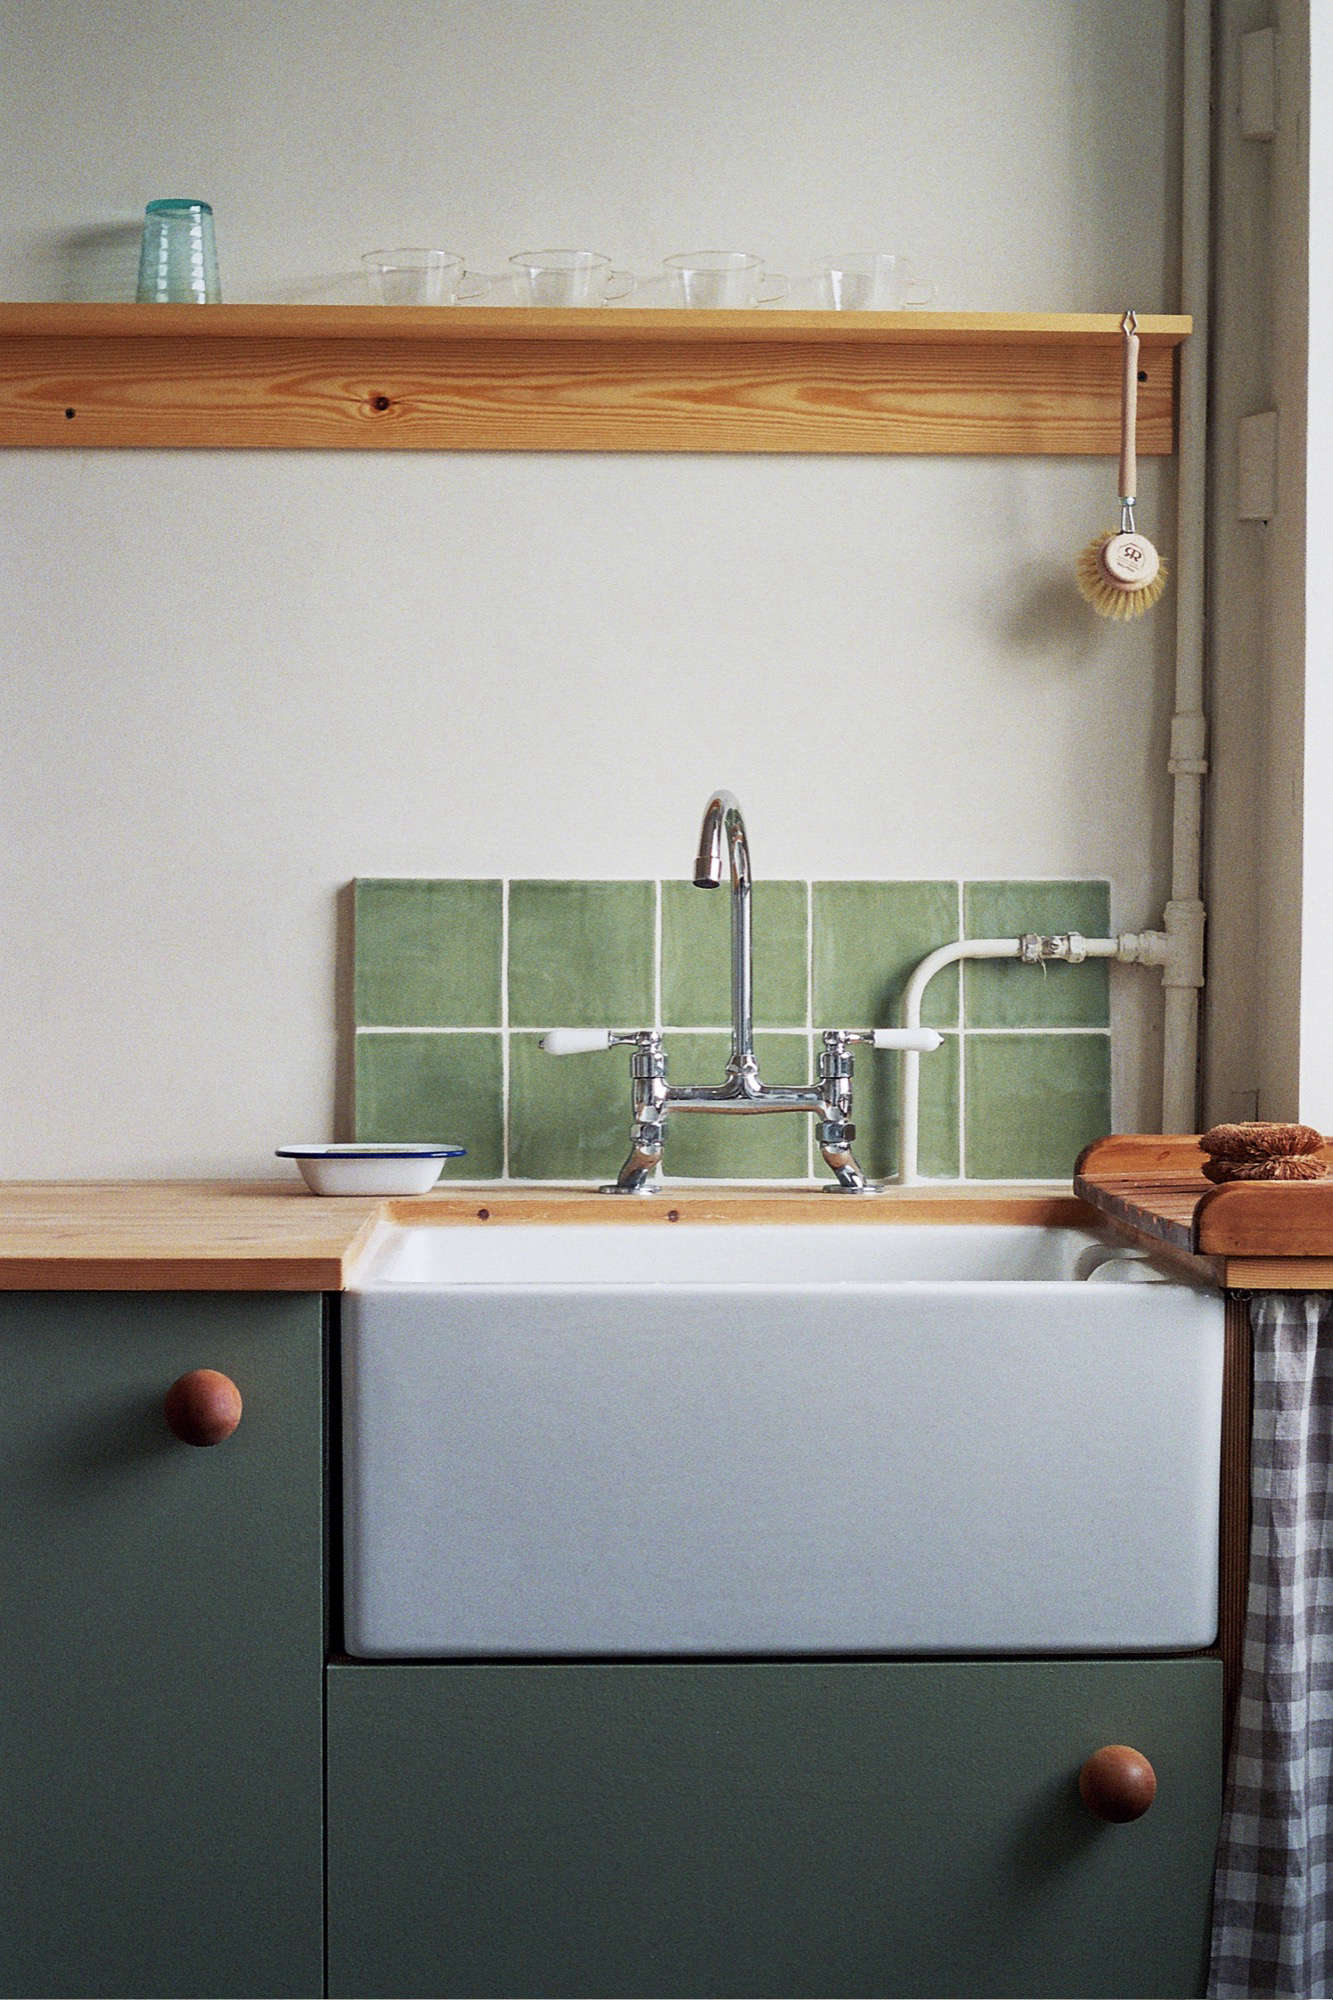
Note: This article is written for web publishing and synthesizes practical backsplash advice from reputable U.S. home-improvement publishers, design magazines, cleaning experts, and major renovation retailers.
Introduction: The Small Wall That Can Boss Around the Whole Kitchen
A kitchen backsplash is not the biggest surface in the room, but it has main-character energy. It sits right where spaghetti sauce stages its rebellion, coffee splashes make abstract art, and grease decides to become a permanent resident. A good backsplash protects the wall behind counters, sinks, and ranges while adding style, texture, and personality to the kitchen. That is why even a budget backsplash can make a kitchen feel more finished, cleaner, and more intentional.
The happy news? You do not need a luxury remodel budget, a contractor on speed dial, or a wet saw with a name like a superhero weapon. Budget kitchen backsplash ideas have grown up. Today’s options include peel-and-stick backsplash tiles, beadboard panels, painted tile, vinyl wallcovering, stainless-steel sheets, adhesive tile mats, ceramic subway tile, removable wallpaper, and clever “mini backsplash” zones. The trick is not choosing the cheapest thing on the shelf. The trick is choosing the right inexpensive backsplash material for the right place, preparing the surface properly, and keeping the design clean enough to look deliberate instead of “weekend panic purchase.”
Below are 10 budget backsplash hacks that balance cost, durability, style, and DIY sanity. Bring a tape measure, a little patience, and maybe snacks. Remodeling wisdom begins with knowing that hungry people make questionable grout decisions.
10 Budget Backsplash Hacks That Actually Look Good
1. Use Peel-and-Stick Tile for a Fast, Renter-Friendly Upgrade
Peel-and-stick backsplash tile is the budget remodeler’s shortcut, but it works best when treated like a real project, not like a giant kitchen sticker. Modern peel-and-stick products can mimic subway tile, marble, metal, glass, stone, hexagon tile, and herringbone patterns. Many are easy to trim and install, which makes them especially useful for renters, first-time DIYers, or homeowners who want a quick kitchen refresh without demolition dust hiding in the cereal.
The hack is surface preparation. Peel-and-stick tile needs a smooth, clean, dry, nonporous wall. Grease, dust, textured paint, and fresh paint can all weaken adhesion. Lowe’s recommends clean, dry, smooth surfaces and advises adding about 10 percent extra material when measuring panels, which helps cover mistakes, cuts, and the mysterious tile piece that disappears exactly when you need it.
Best for: rentals, laundry rooms, low-commitment kitchen updates, and small backsplash zones.
Watch out for: high heat, heavy steam, rough walls, and bargain products that curl faster than a cat near bathwater.
2. Try Beadboard for Cottage Charm Without Tile Prices
Beadboard is one of the best cheap backsplash ideas because it brings texture, warmth, and a little “freshly baked pie cooling on the windowsill” energy. It is often easier to install than tile, can be painted to match your cabinets, and works beautifully in farmhouse, coastal, traditional, and cottage-style kitchens. Bob Vila highlights beadboard as an economical alternative to tile that can be measured, cut, attached with adhesive, and secured with nails.
The budget trick is choosing moisture-resistant material and sealing it well. Paint beadboard with a washable, kitchen-friendly finish, and caulk the seam where it meets the countertop. Behind a sink, be extra careful; water will find the one unsealed gap and move in like it signed a lease.
Best for: low-splash walls, breakfast nooks, budget farmhouse kitchens, and DIYers who prefer cutting panels to cutting tile.
3. Paint Existing Tile Instead of Ripping It Out
If your current tile is structurally sound but visually stuck in 1998, painting it can be a surprisingly satisfying backsplash makeover. Tile paint and bonding primers can turn beige, brown, or overly busy tile into a clean white, charcoal, soft green, or warm neutral backsplash. This option keeps old tile out of the landfill and avoids the cost of demolition, wall repair, and new installation.
The hack is patience. Clean the tile thoroughly, scuff glossy surfaces if the product instructions require it, use the correct primer, and let coats cure fully. Paint is not magic armor, so this is better for moderate-use areas than for a constantly splattered range wall. For the stove zone, add a washable clear coat or use a more heat-tolerant material behind the burners.
Best for: dated tile that is still firmly attached, budget kitchen remodels, and homeowners who want a dramatic color change.
4. Install a Mini Backsplash Where It Matters Most
A full-height backsplash looks elegant, but it also uses more material. A mini backsplash focuses the budget on the most important zones: behind the sink, behind the range, or along a short countertop run. Architectural Digest has noted that countertops and backsplashes can take a meaningful share of a kitchen renovation budget, and using a smaller backsplash area can help reduce costs while still adding style and protection.
This hack is especially smart if you love a pricier tile. Instead of covering every wall, use a few square feet of handmade ceramic, marble-look porcelain, or patterned tile as a feature panel. Then paint the surrounding wall in a durable washable finish. It is the backsplash version of wearing one great jacket with basic jeans: affordable, intentional, and far less likely to bankrupt you.
Best for: small kitchens, statement tile, tight remodel budgets, and homes where the main mess happens in one zone.
5. Use Affordable Ceramic Subway TileBut Change the Layout
Ceramic tile remains a classic backsplash material because it is durable, easy to maintain, versatile, and often affordable. This Old House notes that ceramic continues to be popular thanks to its wide range of shapes, colors, and sizes, plus straightforward maintenance.
The budget hack is buying simple tile and making it look custom with layout. Standard subway tile can feel fresh when stacked vertically, arranged in herringbone, installed in a running bond with contrasting grout, or taken higher behind open shelves. You can save on material and spend a little extra attention on the pattern. That is free design drama, the best kind after “someone else cleaned the kitchen.”
Best for: homeowners who want long-lasting value, cleanability, and a timeless kitchen backsplash.
6. Use Adhesive Tile Mats to Skip Mortar Mess
Traditional tile installation can intimidate beginners because mortar, spacers, grout, cuts, and timing all enter the chat at once. Adhesive tile mats simplify the process by replacing some mortar steps with sticky sheets designed to hold tile in place. Lowe’s installation guidance emphasizes patching, leveling, and cleaning the surface with a grease-cutting cleaner or TSP before applying adhesive mats.
This is not the cheapest method per square foot, but it can be budget-friendly if it saves you from hiring labor. Use it for small backsplash areas where precision matters and panic should be kept to a polite simmer. Follow product instructions closely, especially around tile weight, grout type, and wall preparation.
Best for: small DIY tile jobs, weekend remodelers, and anyone who hears “thinset” and immediately wants a nap.
7. Go with Vinyl Wallcovering or Peel-and-Stick Wallpaper
Vinyl wallcovering and peel-and-stick wallpaper can deliver pattern, color, and texture for a fraction of the cost of tile. Real Simple describes vinyl wallcovering as a cost-effective backsplash option that can be easy to clean, while Martha Stewart has highlighted peel-and-stick wallpaper as a weekend kitchen project that can add bold style without the time and expense of tiling.
The hack is protection. Wallpaper near water and grease needs help. Choose washable vinyl or splash-resistant products, keep seams away from the wettest areas, and consider adding a clear acrylic or glass panel behind the stove or sink. This lets you enjoy the look without asking wallpaper to do the job of a firefighter.
Best for: renters, colorful kitchens, temporary makeovers, and budget decorators who love pattern.
8. Add a Stainless-Steel Panel Behind the Stove
A stainless-steel backsplash panel behind the range is sleek, practical, and often more affordable than covering the entire wall with tile or stone. Architectural Digest recommends considering stainless steel when a full natural-stone or porcelain slab is outside the budget, especially because backsplashes should be durable and easy to clean.
The hack is using metal strategically. A single stainless panel behind the stove can protect the messiest spot while the rest of the backsplash uses paint, beadboard, ceramic tile, or peel-and-stick materials. It also gives the kitchen a professional edge, even if dinner is boxed mac and cheese with “chef’s garnish,” also known as black pepper.
Best for: range walls, modern kitchens, rental-friendly upgrades if mounted carefully, and cooks who sauté with enthusiasm.
9. Mix One Splurge Tile with One Budget Material
You do not have to choose between “plain and cheap” or “beautiful and financially suspicious.” Better Homes & Gardens showcases many backsplash approaches using tile, stone, glass, brick, wallpaper, and peel-and-stick products, proving that mixing materials can create a layered look while managing cost.
Try an affordable ceramic field tile with a small strip of handmade accent tile. Use budget subway tile everywhere and a patterned focal panel behind the stove. Pair beadboard along the main run with a tile insert behind the sink. The design feels custom because it has contrast and intention, not because every square inch costs as much as a dinner reservation.
Best for: homeowners who want personality, color, or artisanal detail without paying for a fully premium backsplash.
10. Design for Easy Cleaning Before You Design for Instagram
A backsplash that looks great on installation day but collects grease like a museum artifact is not a win. Good Housekeeping’s cleaning guidance stresses that backsplash care depends on material: natural stone needs gentle, pH-neutral cleaners and may need sealing; glazed ceramic, porcelain, and glass are easier to maintain; vinyl peel-and-stick surfaces should be cleaned with mild products and soft cloths.
The hack is choosing smooth, wipeable surfaces near the stove and sink. Textured brick, rough stone, and deep grout lines can look gorgeous, but they are more work. If you want a budget backsplash that keeps looking expensive, choose materials that can survive real life: tomato sauce, bacon splatter, coffee, dishwater, and the occasional mysterious orange stain no one in the household will admit to creating.
Best for: every kitchen, especially busy family kitchens and small spaces where splashes travel with Olympic ambition.
Budget Backsplash Planning: Measure Twice, Buy Once, Regret Never
Before buying materials, measure the width and height of each backsplash section. Multiply to get square footage, then add at least 10 percent extra for cuts, waste, and future repairs. If your pattern involves herringbone, diagonals, or lots of outlets, consider adding a little more. Outlets are tiny rectangles of chaos, and they love ruining your perfect layout.
Next, decide where durability matters most. Behind the stove, prioritize heat resistance and cleanability. Behind the sink, prioritize moisture resistance. Along low-use prep areas, you can use more decorative materials such as wallpaper, beadboard, or peel-and-stick panels. This zone-based approach is one of the smartest remodeling wisdom principles: spend more where the kitchen fights back, spend less where it behaves.
Finally, test samples. Tape tile, wallpaper, beadboard, or metal swatches to the wall and look at them morning, afternoon, and evening. Kitchen lighting changes everything. A tile that looks soft and creamy at noon can look like cold oatmeal under LED lights at night. Samples are cheaper than regret.
Common Budget Backsplash Mistakes to Avoid
Skipping Wall Prep
Even inexpensive backsplash materials deserve a clean, level wall. Grease and dust can ruin adhesion, and uneven surfaces can make panels bubble, tiles shift, or seams look sloppy. Lowe’s wall-prep guidance recommends cleaning away grease and oil so adhesives can bond properly.
Choosing the Wrong Material for the Stove Zone
Not every cheap backsplash belongs behind a range. Some vinyl, wallpaper, and peel-and-stick products can struggle with heat. Check manufacturer instructions and keep combustible or heat-sensitive materials away from high-temperature areas.
Using Too Many Patterns
Budget backsplashes look more expensive when the design is edited. One bold pattern is exciting; three bold patterns can make the kitchen feel like it is shouting during breakfast.
Forgetting Trim and Edges
Raw edges are the giveaway. Use tile edging, caulk, trim pieces, or careful paint lines to finish transitions. A $40 project can look like a $400 upgrade when the edges are clean.
Extra Remodeling Experience: Lessons From Real-Life Budget Backsplash Projects
The most useful remodeling wisdom often comes from small mistakes, not glossy reveal photos. A budget backsplash project teaches you quickly that the wall is rarely as straight as it looks. Counters slope. Cabinets are slightly uneven. Outlets sit in places that seem personally designed to ruin symmetry. This is normal. The goal is not perfection; the goal is a backsplash that looks thoughtful, protects the wall, and does not require a second mortgage or a dramatic phone call to a contractor.
One practical experience is to begin with the least visible corner. If you are installing peel-and-stick tile, beadboard, or ceramic tile for the first time, the first cut is usually your “practice pancake.” It may be edible, but it is not the one you serve to guests. Starting behind a coffee maker or near the refrigerator lets you learn how the material behaves before working on the most visible centerline behind the sink or range.
Another lesson: never trust your eyes alone when lining up backsplash materials. Use a level, painter’s tape, and a pencil line. Cabinets and counters can trick you. If the countertop is slightly out of level and you follow it exactly, the whole backsplash may look like it is slowly sliding toward Tuesday. A level guideline gives the project structure, while caulk at the counter can hide tiny irregularities.
For peel-and-stick projects, dry fitting is worth every minute. Lay out the panels on the counter before removing the backing. Check where seams will land, how the pattern repeats, and whether outlets cut through awkward spots. The adhesive is not always forgiving. Once a sheet grabs the wall, peeling it back can stretch vinyl, bend corners, or collect dust on the adhesive. Slow installation feels boring until you realize boring is cheaper than reordering materials.
For beadboard, paint before installation when possible. It is much easier to roll a panel flat than to paint grooves under wall cabinets while crouching like a kitchen goblin. After installation, touch up nail holes, caulk seams, and add one final coat if needed. A semi-gloss or satin washable finish usually makes cleaning easier, especially in kitchens where sauce travels farther than expected.
For traditional tile, the biggest budget saver is layout planning. Center the design on the range, sink, or most visible wallnot necessarily on the entire room. Use spacers consistently, wipe grout haze early, and do not rush curing times. Grout is like bread dough and toddlers: it has its own schedule, and arguing does not help.
The final experience-based tip is to keep one or two extra pieces of your backsplash material. Store leftover tiles, peel-and-stick panels, wallpaper scraps, or paint in a labeled bag. Months later, when a corner lifts, a tile chips, or a future repair opens the wall, you will be grateful. Matching discontinued materials is a special kind of home-improvement scavenger hunt, and no one needs that adventure before coffee.
Conclusion: Small Budget, Big Backsplash Energy
A budget backsplash does not have to look temporary, flimsy, or cheap. The best inexpensive backsplash ideas use strategy: peel-and-stick tile for quick impact, beadboard for texture, painted tile for transformation, mini backsplash zones for savings, ceramic tile for durability, adhesive mats for easier installation, wallpaper for personality, stainless steel for the stove zone, mixed materials for custom style, and cleanable surfaces for long-term sanity.
Remodeling wisdom is really about knowing where to spend, where to save, and where to slow down. Spend on the messiest zones. Save on large quiet areas. Slow down for measuring, prep, layout, and edge finishing. That is how a small wall becomes a kitchen upgrade with confidence, charm, and just enough personality to make your cabinets feel like they got invited to a better party.