If your sweatshirt has seen better days, welcome to the club. Maybe it used to be bright white and is now the color of “old receipt.” Maybe it is technically black but emotionally charcoal. Or maybe you found a plain crewneck at a thrift store and thought, “You know what this needs? A dramatic makeover.” Good news: dye can absolutely breathe new life into a sweatshirt. Better news: you do not need a fashion degree, a chemistry lab, or a suspiciously artistic roommate to pull it off.
The secret is choosing the right method for the fabric you have and the look you want. A 100% cotton sweatshirt behaves very differently from a 50/50 cotton-poly blend, and that difference matters. Many popular sweatshirts are blends, which means color may come out softer, more heathered, or less saturated unless you use a dye designed for synthetic fibers. In other words, the care tag is not boring housekeeping trivia. It is the plot twist.
In this guide, you will learn 3 ways to dye a sweatshirt: a classic solid-color dye bath, a pattern-based method like tie-dye or ice dye, and reverse dyeing for that cool faded, lived-in look. We will also cover prep, mistakes to avoid, aftercare, and real-world lessons so your project looks intentional instead of “laundry accident with confidence.”
Note: Always check the sweatshirt’s care tag, test color on a hidden area when possible, protect your workspace, and follow the instructions on the dye or bleach product you choose.
Before You Dye: Read the Sweatshirt Like a Detective
Before you pour, dip, swirl, or dramatically wave rubber bands in the air, start with the basics. Dyeing success depends on the fiber content, the original color, and whether the sweatshirt is clean.
1. Check the fiber content
This is the big one. Natural fibers like cotton usually take dye much better than synthetics. If your sweatshirt is 100% cotton, you are in a happy place. If it is a cotton-poly blend, which many sweatshirts are, the color may dye unevenly or come out lighter unless you use a synthetic-compatible dye. That is why some freshly dyed sweatshirts look bold and rich while others look softly vintage and slightly moody.
2. Start with a clean sweatshirt
Always prewash the sweatshirt before dyeing. New garments often have sizing, finishes, or residues that block even dye absorption. Skip the fabric softener, because your dye is trying to bond with the fibers, not slide off them like a bad first date.
3. Know that you are overdyeing, not repainting reality
If the sweatshirt is not white, the existing color affects the final result. Dye is transparent, not magical. A pale gray sweatshirt dyed blue may look slate or denim-like. A pink one dyed navy might shift purple. If you want a specific final color, think in layers, not wishes.
4. Gather the right supplies
- Sweatshirt
- Appropriate dye for the fiber
- Rubber gloves
- Bucket, sink, or stainless steel pot depending on method
- Rubber bands for pattern dyeing
- Plastic table cover or trash bags to protect surfaces
- Old towels or paper towels
- Mild detergent for post-dye washing
Way 1: Dye a Sweatshirt One Solid Color in a Dye Bath
If you want the cleanest, most versatile transformation, go with a solid-color dye bath. This is the method for turning a tired sweatshirt into a fresh staple: black, navy, forest green, wine, cocoa, rust, or whatever color makes you feel like the main character in a fall coffee ad.
Best for:
Solid cotton sweatshirts, cotton-rich fleece, and anyone who wants an even all-over color.
How to do it
- Prewash the sweatshirt. Do not dry it completely; slightly damp fabric can help the dye spread more evenly.
- Fill your dye bath. Use very hot water for many all-purpose dyes, or use the stovetop method if you are dyeing polyester or a high-poly blend with synthetic dye.
- Add the dye and any helper ingredients. Some methods use salt for cotton or vinegar for wool and silk. Follow your product directions exactly here.
- Submerge the sweatshirt fully. Stir often and thoroughly. This is not the time to wander away and watch one episode that becomes four.
- Leave it in long enough. More time usually means deeper color. Blends, especially polyester blends, often need longer time to take on color.
- Rinse until the water runs mostly clear. Start warm, then go cooler.
- Wash separately. Use a mild detergent and cold water for the first wash.
Why this method works
A dye bath gives the most uniform coverage because the whole garment is surrounded by dye at once. That makes it ideal for refreshing faded clothes or turning a light sweatshirt into a darker shade. If your sweatshirt contains polyester, do not expect buttery perfection from a cotton-only dye. Polyester can resist color, which is why blended sweatshirts often come out with a slightly marled, worn-in look. Honestly, that can be part of the charm.
Pro tip
If the sweatshirt has polyester stitching, the fabric and thread may not dye the same way. So if your seams stay lighter than the body of the sweatshirt, congratulations: you have discovered the tiny drama of mixed fibers.
Way 2: Create a Pattern with Tie-Dye or Ice Dye
If solid color feels too polite, pattern dyeing is where things get fun. Tie-dye is playful, customizable, and weirdly therapeutic. Ice dye gives a softer, more watercolor-style effect with organic color splits and lovely unpredictability. Both methods work especially well on cotton sweatshirts and cotton-rich blends.
Best for:
Creative designs, oversized crewnecks, vintage-style graphics, gifts, and people who like color but also enjoy controlled chaos.
How to tie-dye a sweatshirt
- Prewash the sweatshirt. Again, no fabric softener.
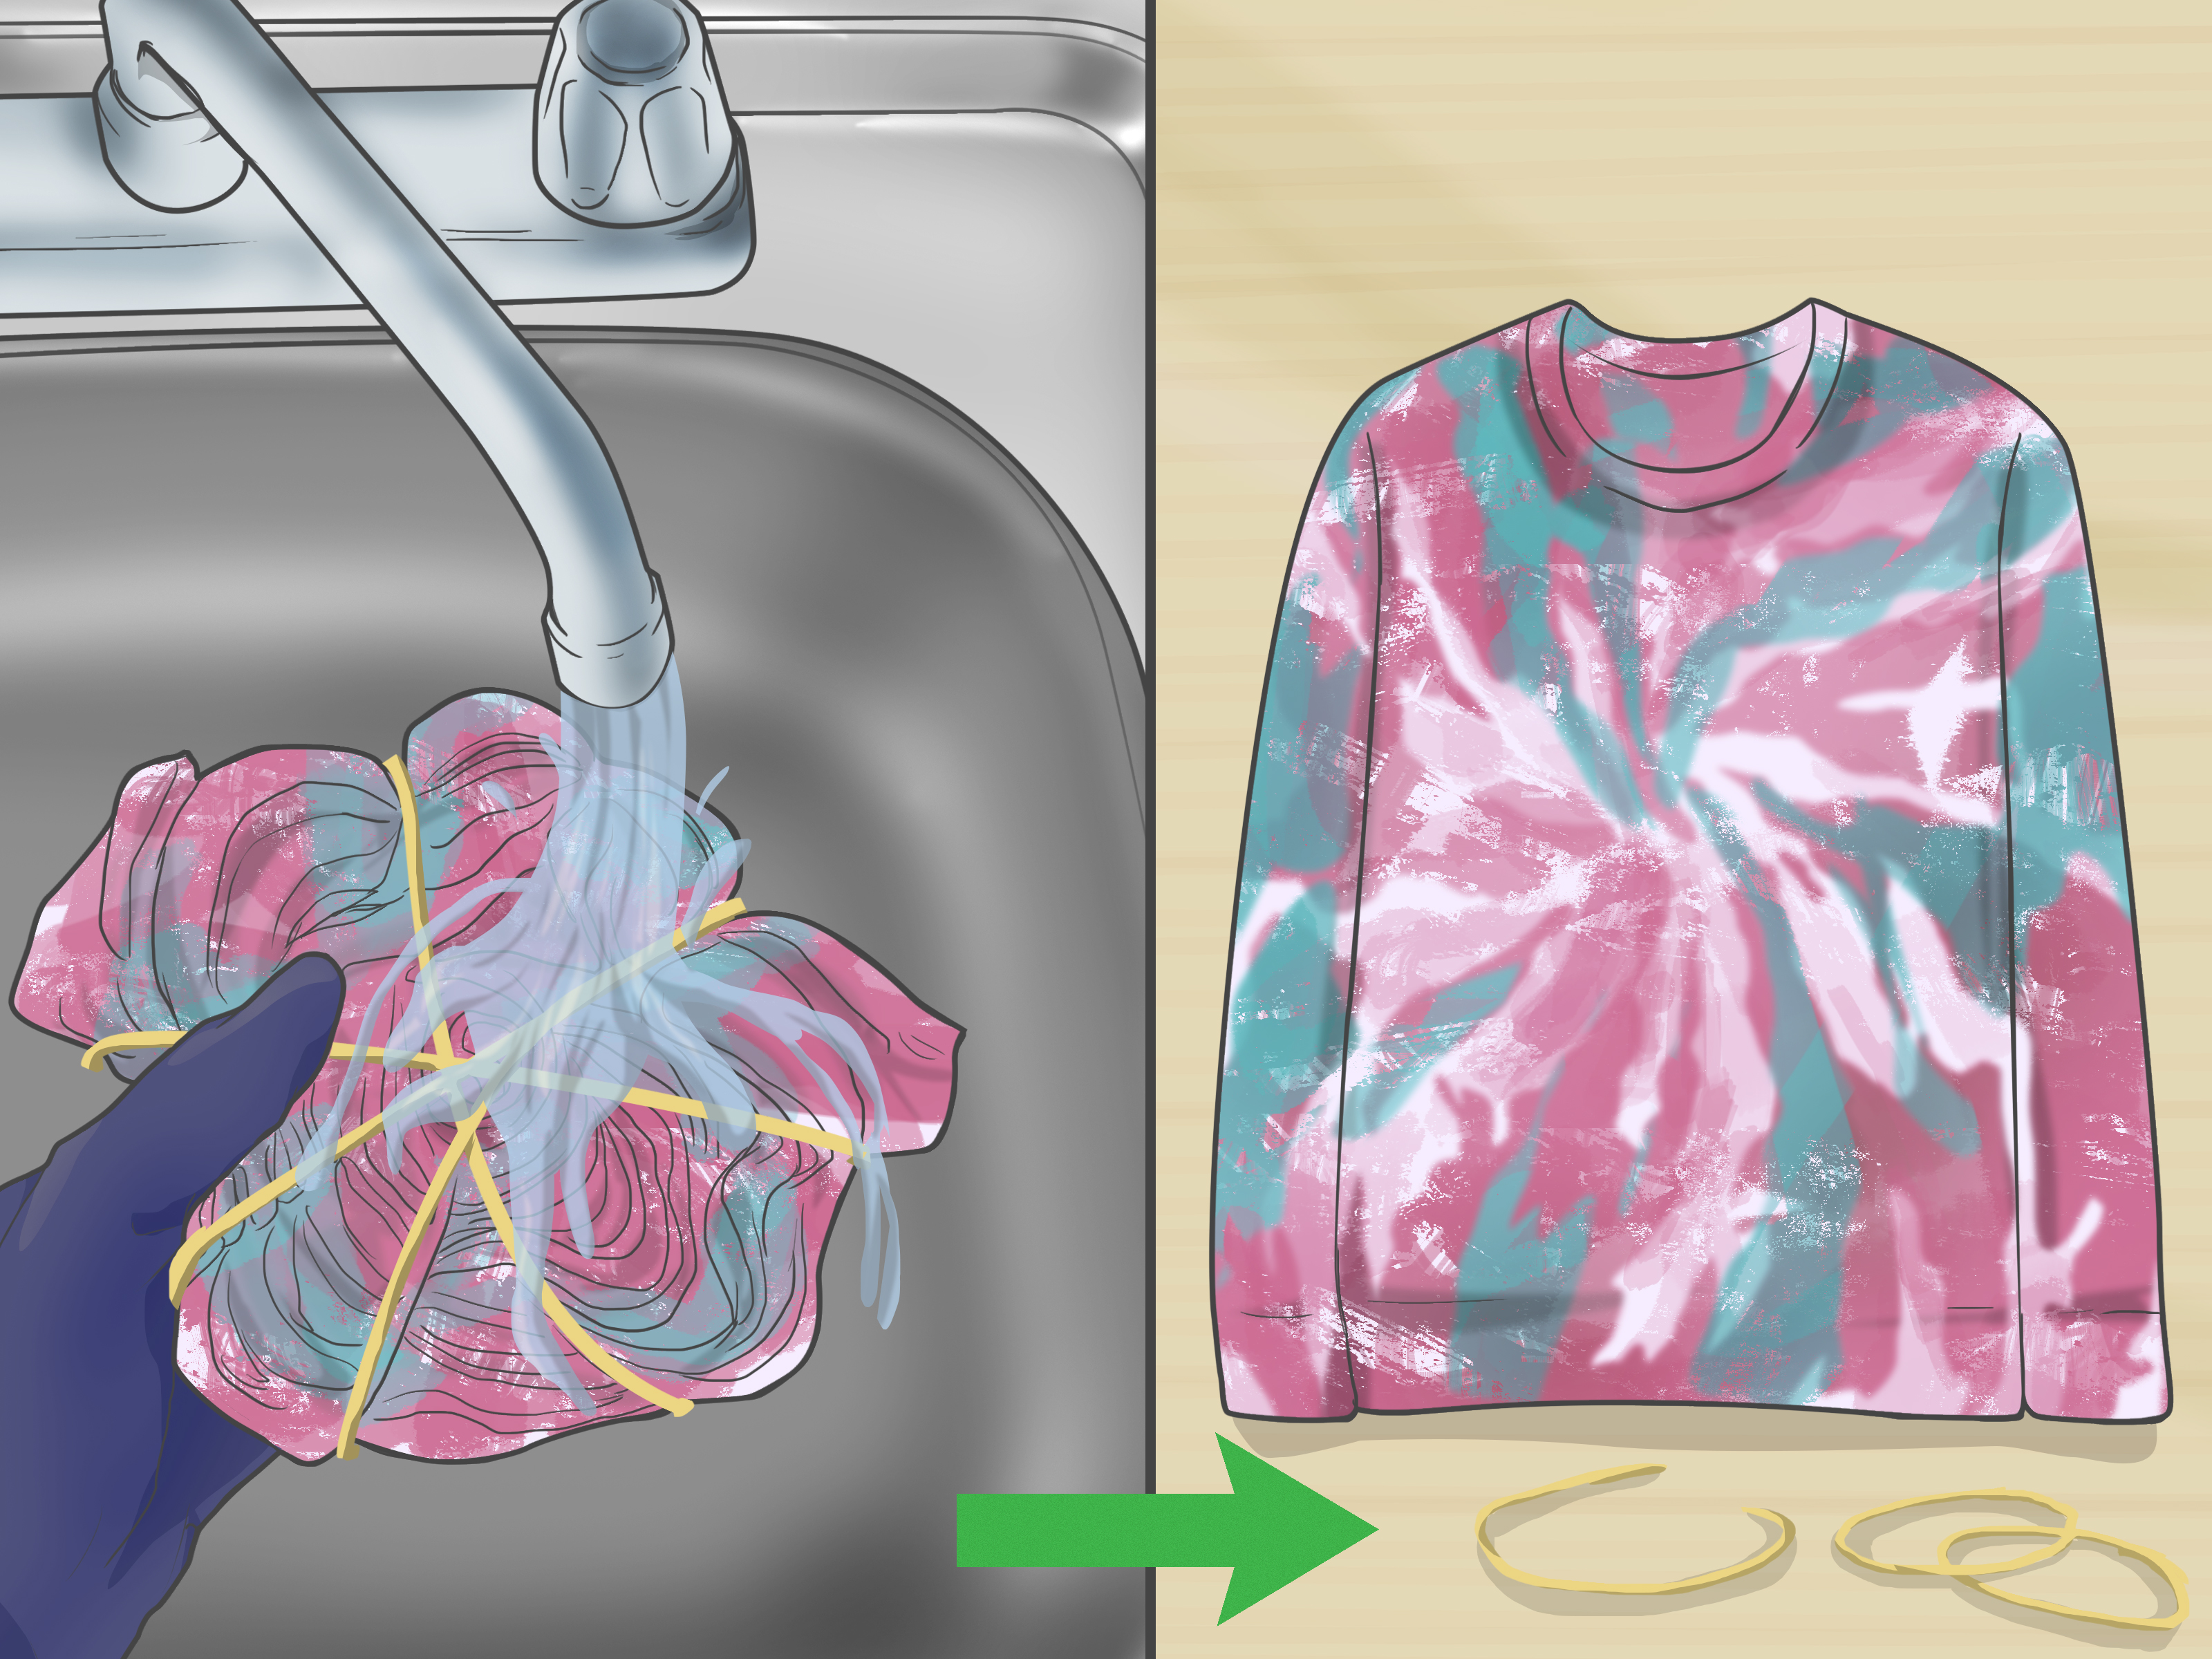
- Twist, scrunch, fold, or spiral the fabric. Secure with rubber bands.
- Apply dye to sections. Use squeeze bottles for control. Start with lighter colors if you are layering shades.
- Let it sit. Many kits recommend at least 6 to 8 hours, or overnight, for richer color.
- Rinse in cold water. Keep rinsing until excess dye is removed.
- Wash separately and air dry or dry gently.
How ice dye differs
With ice dye, you place ice over the sweatshirt and sprinkle powdered dye on top. As the ice melts, the dye moves slowly through the folds, creating softer and more layered effects than standard tie-dye. It is less “summer camp swirl” and more “art student with a really good tote bag.”
Why this method works
Pattern dyeing leaves some parts of the fabric more exposed than others. Folds, twists, and compression create contrast. That is what gives you spirals, bursts, stripes, or marbled effects. On sweatshirts, these patterns often look especially good because fleece absorbs color in a slightly muted, cozy way.
Pro tip
If your sweatshirt is a 50/50 cotton-poly blend, the result may be lighter and less intense than on 100% cotton. That is not failure. That is called “soft vintage energy,” and people pay good money for it.
Way 3: Reverse Dye a Sweatshirt for a Faded or Vintage Look
Reverse dyeing is the rebellious cousin of traditional dyeing. Instead of adding color to a light sweatshirt, you remove or lighten color from a dark sweatshirt first, then optionally add new color back in. This is how you get those smoky, distressed, high-contrast sweatshirts that look like they came from a boutique with exposed brick and suspiciously expensive candles.
Best for:
Dark sweatshirts, especially black or navy, plus anyone who wants a vintage, washed, or grunge-inspired finish.
How to reverse dye a sweatshirt
- Start with a dark sweatshirt. Black is the classic choice.
- Twist or scrunch the garment and secure it with rubber bands.
- Apply a bleach solution carefully or submerge parts of the sweatshirt, depending on the effect you want.
- Watch it closely. Color changes can happen quickly.
- Stop the bleaching action. Rinse thoroughly and use a peroxide-and-water bath if your method calls for it.
- Wash the sweatshirt. Then decide whether you like the faded result as-is or want to overdye it with another color.
Why this method works
Bleach removes or alters existing dye rather than adding pigment. The result is not always white. Depending on the fabric and original dye, it may turn orange, tan, peach, rust, or pale gold. That surprise is part science, part fabric mystery, and part fashion adventure. If you want more control afterward, you can overdye the lightened areas with fiber-reactive or all-purpose dye.
Pro tip
Never assume all dark sweatshirts bleach the same way. Test first if you can. Some fabrics lift beautifully; others look like they had a rough afternoon. Also, avoid using bleach on garments with spandex or delicate trims unless the care label says it is safe.
Common Mistakes When Dyeing a Sweatshirt
Skipping the prewash
This is one of the fastest ways to get blotchy, uneven color.
Ignoring fiber content
If you use the wrong dye on a polyester-heavy sweatshirt, the color may turn out pale, patchy, or barely there. That is not the dye being rude. That is chemistry doing its job.
Using too little water or not stirring enough
For a dye bath, cramped fabric often means uneven color. The sweatshirt needs room to move.
Expecting the dry color to look exactly like the wet color
Wet fabric almost always looks darker. Try not to panic halfway through and accidentally create a sweatshirt the color of midnight regret.
Washing it with other clothes too soon
Freshly dyed garments can release excess color during the first few washes. Give your other laundry a day off.
How to Care for a Dyed Sweatshirt
Once your masterpiece is complete, treat it kindly. Wash it in cold water, especially for the first several washes. Turn it inside out if you want to help preserve the color and surface texture. Use a mild detergent, skip bleach unless the project specifically calls for it, and avoid blasting it with high heat. Air drying is gentle; low heat is usually the safer machine option. A little caution here helps the color last longer and keeps your creation looking intentional instead of exhausted.
Final Thoughts
Dyeing a sweatshirt is one of the easiest ways to upgrade something basic, faded, or thrifted into something personal. If you want a clean everyday staple, choose a solid dye bath. If you want bold personality, try tie-dye or ice dye. If you want drama, depth, and a cool vintage feel, go for reverse dyeing. The right method depends on the sweatshirt, the fiber blend, and your tolerance for happy surprises.
The best part is that sweatshirt dyeing sits in that sweet spot between practical and creative. You get to rescue a garment, customize your wardrobe, and pretend you are on a craft show with better snacks. Start simple, follow the fiber content, and do not be afraid of a little experimentation. Some of the best-looking sweatshirts happen because a plan worked almost exactly the way it was supposed to.
Extra: Real-World Experiences and Lessons from Dyeing Sweatshirts
Anyone who has dyed more than one sweatshirt will tell you the same thing: the first project teaches you the rules, and the second project teaches you humility. One of the most common experiences is discovering that sweatshirts are not all made equal, even when they look almost identical on the rack. A thick 100% cotton crewneck can drink up color beautifully and come out rich and saturated, while a soft 50/50 fleece blend sitting right next to it may deliver a more muted, heathered result. That difference surprises a lot of beginners, but once you see it happen, you stop guessing and start checking tags like your reputation depends on it.
Another frequent experience is underestimating how much prep matters. People tend to think the exciting part is the color, but the boring step, prewashing, is often what separates a great finish from a streaky one. A sweatshirt that looked clean enough can still hold invisible finishes, detergent residue, or softener buildup. The first time you dye a garment without washing it first and end up with weird pale patches across the chest, you suddenly become a prewash evangelist. It is character development.
Tie-dye projects bring their own lessons. A lot of people start with the classic spiral, only to realize halfway through that a sweatshirt is bulkier than a T-shirt. The extra thickness means you need more dye than expected, and you have to work both sides carefully if you want the pattern to carry through. That said, the thickness is also part of the magic. On a sweatshirt, tie-dye often looks softer, deeper, and more textured than it does on thinner fabric. Even a simple scrunch pattern can look expensive when the fleece takes the color in an uneven, cloudlike way.
Reverse dyeing is where people usually have their biggest surprise. Many expect bleach to turn black fabric white, but that is rarely what happens. More often, the sweatshirt shifts to copper, orange, tan, or even a warm pinkish beige. Some people love that weathered look immediately. Others stare at it for ten full seconds in silence before deciding to overdye it with blue, green, or burgundy. Either way, that moment teaches an important truth: dyeing is part planning and part reaction. The best results come when you work with the garment instead of trying to boss it around.
There is also the universal experience of rinsing a freshly dyed sweatshirt and wondering if the color is leaving forever. It usually looks dramatic. The sink turns into a small art film. But that first rinse is normal. The trick is patience. Keep rinsing, wash the sweatshirt separately, and let it dry fully before judging the final shade. Many people think they failed while the garment is wet, only to pull it out dry and realize it looks exactly like the cool vintage piece they were hoping for. In other words, sweatshirt dyeing rewards calm hands, low expectations, and a willingness to trust the process just a little longer than feels comfortable.