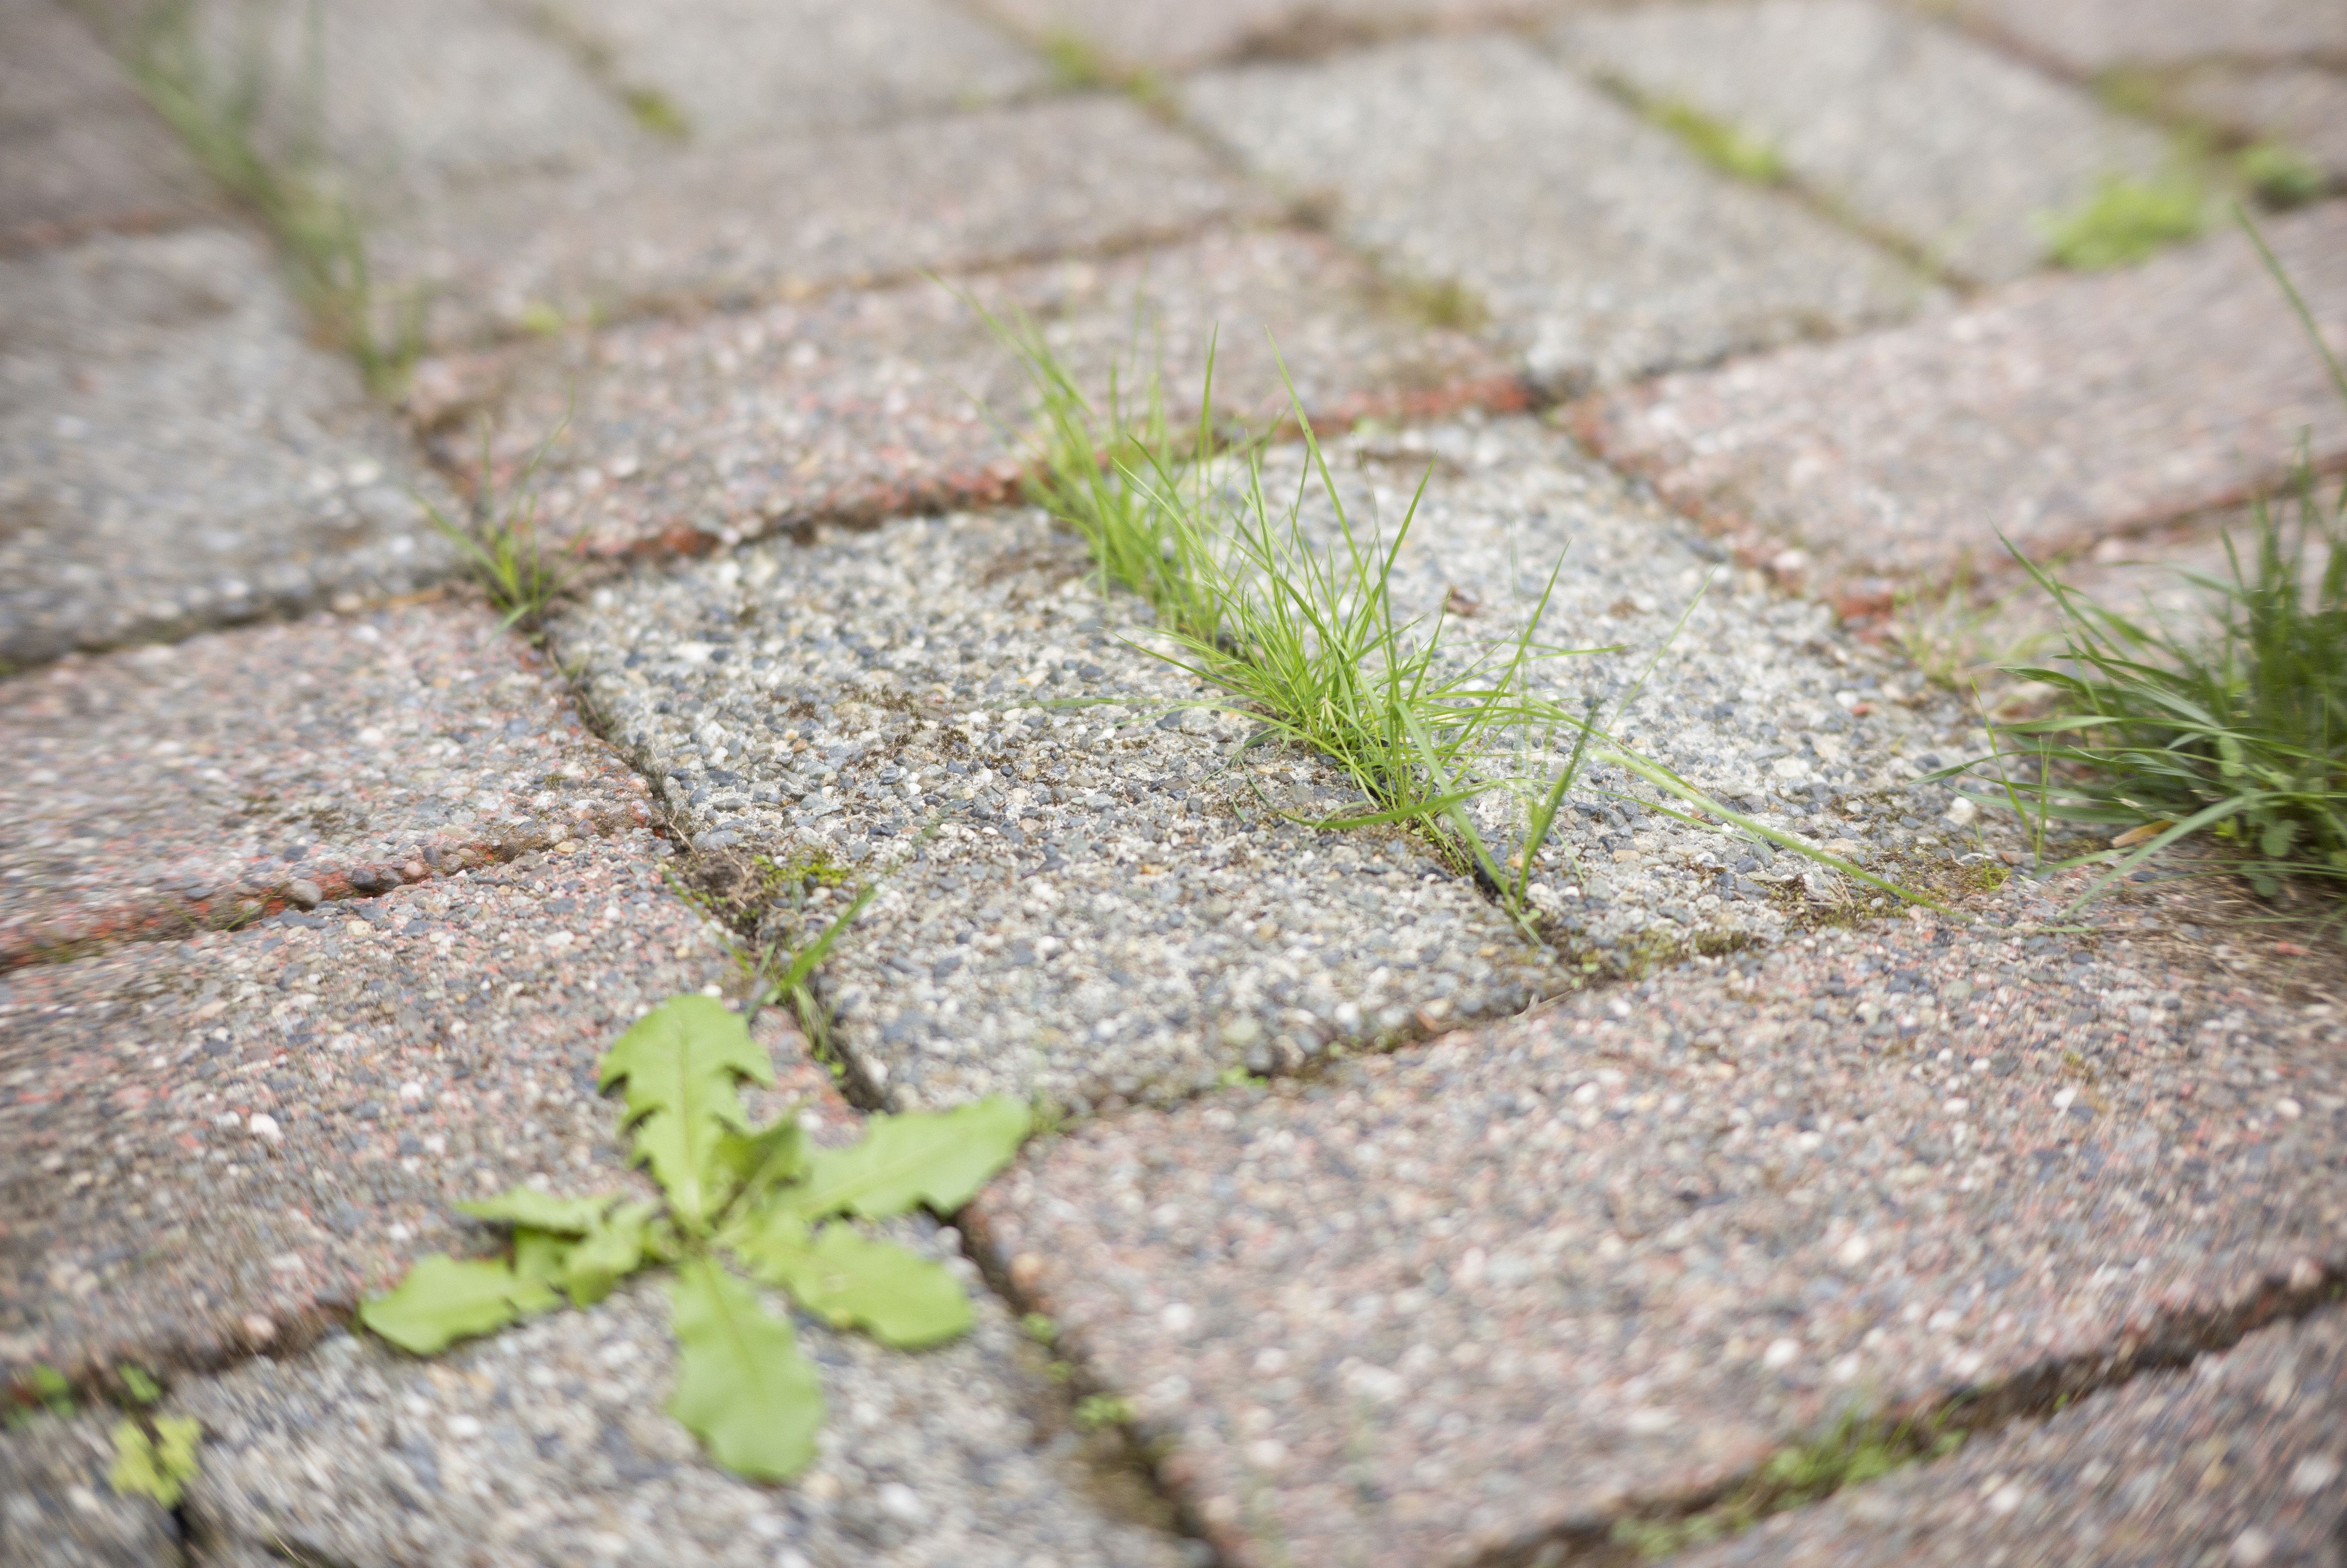
Weeds between patio pavers are the backyard equivalent of glitter: you remove it once, and somehow it shows up again in places you swear you didn’t even touch.
The good news? You don’t need to “accept your fate” or start naming the dandelions like they’re roommates. With the right approach (and a little strategy),
you can clear those joints and keep them looking sharp for the long haul.
This guide walks you through six proven methodsranging from quick, chemical-free fixes to longer-term solutions that make weeds think twice about moving in.
You’ll also get practical tips, safety notes, and examples for choosing the best method based on how stubborn the growth is.
Quick Jump Menu
- Why weeds love paver joints
- 1) Hand pulling + joint tools
- 2) Boiling water (hot, simple, surprisingly effective)
- 3) Flame weeding (the “tiny dragon” approach)
- 4) Vinegar/acetic-acid weed sprays (use with care)
- 5) Targeted herbicides (the last-resort option)
- 6) Remove and replace joint sand with polymeric sand
- How to prevent weeds from coming back
- Real-world experiences
Why Weeds Love Paver Joints
Here’s the sneaky truth: weeds don’t need much “soil” to thrive. The cracks between pavers collect windblown dust, decomposing leaves, lawn clippings,
and fine sediment. Add moisture, sun, and a few seedsand suddenly the joints become a tiny luxury condo complex for opportunistic plants.
Some “weeds” are actually grasses, moss, or small seedlings that root in the joint sand. Others are tougher perennials that wedge themselves in and laugh at
your weekend plans. The key is to match the method to what you’re fighting:
- Light, new growth: hand pulling, boiling water, light contact sprays.
- Established weeds or recurring patches: flame weeding, stronger contact sprays, targeted herbicides.
- Weeds everywhere + loose joints: resanding (especially polymeric sand) is often the real “fix,” not just the cleanup.
1) Hand Pulling + Joint Tools
Hand pulling is underrated. It’s also the most satisfying if you enjoy the tiny victory of extracting a weed root in one clean piecelike removing a splinter
you didn’t know was ruining your entire mood.
Best for
- Small areas or scattered weeds
- Young weeds before roots anchor deep
- Edges where sprays or heat could hit nearby plants
How to do it
- Soften the area first: Lightly water the patio or work after rain so roots release more easily.
-
Use the right tool: A narrow paver weeding tool, crack weeder, old flathead screwdriver, or a skinny weeding knife helps pry roots out of
tight joints. - Pull low and slow: Grip close to the base and pull steadily to reduce breakage.
- Refill the joints: If pulling removes joint sand, top it up afterward (more on this in Method #6).
Pro tip
If you’re getting mostly green tops with broken roots, don’t take it personallysome weeds are built like little underground octopuses. That’s when you pair
hand pulling with a follow-up method (boiling water, flame, or a targeted spot treatment).
2) Boiling Water (Hot, Simple, and Surprisingly Effective)
Boiling water is one of the most accessible ways to kill weeds in paver cracks. It damages plant tissue on contact and can weaken rootsespecially for small
weeds that haven’t had time to build a deep survival system.
Best for
- Small-to-medium areas
- Spot-treating weeds near kids/pets when you want to avoid chemicals
- Early infestations
How to do it safely
- Boil water in a kettle: A spout gives better control than dumping from a pot like you’re auditioning for a medieval cooking show.
- Wear closed-toe shoes: Splashes happen fast. Feet are not heatproof.
- Pour slowly and precisely: Aim directly at the weed crowns and into the joint.
- Repeat if needed: Stubborn patches often need a second treatment a few days later.
What to expect
You’ll usually see wilting within hours. Some weeds may bounce back if the roots are protected deep in the joint or base layer. If that happens, don’t call
it a failurecall it “Round 1” and follow up with Method #6 (resanding) or a more aggressive spot treatment.
3) Flame Weeding (The “Tiny Dragon” Approach)
Flame weeders (propane torches designed for weeding) work by applying intense heat that ruptures plant cells. You’re not trying to cremate the weed into ash;
you’re trying to heat it enough that it can’t function normally afterward.
Best for
- Dry, hard surfaces like pavers, gravel edges, and stone paths
- Weeds that keep reappearing in the same joints
- People who want quick results without spraying liquids everywhere
Safety first (seriously)
- Avoid windy days: Flame plus gusts equals chaos.
- Watch dry grass, mulch, and debris: Clear the area around the pavers before you start.
- Keep a hose or extinguisher nearby: Backyard confidence is greatbackyard fires are not.
- Wear protective clothing: Closed-toe shoes, long pants, and avoid loose fabric.
How to use a flame weeder
- Sweep the patio first: Remove dry leaves and organic debris from joints and edges.
- Pass the flame briefly: A quick sweep over each weed is typically enough.
- Wait and watch: Weeds often collapse over the next day rather than instantly disappearing.
- Repeat on tough weeds: Perennials may need multiple treatments.
If you have pavers next to wooden structures, fences, dry landscaping, or anything you’d describe as “kindling-adjacent,” choose a different method.
This is weed control, not a special-effects budget.
4) Vinegar/Acetic-Acid Weed Sprays (Use With Care)
Vinegar-based weed control is popular because it feels “natural.” But “natural” doesn’t mean “harmless,” and it doesn’t mean “works the way you want.”
Here’s the reality: acetic acid acts as a contact weed killerit damages the parts it touches (mostly foliage), and it often doesn’t kill
deep roots the first time.
Best for
- Small weeds and seedlings in joints
- Dry, sunny conditions (contact sprays typically perform better when weeds are actively growing)
- Hardscape-only areas away from desirable plants
Important caution
Household vinegar is commonly around 5% acetic acid, while “horticultural” or herbicidal vinegar products can be far stronger. Higher concentrations can
irritate or burn skin and seriously damage eyes. If you use any stronger acetic-acid product, treat it like a real pesticide: gloves, eye protection, and
careful application are non-negotiable.
How to apply (responsibly)
- Choose a calm, dry day: Wind carries spray into your flower beds like it’s delivering sabotage.
- Spot treat only: Aim at the leaves in the joint, not the soil around your patio.
- Use a shield if needed: A piece of cardboard or plastic can protect nearby plants from overspray.
- Expect repeat rounds: Many weeds will need a second application.
What to avoid
Many DIY recipes online mix vinegar with salt and dish soap. The problem is salt can damage surrounding soil and make it hostile to nearby plants long after
the weed is gone. If runoff reaches garden beds, you may win the crack-weeds battle and lose the landscaping war.
5) Targeted Herbicides (The Last-Resort Option)
If weeds are deeply establishedespecially perennial weeds that return like they’re paying rentan herbicide may be the most efficient option.
This method works best when you treat weeds as a spot problem, not a “spray everything everywhere” situation.
Best for
- Large infestations where manual and heat methods aren’t practical
- Deep-rooted perennial weeds that keep returning
- Joints where you plan to resand afterward (so you’re not leaving bare gaps)
How to do it safely and effectively
- Pick the right product: Look for products labeled for cracks, walkways, and patios, and read the label fully.
- Apply on a calm day: Wind drift is the fastest way to accidentally “weed” your favorite plants.
- Use a narrow application method: A foam brush, sponge applicator, or careful trigger spray can keep it in the joint.
- Keep people and pets away: Follow label instructions for re-entry time and drying time.
- Don’t skip the follow-up: Once weeds die back, remove debris and refill joints so new seeds don’t move in.
A reality check
Even the best herbicide doesn’t fix the underlying reason weeds keep returning: open joints holding organic debris. If you only spray and walk away,
you’re basically telling new seeds, “Feel free to move inthere’s plenty of space.” Pair this method with joint maintenance (Method #6).
6) Remove and Replace Joint Sand With Polymeric Sand (The Long-Term Play)
If you want fewer weed battles next season, this is often the method that makes the biggest difference. Polymeric sand is designed to fill paver joints and
harden after activation, making it harder for weeds to take root and for ants to excavate the joints like they’re renovating.
Best for
- Patios where joint sand is missing, loose, or full of debris
- Recurring weeds across wide areas
- Pavers that shift or feel unstable because joints are empty
Step-by-step overview
- Clear the joints: Pull weeds, scrape out organic debris, and remove loose sand.
-
Clean carefully: Light pressure washing can remove gunk, but too much pressure can blast out joint sand (and create more work). If you do
pressure wash, plan to resand afterward. - Let everything dry: Moisture in joints can interfere with proper setting and lead to uneven results.
- Sweep polymeric sand into joints: Use a stiff broom and work it in from multiple directions until joints are well-packed.
- Remove excess sand from the surface: Don’t leave residue on paversfollow product instructions closely.
- Activate with water: Mist or gently water per the label so the sand binds correctly.
Why this works
Weeds don’t just appear because nature is mean (although it sure feels like it). They appear because joints collect “mini-soil.”
Polymeric sand reduces the open, fluffy environment that seeds loveand it helps keep joints intact so debris doesn’t build up as easily.
How to Keep Weeds From Coming Back
Weed control between pavers isn’t a single event. It’s a system. The goal is to remove what’s there, then make the joints less welcoming to future squatters.
Here are habits that keep your patio looking sharp without turning your weekends into an endless crack-weeding marathon.
1) Sweep regularly (yes, it matters)
Leaves, lawn clippings, soil, and mulch fragments are weed-fuel. A quick sweep every week or two (especially after mowing) can reduce the “free compost”
that collects between pavers.
2) Address weeds when they’re small
Tiny weeds are easy. Mature weeds are a project. Catching early growth is one of the most effective “prevention” tactics because you stop roots from
establishing deep in the joint base.
3) Keep joints filled
Empty joints catch debris faster and give seedlings the perfect place to root. Whether you use regular joint sand or polymeric sand, keeping joints topped up
makes a real difference.
4) Use pressure washing wisely
Pressure washing can make pavers look great, but it can also blast joint sand outcreating a blank invitation for new weed seeds. If you pressure wash,
plan to replace joint sand afterward.
5) Avoid the “salt solves everything” trap
Salt may kill weeds, but it can also linger, move with runoff, and harm nearby soil and plants. In other words: it’s a short-term win with long-term
consequences, especially around lawns and garden beds.
Real-World Experiences: What People Learn After a Few Weed Battles (500+ Words)
You can read a dozen “weed removal hacks,” but real life tends to teach the same lessons with more drama and less formatting. Below are common experiences
homeowners and DIYers report when dealing with weeds between patio paversshared here as practical scenarios, so you can skip the messy trial-and-error part.
Experience #1: “I pulled them all… and they came back in two weeks.”
This is probably the most common complaintand it’s usually not because the pulling was “wrong.” It’s because the cracks still contain fine debris and open
joint sand that works like a seed nursery. After you pull weeds, the joint may look clean, but microscopic organic matter (and a whole seed bank) can remain.
That’s why people often see better results when they pull weeds, then follow up with a second step: boiling water, a brief flame pass, or resanding.
Think of pulling as removing the visible problem, and the follow-up as addressing what you can’t see.
Experience #2: “Boiling water worked… but only on the small ones.”
Boiling water is awesome for seedlings and shallow-rooted growth. Where it struggles is with weeds that have deep roots or multiple crowns.
Many homeowners end up loving boiling water as a maintenance tool: once the patio is mostly clean, they do quick spot treatments whenever new sprouts appear.
A kettle with a controlled spout often becomes the “patio weed patrol” devicefast, cheap, and no chemical storage needed.
Experience #3: “I tried vinegar and accidentally ‘weeded’ my flower bed too.”
Vinegar-based sprays can be effective, but they’re famous for collateral damage. The lesson people learn is that overspray and runoff are real.
Even careful sprayers discover that the edge of a patio is where liquids collect, and that’s often exactly where your best plants live.
Folks who get good results tend to do three things: they spray only in calm weather, shield nearby plants with cardboard, and accept that repeat treatments
may be necessary. They also discover quickly that stronger acetic-acid products deserve real PPE, not wishful thinking.
Experience #4: “The torch was incredibly satisfying… and also terrifying.”
Flame weeding delivers instant gratification: you see the weed react, and it feels like you’re finally “winning.” But many people also realize how quickly
a torch can ignite dry grass at the edges, or how easily it can scorch nearby plantings if you linger. The best experiences come from using flame weeders
as a controlled tool: short passes, cleared edges, no windy days, and a hose nearby. Most people who stick with flame weeding use it as routine maintenance,
not a once-a-year bonfire event.
Experience #5: “Pressure washing made everything look great… and then worse.”
Pressure washing can remove weeds and grime, but it often blasts joint sand out with the dirt. If joints aren’t refilled, they become deeper catch basins for
debris, which means weeds return even faster. The “aha” moment comes when homeowners treat pressure washing as step one of a two-step process:
clean, dry, then refill joints. Done that way, pressure washing can be a helpful resetnot a temporary cosmetic fix.
Experience #6: “Polymeric sand was the turning point.”
People who finally get lasting improvement tend to describe polymeric sand as the moment the patio stopped feeling like an endless chore.
The key is doing the prep: joints must be clean, the surface needs to be cleared of dust and leftover sand, and activation has to follow the instructions.
When it’s done well, weeds don’t vanish forever (nature is persistent), but the frequency and intensity of regrowth often drops dramatically.
Many homeowners shift from “every weekend warfare” to quick spot touch-upsa much better lifestyle for everyone involved.
If there’s one overall lesson: the most effective weed control usually isn’t one magic trick. It’s a comboremove what’s there, then change the joint
conditions so new weeds have a harder time getting established. Your patio doesn’t need constant battles. It needs a better defense system.