Note: Stainless steel is not a coated nonstick surface, and that is exactly why cooks love it. It can sear, brown, deglaze, and survive years of kitchen drama. But with the right heat control and fat technique, you can make stainless steel behave beautifully stick-resistant for eggs, fish, chicken, vegetables, pancakes, and more.
Why Stainless Steel Sticks in the First Place
Stainless steel has a reputation for being the pan that “punishes” impatient cooks. Add a cold egg to a cold pan, and suddenly breakfast becomes abstract art. The truth is less dramatic: food sticks because proteins and starches bond to the metal surface when the pan is too cool, too dry, too dirty, or too hot.
Unlike traditional nonstick cookware, stainless steel has no slippery chemical coating. That is good news for durability, high-heat cooking, and deep browning. It also means the cook has to create the barrier. That barrier can be a cushion of vapor, a thin layer of hot oil, or both. Once you understand that, stainless steel stops feeling mysterious and starts feeling like the loyal kitchen workhorse it was always meant to be.
The goal is not to permanently turn stainless steel into Teflon. You are not casting a spell, although the water-drop test does look a little wizardly. The goal is to make food release naturally by heating the pan correctly, adding fat at the right time, and giving the food a chance to form a crust before you poke it like a nervous squirrel.
The Two Hacks That Actually Work
There are many internet tricks for making stainless steel nonstick, but two methods consistently deliver real results: the water-drop preheat method and the hot-pan, hot-oil barrier method. Together, they solve the most common reason stainless steel food sticks: poor timing.
Hack #1: Use the Water-Drop Test Before Adding Food
The water-drop test, sometimes called the mercury ball test, helps you know when a stainless steel pan is properly preheated. It is simple, fast, and oddly satisfying. When the pan reaches the right temperature, a few drops of water will bead up and glide around the surface instead of instantly evaporating.
How to Do the Water-Drop Test
- Place a clean, dry stainless steel pan on the stove.
- Set the burner to medium or medium-low heat.
- Let the pan preheat for about 2 to 4 minutes, depending on your stove and pan thickness.
- Flick a few drops of water into the pan.
- If the water sizzles and disappears immediately, the pan is not ready.
- If the water breaks into many tiny frantic beads, the pan may be too hot.
- If the water forms one or two smooth balls that glide across the pan, you are in the sweet spot.
That dancing water tells you the pan is hot enough to create a temporary vapor barrier between the food and the metal. This effect is especially useful when cooking foods that love to cling, such as eggs, tofu, fish fillets, and thin chicken cutlets.
Why This Hack Works
When stainless steel gets hot enough, water vaporizes so quickly that it forms a tiny cushion under the droplet. That cushion keeps the water from sitting directly on the pan, so the droplet skates around instead of boiling away. For food, proper preheating helps reduce direct bonding between the ingredient and the metal surface.
This does not mean you should cook everything at screaming-hot temperatures. A pan that is too hot can burn oil, scorch food, and turn a delicate omelet into a rubber welcome mat. After the water-drop test succeeds, lower the heat slightly before adding oil or food, especially for eggs, fish, and dairy-based batters.
Best Foods for the Water-Drop Method
This hack works well for scrambled eggs, fried eggs, pancakes, crepes, fish, shrimp, tofu, vegetables, and thin cuts of meat. It is also useful when reheating leftovers that tend to glue themselves to the pan, such as rice, potatoes, and noodles.
For thick steaks or chicken thighs, the water-drop test can still help, but those foods usually release when a proper crust forms. In other words, do not force the flip. When meat is ready, it often lets go with only a gentle nudge from a spatula. If it fights back, give it another minute. Stainless steel rewards patience, not panic.
Hack #2: Heat the Pan First, Then Add Oil
The second hack is the classic stainless steel rule: hot pan, then oil, then food. The order matters. Adding oil to a cold stainless steel pan and heating everything together can leave the oil sitting too long on the surface. It may thicken, smoke, or form sticky patches before the food ever arrives.
Instead, preheat the empty pan first. Once the pan passes the water-drop test, wipe out any remaining water, add a thin layer of oil, swirl it around, and wait just a few seconds until it shimmers. Then add your food.
How to Use the Hot Oil Barrier
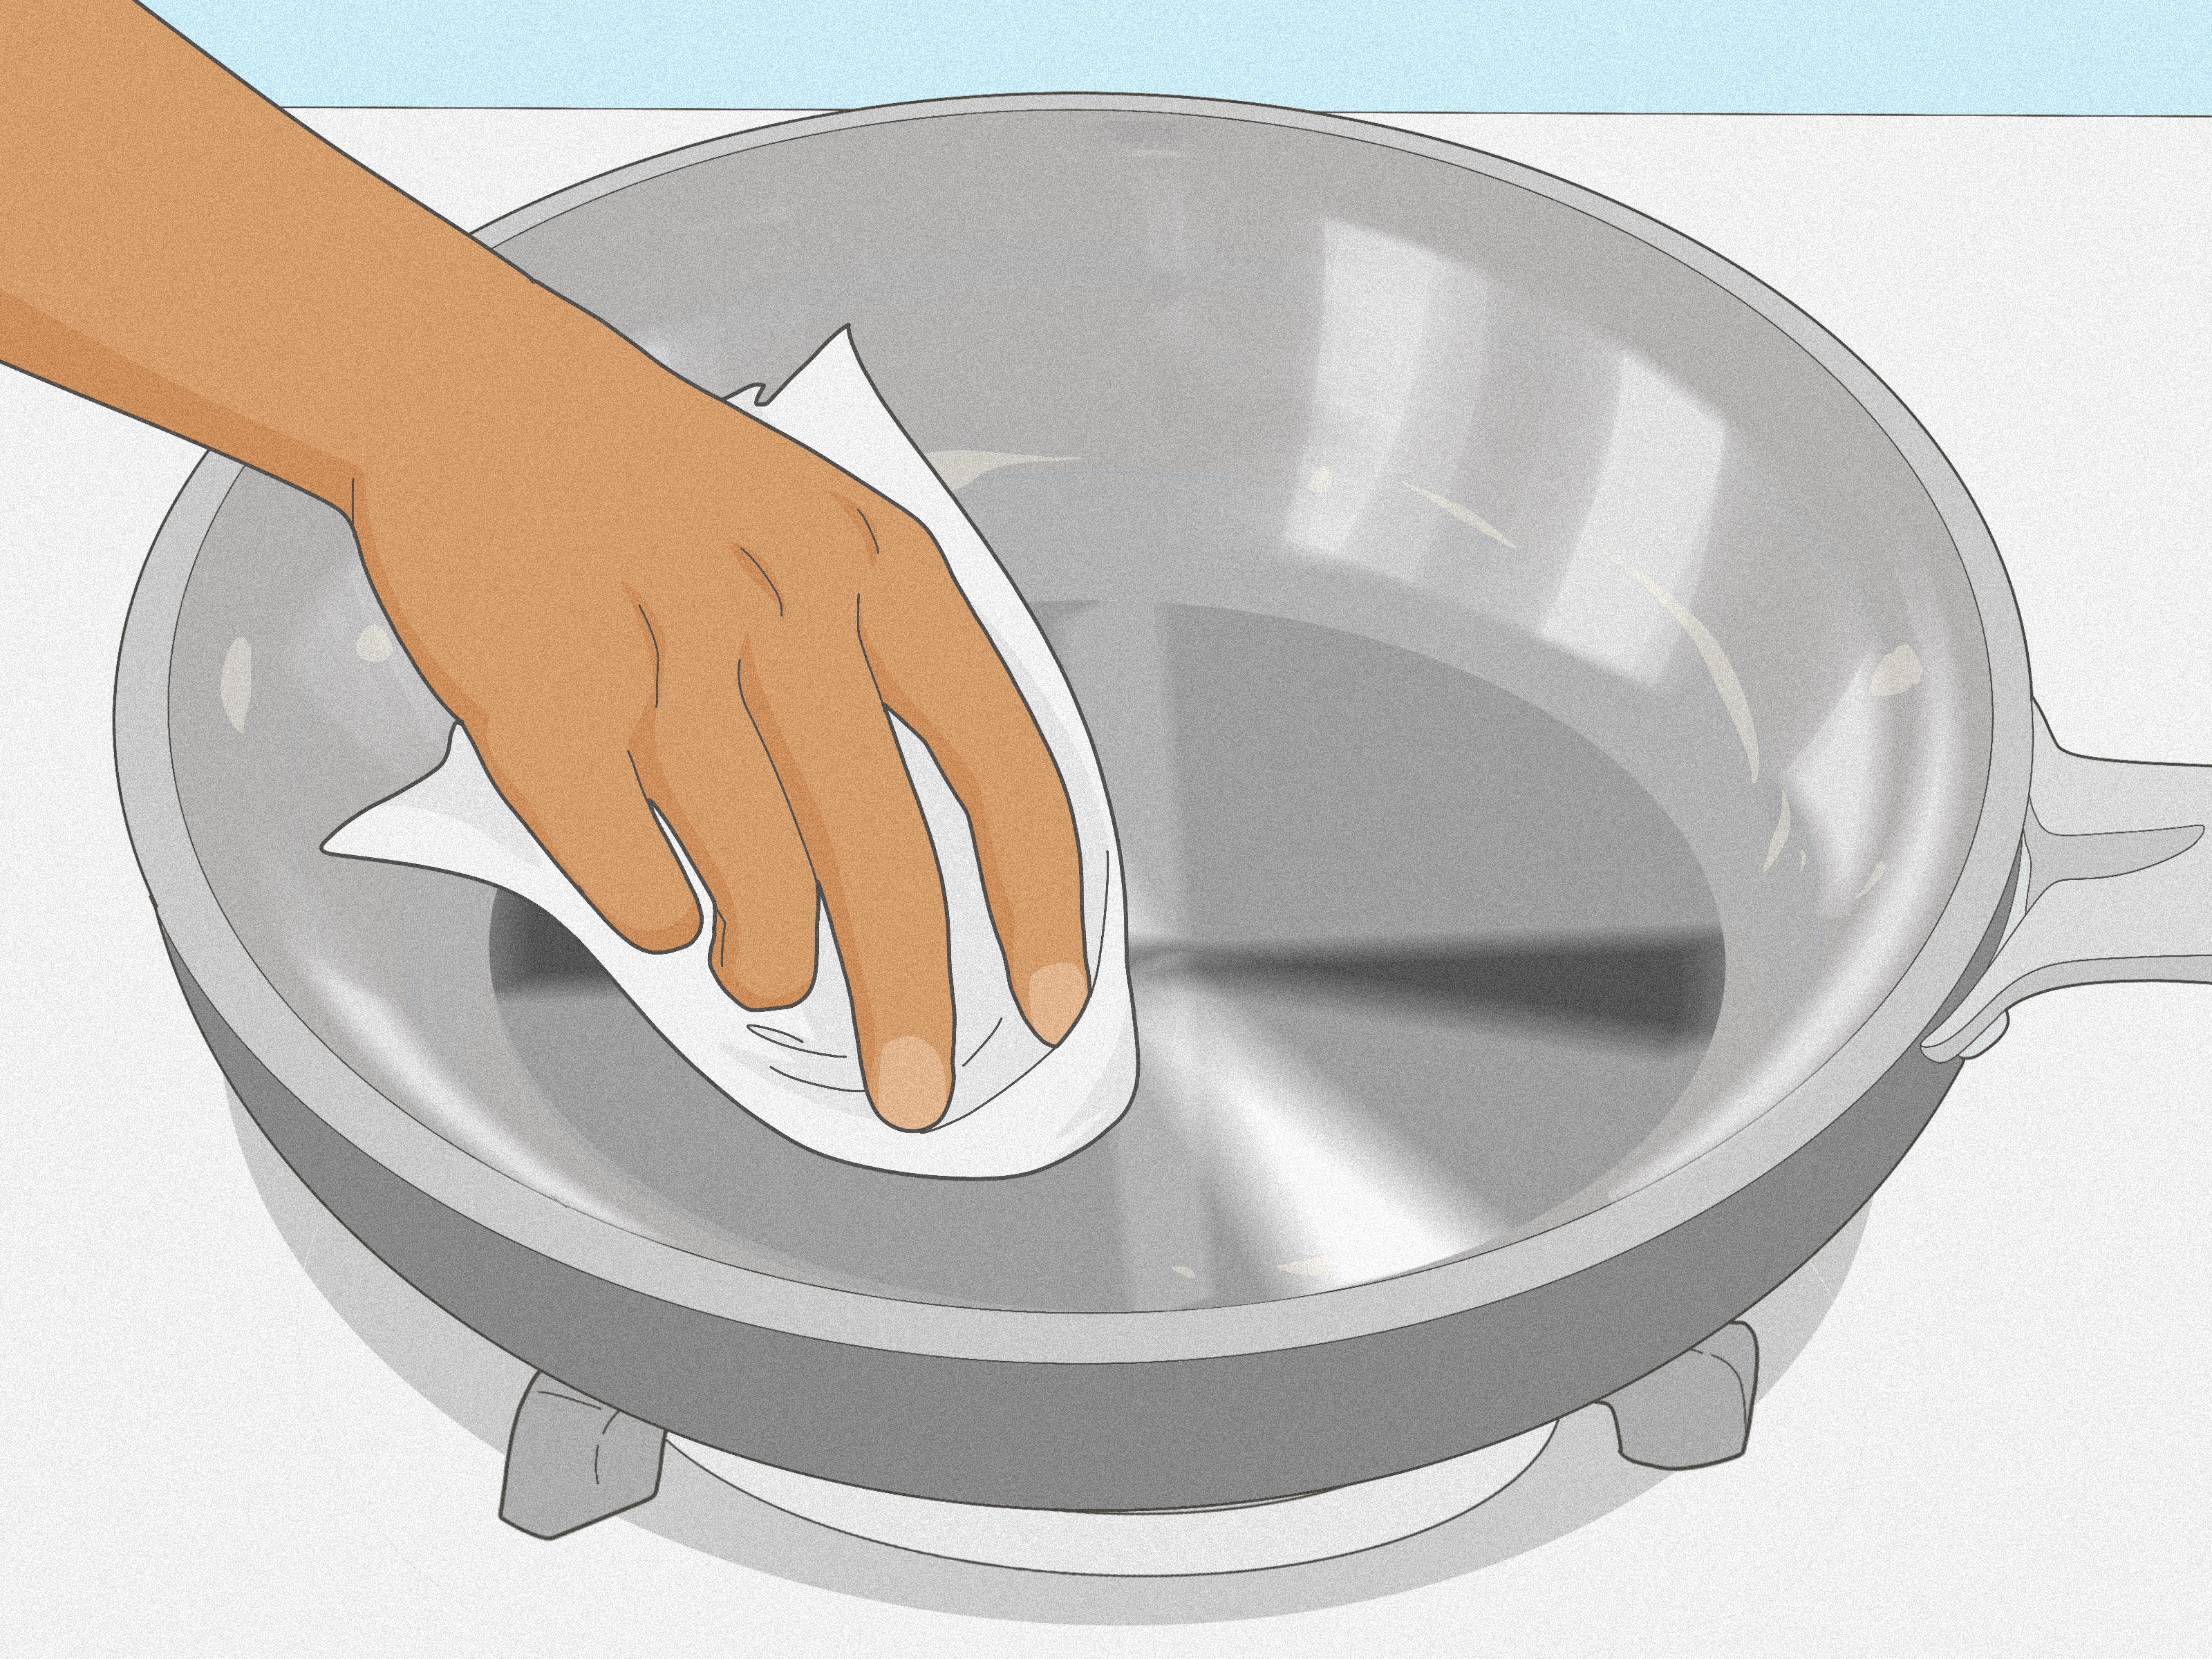
- Preheat your clean stainless steel pan over medium heat.
- Perform the water-drop test.
- Once the water beads and glides, reduce the heat slightly.
- Dry the pan if needed.
- Add enough oil to lightly coat the cooking surface.
- Swirl the oil so it spreads evenly.
- When the oil looks thin and shimmery, add the food.
- Let the food cook undisturbed until it naturally releases.
For most cooking, one to two teaspoons of oil is enough for an 8- to 10-inch skillet. For eggs, pancakes, fish, or tofu, use a little more. Stainless steel is not the place to prove you can cook a fried egg with half a molecule of olive oil. Give the pan a fair chance.
Which Oils Work Best?
Choose oils that can handle moderate to moderately high heat. Avocado oil, canola oil, grapeseed oil, refined olive oil, sunflower oil, and vegetable oil are all practical options. Butter tastes wonderful, but it burns more easily because of its milk solids. For better results, add a little oil first, then add butter for flavor after the pan is no longer aggressively hot.
Extra virgin olive oil can work for medium-heat cooking, especially vegetables or eggs, but avoid overheating it until it smokes. Smoking oil is not a badge of honor. It means the fat is breaking down, flavor is suffering, and your smoke alarm is about to perform its solo.
How to Make Eggs Not Stick to Stainless Steel
Eggs are the final exam of stainless steel cooking. If you can cook eggs in stainless steel, you can handle almost anything. The trick is gentle heat, enough fat, and room-temperature eggs when possible.
For Fried Eggs
Preheat the pan over medium-low heat. Use the water-drop test, then lower the heat. Add oil or a mix of oil and butter. When the fat is hot but not smoking, add the egg. Let the whites set before moving it. If the egg sticks, the pan may have been too cold, too dry, or too hot.
For Scrambled Eggs
Use medium-low heat and more fat than you think you need. Stainless steel scrambled eggs prefer a gentle approach. Stir slowly with a silicone spatula and remove the eggs just before they look fully done. Residual heat will finish them.
How to Make Fish Release Cleanly
Fish is delicate, which is a polite way of saying it falls apart if you look at it with too much confidence. Dry the fish thoroughly with paper towels before cooking. Moisture on the surface turns into steam and blocks browning.
Preheat the pan, add oil, and place the fish presentation-side down. Then leave it alone. As the surface browns, the fish will release more easily. Use a thin fish spatula and slide it gently underneath. If it resists, wait a little longer. Forcing fish too early is how dinner becomes fish confetti.
How to Sear Meat Without Sticking
For chicken, pork chops, steak, and burgers, dryness is your friend. Pat the meat dry before it goes into the pan. Season right before cooking, or salt in advance and let the surface dry in the refrigerator. Wet meat steams instead of sears, and steamed meat is rarely the hero of the plate.
Once the meat hits the hot oiled pan, do not move it immediately. Proteins initially grab onto the metal, then release as browning develops. This is why steak often sticks at first and then loosens after a few minutes. Let the crust do its job.
Common Mistakes That Make Stainless Steel Sticky
Adding Food Too Soon
If the pan is not fully preheated, food can bond to the metal before a barrier forms. This is the most common stainless steel mistake.
Using Heat That Is Too High
High heat sounds powerful, but stainless steel usually performs best at medium or medium-high heat. Too much heat can burn oil and make food stick harder.
Not Using Enough Oil
A dry pan is a sticky pan. You do not need a swimming pool of oil, but you do need a thin, even layer.
Moving Food Too Early
Food often releases when it is properly browned. Give it time before flipping, stirring, or scraping.
Cooking Straight-from-the-Fridge Ingredients
Very cold food can lower the pan temperature quickly. Let meat, eggs, and fish sit briefly at room temperature before cooking when food safety allows.
Using a Dirty Pan
Old oil residue, burned bits, and cloudy buildup can create sticky spots. A clean stainless steel pan is much easier to cook with.
Should You Season Stainless Steel Like Cast Iron?
You can create a temporary oil layer on stainless steel, but stainless steel does not need traditional seasoning the way cast iron or carbon steel does. Some cooks heat a thin film of oil until it bonds lightly to the surface, then wipe the pan clean. This may help short-term stick resistance, but it is not required and can lead to brown, sticky buildup if overdone.
The better everyday method is simpler: clean pan, proper preheat, hot oil, patient cooking. That routine gives you the benefits without turning your shiny skillet into something that looks like it survived a campfire argument.
How to Clean Stainless Steel After Sticky Cooking
Even when food sticks, stainless steel is forgiving. Let the pan cool slightly, then add warm water. For stuck-on browned bits, simmer water in the pan for a few minutes and scrape gently with a wooden spoon or silicone spatula. This is called deglazing, and it can become the start of a sauce if the browned bits are tasty instead of burned.
For stubborn stains, use baking soda and water to make a paste. For tougher discoloration, a stainless steel cleaner can help restore shine. Avoid harsh steel wool if you want to keep the surface smooth. Also avoid plunging a screaming-hot pan into cold water, which can cause warping.
Quick Troubleshooting Guide
Problem: Food sticks immediately
The pan was probably too cold, too dry, or not clean enough. Preheat longer and use enough oil.
Problem: Oil smokes before food goes in
The pan is too hot. Remove it from heat briefly, lower the burner, and try again.
Problem: Eggs bubble violently
The pan may be too hot for eggs. Use medium-low heat and add fat after preheating.
Problem: Meat sticks when flipping
It may not be browned enough yet. Wait another minute and try again gently.
Problem: Brown residue stays after washing
Oil may have overheated or polymerized unevenly. Clean with baking soda paste or a stainless steel cleaner.
Personal Cooking Experience: What Actually Changed My Stainless Steel Results
The biggest lesson from cooking with stainless steel is that the pan is not difficult; it is honest. It tells you when you rushed. It tells you when the oil was too cold. It tells you when you tried to flip chicken after 23 seconds because you were “just checking.” Stainless steel has no interest in protecting your ego, but it will absolutely reward your attention.
One of the most useful habits is preheating slowly. Many beginners blast the burner to high because they want the pan ready immediately. That usually creates hot spots, smoking oil, and food that burns before it releases. Medium heat is boring, but boring is powerful. A stainless steel skillet heated gradually over medium heat becomes more even, more predictable, and much easier to cook with.
The water-drop test is especially helpful because it gives you a visual cue. Instead of guessing, you can see the pan’s readiness. When the water skitters around like a tiny silver marble, the pan is speaking your language. At that point, lowering the heat slightly is important. Many cooks pass the water test and then keep heating aggressively, which sends the pan from perfect to volcanic. For eggs and fish, that extra minute can be the difference between a clean release and a sticky disaster.
Another experience-based tip is to dry food more than you think necessary. Pat chicken, fish, tofu, and even vegetables with paper towels before cooking. Surface moisture causes steam, and steam prevents browning. A dry ingredient entering a hot, lightly oiled pan has a much better chance of forming a crust and releasing cleanly.
For eggs, use more fat and lower heat. It may feel like cheating, but it is simply good technique. A stainless steel pan can cook a fried egg beautifully, but it does not forgive dry, high-heat egg cooking. A small pat of butter with a little oil creates better flavor and better release. Let the egg sit until the edges set before sliding a spatula underneath.
For meat, the best trick is emotional restraint. Put the meat in the pan and leave it alone. Do not shove it, lift it, poke it, rotate it, or interrogate it. As the crust develops, the meat loosens. The pan is not betraying you when the meat sticks at first; it is building flavor. Once you understand that, stainless steel becomes much less intimidating.
Cleaning also becomes easier when you accept that browned bits are not always failure. If the bits are golden to deep brown, add a splash of water, broth, wine, or vinegar and scrape them up to make a quick pan sauce. If they are black and bitter, that is not fond; that is a small kitchen tragedy. Lower the heat next time.
After repeated use, the pattern becomes obvious: stainless steel rewards preparation. Clean pan. Medium heat. Water-drop test. Oil shimmer. Dry food. Patience. That is the whole game. Once those steps become automatic, cooking on stainless steel feels less like wrestling and more like driving a well-built car. It may not have autopilot, but it gives you control, power, and excellent results when you steer properly.
Conclusion
Learning how to make stainless steel nonstick is really learning how to control heat, fat, and timing. The two best hacks are simple: preheat the pan until water beads and glides, then add oil after the pan is hot. These steps create a temporary barrier that helps food release instead of bonding to the metal.
Stainless steel will never be exactly like a coated nonstick pan, and that is a good thing. It browns better, lasts longer, handles higher heat, and gives you those delicious browned bits that turn into sauces worthy of applause. With a little practice, your stainless steel pan can handle eggs, fish, meat, vegetables, and more without turning dinner into a scraping workout.