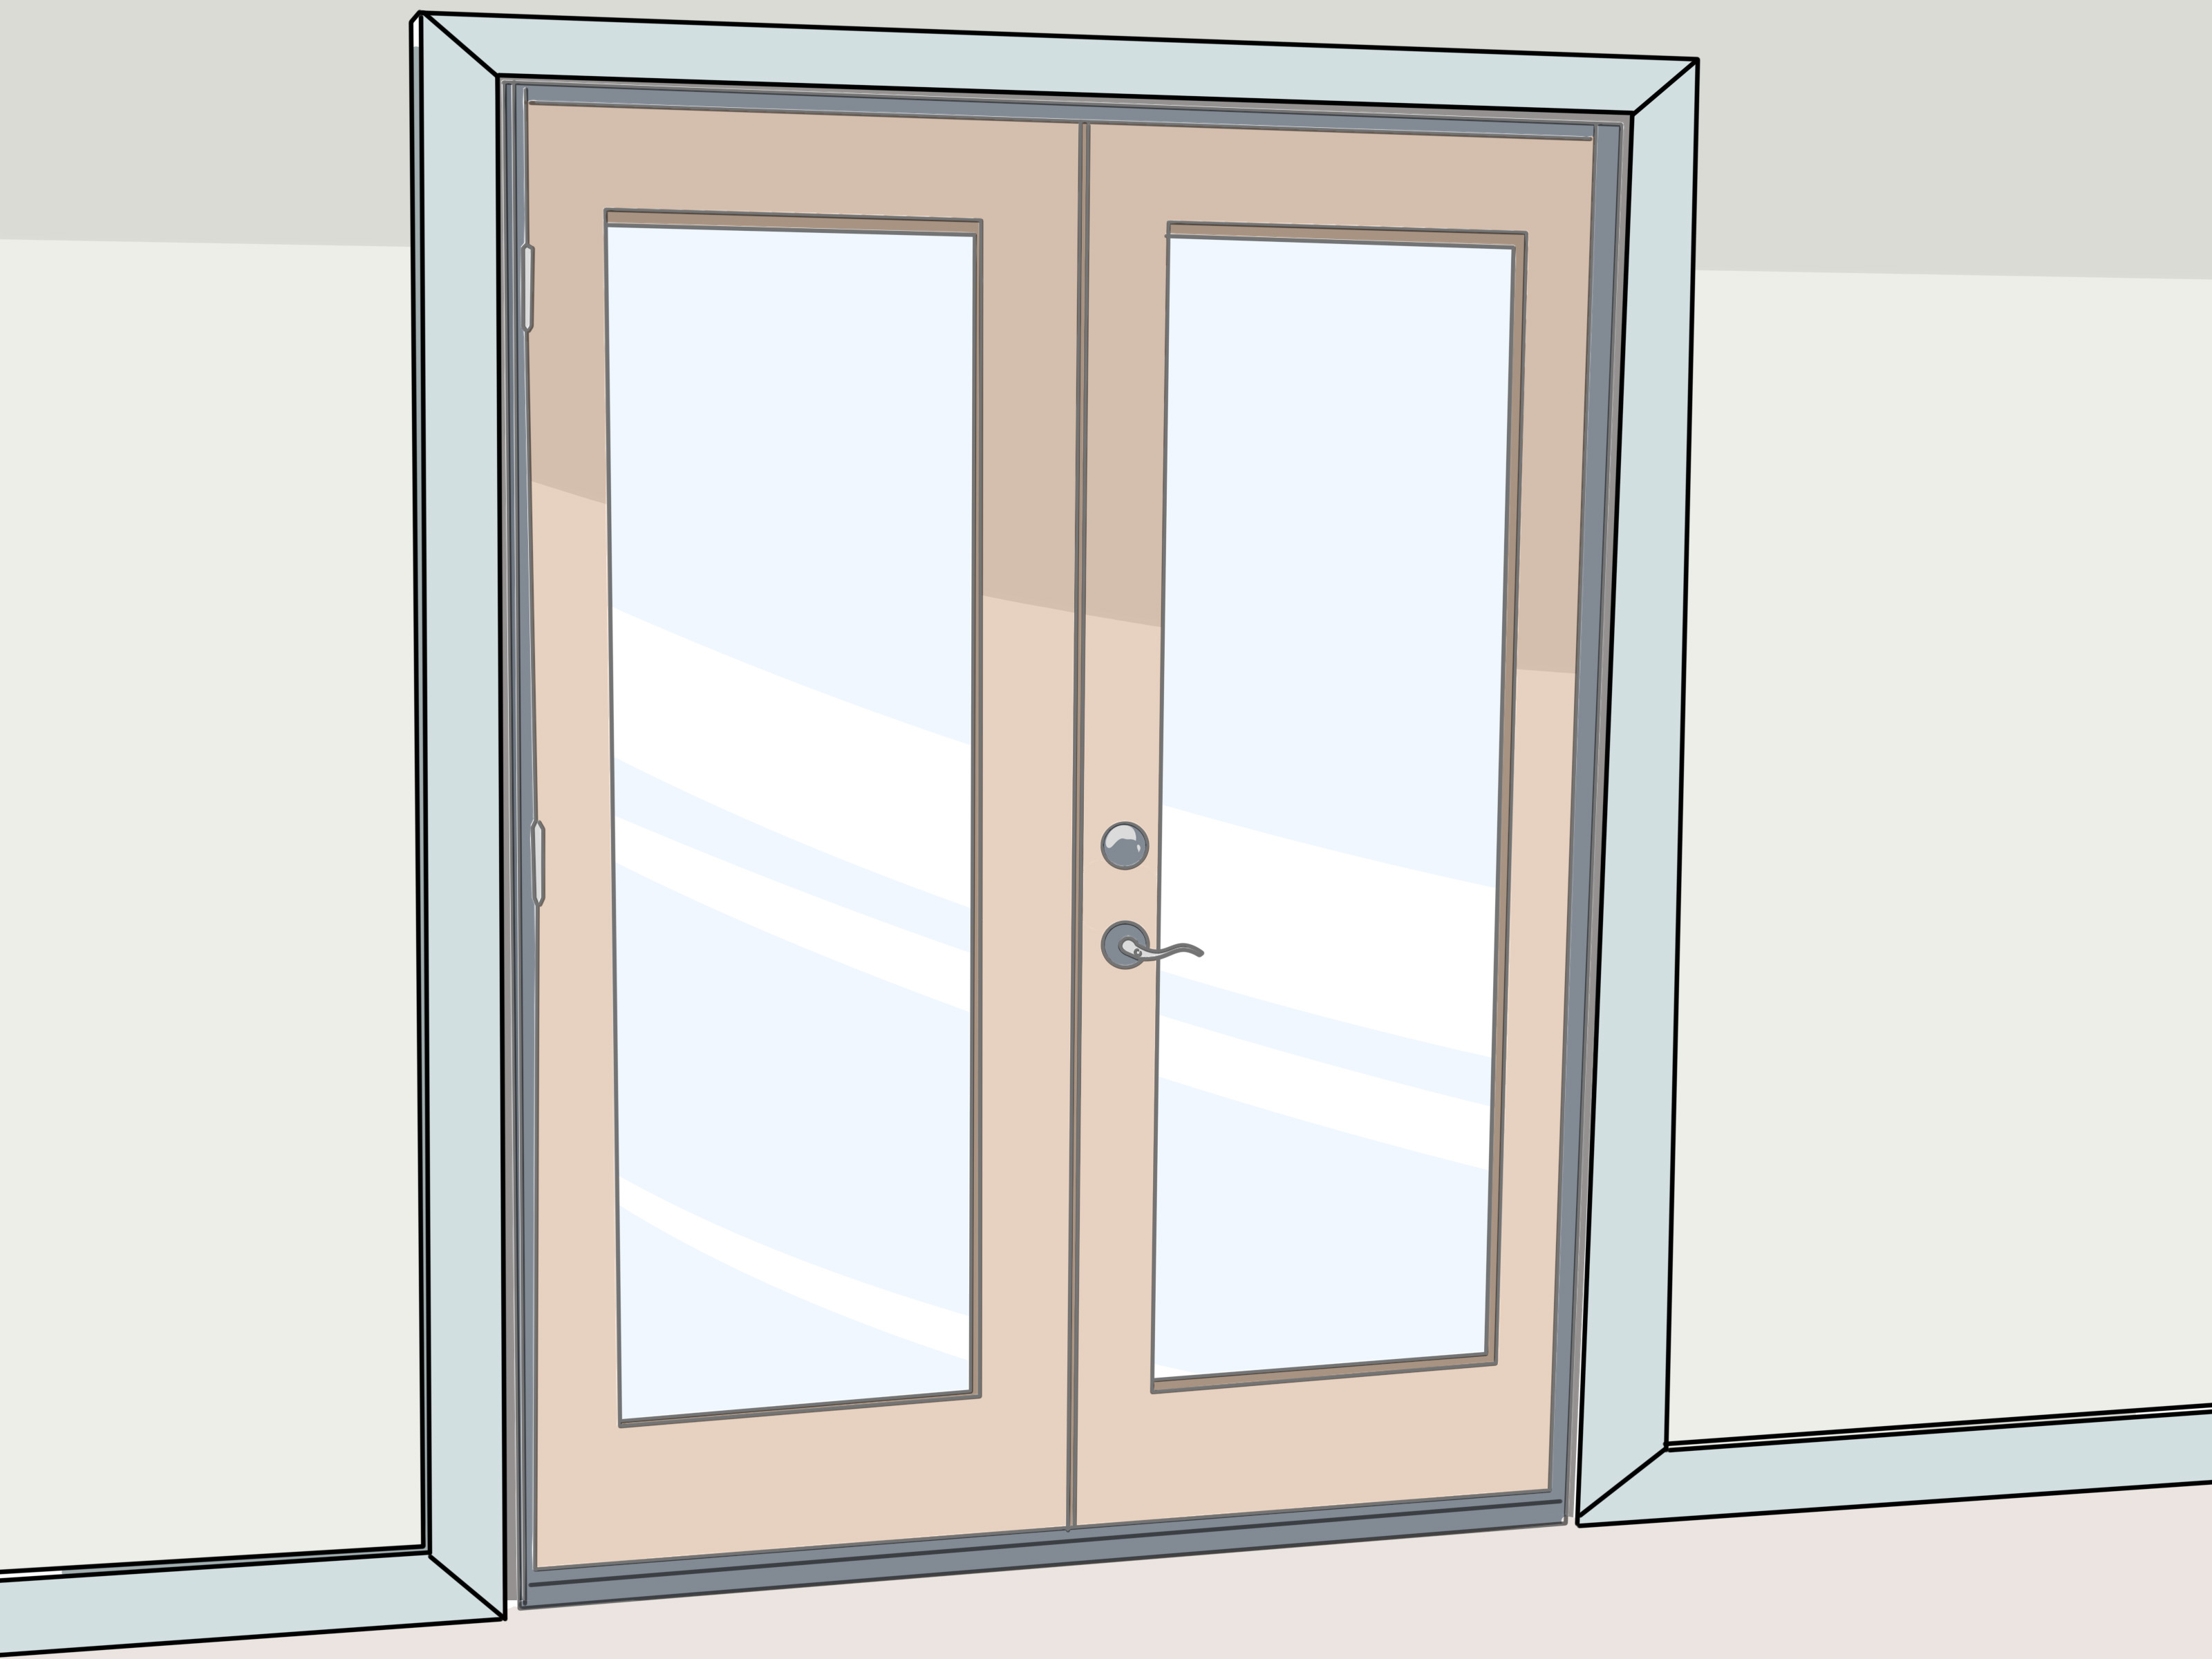
Replacing a sliding glass door with French doors is one of those home upgrades that instantly changes the mood of a room. One day your patio entrance is a track-bound glass rectangle that refuses to glide unless you bribe it with silicone spray. The next day, it becomes a charming double-door moment that says, “Yes, I do own a cheese board, and no, I will not apologize.”
But while the transformation is beautiful, the project is more than swapping one door for another and calling it a weekend victory. A sliding patio door and a hinged French door system behave differently. They load the frame differently, seal differently, swing differently, and demand a carefully prepared rough opening. If the frame is not square, the sill is not waterproofed, or the door is installed without proper shimming, you may end up with drafts, leaks, sticky hinges, or doors that close with the grace of a shopping cart with one bad wheel.
This guide explains how to replace a sliding glass door with French doors in a practical, homeowner-friendly way. It covers planning, measuring, choosing the right door, removing the old slider, preparing the opening, installing the new prehung French door unit, sealing it properly, and finishing the job so it looks intentionalnot like the house lost a bet.
Why Replace a Sliding Glass Door with French Doors?
Sliding glass doors are popular for a reason. They save floor space, offer wide views, and work well where a swinging door would be inconvenient. But older sliders often develop problems: worn rollers, dirty tracks, foggy glass, loose locks, failing weatherstripping, and air leaks. Once the track becomes a permanent crumb museum, cleaning it can feel like archaeology.
French doors offer a different kind of appeal. They create a more traditional architectural look, provide a wider opening when both panels operate, and can make a dining room, living room, bedroom, or patio entrance feel more finished. Exterior French patio doors are available in fiberglass, steel, vinyl-clad, aluminum-clad wood, and traditional wood designs. Many modern models also include low-E glass, insulated frames, multipoint locking systems, and weather-resistant sills.
The main benefits include improved curb appeal, easier furniture movement through the opening, better ventilation when both doors open, and a more elegant indoor-outdoor connection. The trade-off is swing space. Unlike a sliding door, French doors need room to open either inward or outward. That one detail can make or break the project.
Before You Start: Decide Whether This Is a DIY Job
Installing French doors in place of a sliding glass door is an advanced DIY project. It involves heavy glass panels, exterior weatherproofing, rough opening measurements, shimming, fastening, insulation, trim work, and possibly siding or flooring adjustments. If the opening is damaged, out of square, water-rotted, or needs structural changes, bring in a qualified contractor.
A confident homeowner with carpentry experience may be able to install a prehung French door unit in an existing patio door opening. However, if you need to widen the opening, move electrical wiring, change the header, repair major rot, or meet special wind-zone or impact requirements, professional help is the safer and smarter choice. Doors are not the place to freestyle like you are assembling a sandwich.
Tools and Materials You May Need
The exact tool list depends on your house, door type, siding, and interior trim. In general, you may need a tape measure, level, framing square, pry bar, utility knife, drill or impact driver, screwdrivers, hammer, shims, caulk gun, low-expansion window and door foam, exterior-grade sealant, flashing tape, sill pan or flexible sill flashing, fasteners recommended by the door manufacturer, insulation, trim, safety glasses, gloves, and a helper.
Do not underestimate the value of a helper. A prehung French door unit can be large, awkward, and heavy. Trying to hold it, level it, shim it, and secure it alone is how home improvement projects become neighborhood entertainment.
Step 1: Measure the Existing Sliding Door Opening
Good installation starts with accurate measurement. Remove the interior casing or trim around the existing sliding door so you can see the actual rough opening. Do not measure only the visible glass or the finished trim. That gives you decoration dimensions, not construction dimensions.
Measure Width, Height, and Jamb Depth
Measure the rough opening width at the top, middle, and bottom. Then measure the height on the left side, center, and right side. Use the smallest measurement when comparing the opening to the new door unit. This helps prevent ordering a door that technically fits on paper but refuses to fit in reality, which is the carpentry version of “close enough” turning into “absolutely not.”
Also measure the wall thickness or jamb depth. Many exterior patio doors are sold with standard jamb sizes, but older homes, stucco exteriors, brick veneer, or unusual wall assemblies may require jamb extensions. If the new frame is too shallow or too deep for the wall, your trim work becomes unnecessarily dramatic.
Step 2: Choose the Right French Door
For most replacements, a prehung exterior French patio door is the best choice. A prehung unit comes with the doors already mounted in a frame, which helps with alignment and saves time. You will still need to level, shim, fasten, seal, and adjust it, but you are not starting from a pile of parts and a dream.
Inswing vs. Outswing French Doors
Inswing French doors open into the room. They are common, easy to screen, and protected from some exterior exposure when closed. However, they need indoor floor clearance and may be less ideal in areas where wind-driven rain hits the door directly.
Outswing French doors open toward the patio or deck. They save interior space and can seal well against wind pressure, but they need exterior clearance and weather-resistant hinges. They may not work if your patio furniture, railing, steps, or grill sits too close to the door. A door should not have to fight a barbecue for basic dignity.
Glass and Energy Performance
Because French patio doors contain a lot of glass, energy performance matters. Look for low-E glass, insulated glazing, quality weatherstripping, and ENERGY STAR-rated options suitable for your climate zone. U-factor measures heat transfer; lower is generally better for insulation. Solar Heat Gain Coefficient, or SHGC, measures how much solar heat passes through the glass; lower SHGC is often helpful in hot, sunny climates, while some colder climates may benefit from different glass choices.
Fiberglass and insulated steel doors usually provide strong durability and energy performance. Wood offers classic beauty but requires more maintenance. Vinyl and clad-wood options can work well depending on the manufacturer and climate. In coastal or storm-prone areas, check local requirements for impact-rated glass and approved door systems.
Step 3: Check Swing Clearance and Layout
Before ordering the door, mark the swing path on the floor with painter’s tape. Open the imaginary doors. Does the left panel hit a sofa? Does the right panel crash into a cabinet? Will an outswing door collide with a railing, screen, or patio chair? This simple exercise can prevent an expensive surprise.
Also think about daily use. If you use this entrance every morning with coffee in one hand and a dog leash in the other, choose hardware and swing direction that make sense. Some French doors have one active panel and one passive panel secured by flush bolts. Others allow both panels to operate. For moving furniture, both-operable panels are wonderfully useful. For everyday entry, one active panel is usually enough.
Step 4: Remove the Existing Sliding Glass Door
Start by protecting the floor with drop cloths or cardboard. Remove curtains, blinds, and nearby furniture. Sliding glass panels are heavy and fragile, so wear gloves and eye protection. Have another adult help lift the panels out of the track. Many sliding doors have adjustment screws at the bottom that raise or lower the rollers. Lowering the rollers can make panel removal easier.
After removing the sliding panels, take out the fixed panel, screen, track, and frame. Cut through old caulk carefully with a utility knife. Remove screws, pry off exterior trim if necessary, and work the frame out without damaging the surrounding wall. If the old frame resists, do not attack it like it owes you money. Slow, controlled removal protects the siding, drywall, and framing.
Step 5: Inspect and Prepare the Rough Opening
Once the old sliding door is out, inspect the opening thoroughly. Look for rotten wood, water stains, soft subfloor, insect damage, cracked sheathing, loose framing, and old sealant failure. Pay special attention to the sill area. Patio doors live where rain, snow, sprinklers, pets, shoes, and gravity all team up, so the bottom of the opening often reveals the truth.
Check for Level, Plumb, and Square
Use a long level and framing square to check the sill, side studs, and header. The sill must be flat and level. The side jambs need to be plumb. The opening should be square, which you can check by measuring diagonally from corner to corner. If the diagonal measurements are equal, the opening is square. If they are noticeably different, the new door may bind unless the issue is corrected during preparation and shimming.
Minor imperfections can often be handled with shims. Major framing problems should be repaired before the door goes in. Installing a beautiful French door into a damaged opening is like putting a tuxedo on a raccoon: impressive effort, poor foundation.
Step 6: Waterproof the Sill and Opening
Waterproofing is one of the most important parts of replacing a sliding door with French doors. A patio door opening needs a dependable drainage and flashing system. Use a sill pan or properly installed flexible sill flashing according to the manufacturer’s instructions. Flashing tape should integrate with the weather-resistive barrier so water is directed out, not into the wall.
Many manufacturers recommend applying flashing tape across the sill, up the sides of the opening, and sometimes over the head flashing after the unit is installed. Follow the instructions that come with your exact door. Do not assume every door flashes the same way. Manufacturer instructions are not decorative paperwork; they are the map that keeps rain from becoming an indoor feature.
Step 7: Dry-Fit the French Door Unit
Before applying sealant, dry-fit the prehung French door unit in the opening. Center it, check the reveal around the doors, and confirm the sill sits properly. Make sure the frame is not twisted. Open and close the doors if possible. This test fit helps you identify problems while you can still fix them without racing against curing sealant.
If the rough opening is too tight, do not force the frame. A door frame squeezed into place can bow, throwing off the hinges, latch, and weather seal. If the opening is too large, you may need additional blocking or wider trim. The goal is a secure fit with room for shimming and insulation.
Step 8: Set the Door in Sealant
When the opening is ready, apply exterior-grade sealant or adhesive caulk as recommended along the sill area. Many patio door systems require continuous beads beneath the threshold. Carefully lift the French door unit into the opening and set it in place. Keep the sill fully supported. A poorly supported threshold can flex, leak, or make the doors difficult to operate over time.
At this stage, teamwork matters. One person can hold the unit from outside while another checks alignment from inside. Keep the frame centered and avoid pushing the unit too far inward or outward unless the installation instructions specify a position relative to the sheathing, siding, or trim.
Step 9: Shim, Level, Plumb, and Fasten
Shimming is where the installation succeeds or fails. Place shims behind hinges, at lock points, and wherever the manufacturer recommends. Check the hinge jamb for plumb, the head jamb for level, and the frame for square. The revealthe gap between the doors and frameshould look even.
Fasten through the jambs into the framing using the screws specified by the manufacturer. Do not overdrive screws, because that can pull the frame out of shape. After each round of fastening, test the doors. They should swing smoothly, meet evenly, latch properly, and seal against the weatherstripping.
For double French doors, the inactive panel must align correctly with the active panel. Flush bolts should engage securely at the head and sill. Multipoint locks should operate without forcing the handle. If you have to slam the door to lock it, something is wrong. Doors should not require emotional commitment.
Step 10: Insulate Around the Frame
After the door is secured and working properly, insulate the gap between the door frame and rough opening. Use low-expansion window and door foam, not high-expansion foam. High-expansion foam can bow the frame and create operation problems. Apply foam lightly and allow it to cure before trimming excess.
In some situations, fiberglass insulation may be used, but it should not be packed tightly. Compressed insulation loses effectiveness and can distort the frame. The purpose is to reduce air leakage while preserving the shape of the door unit.
Step 11: Flash, Seal, and Trim the Exterior
Exterior sealing protects the wall from water intrusion. Install head flashing or drip cap as required. Apply flashing tape in the correct sequence so upper layers overlap lower layers, like shingles. This helps water shed outward. Seal exterior gaps with high-quality exterior sealant, leaving any manufacturer-required drainage paths open.
Reinstall or replace exterior trim, brickmould, siding pieces, or casing as needed. Use rot-resistant material where possible. Caulk trim joints cleanly, but do not seal weep holes or drainage channels. A door system needs to block water, but it also needs a way to release incidental moisture.
Step 12: Install Interior Trim and Hardware
Once the exterior is sealed, move inside. Install interior casing or trim to cover the gap between the jamb and wall. If the new door frame is a different depth than the old slider, you may need jamb extensions. Paint or stain trim before or after installation depending on your workflow.
Install handles, locks, flush bolts, strike plates, and screens according to the manufacturer’s instructions. Adjust hinges and strike plates until the doors close securely without rubbing. If the door has adjustable hinges, make small changes and test often. Tiny adjustments can make a big difference.
Common Mistakes to Avoid
Ordering the Wrong Size Door
The most expensive mistake is ordering a door based on the old unit’s nominal size instead of the actual rough opening. Always measure the exposed rough opening. If you are unsure, schedule a professional measure before ordering.
Ignoring Water Damage
Never install a new French door over rotten sill framing or soft subfloor. Water damage only gets worse when hidden. Repair the structure first, then install the door.
Skipping the Sill Pan
A sill pan or equivalent sill flashing system is not optional in most quality installations. It is your backup defense against water. Without it, a small leak can become a wall repair later.
Using Too Much Foam
Insulating foam is useful, but more is not always better. Too much foam can distort the frame. Use low-expansion foam made for windows and doors.
Forgetting Swing Clearance
French doors need space. Before buying, confirm that the door swing works with furniture, steps, railings, rugs, and traffic flow.
Cost Considerations
The cost to replace a sliding glass door with French doors depends on the size, material, glass package, hardware, finish, labor, and repairs. A basic prehung exterior French patio door may cost significantly less than a premium fiberglass, clad-wood, or impact-rated model. Professional installation adds labor cost but can be worth it for warranty protection, proper flashing, and peace of mind.
Budget for more than the door itself. You may need trim, flashing, sealant, insulation, paint, hardware upgrades, screen doors, threshold support, flooring transitions, or siding repair. The old door may also reveal hidden damage. In home improvement, “while we’re in there” is not a phraseit is a financial weather system.
Maintenance After Installation
After your new French doors are installed, maintain them regularly. Clean the glass with appropriate cleaner, inspect weatherstripping, tighten hinge screws when needed, lubricate locks lightly, and check exterior caulk annually. Keep the sill clean so water can drain correctly. If the doors are wood, maintain paint or stain to protect against moisture.
Seasonal movement is normal in many homes. Wood framing expands and contracts with humidity. If the door begins rubbing slightly, check hinge screws and strike alignment before assuming something major is wrong. A small adjustment may restore smooth operation.
Is Replacing a Sliding Door with French Doors Worth It?
For many homeowners, yes. French doors can improve the look of a room, create a more welcoming patio entrance, and increase the practical opening width when both panels open. They are especially attractive in traditional, farmhouse, cottage, transitional, and classic suburban homes. Even modern homes can use sleek full-lite French doors for a cleaner, more architectural look.
The key is choosing the right door for the space. If your room is small and every inch of floor space matters, a slider may still be the better option. If you have adequate swing clearance and want a warmer, more elegant entry, French doors can be a major upgrade.
Extra Experience: Real-World Lessons from Replacing Sliding Glass Doors with French Doors
One of the biggest lessons from this project is that the old sliding door tells a story. Sometimes it tells a pleasant story: the opening is square, the framing is dry, and the replacement goes smoothly. Other times, it tells a mystery novel involving hidden water stains, suspicious caulk layers, and a sill that looks like it has been personally attacked by every rainstorm since 1987.
In many real homes, the hardest part is not setting the new French door. It is preparing the opening correctly after the slider comes out. Sliding doors often hide damage under the track, especially if the previous installation relied on caulk alone. Caulk is useful, but it is not magic. When water gets under an old track and has nowhere to drain, it can soften the sill, stain the subfloor, and creep into nearby trim. That is why experienced installers slow down at the sill. They clean it, inspect it, repair it, level it, and flash it before the new door ever enters the chat.
Another practical lesson is that “standard size” does not always mean “easy fit.” A 72-by-80-inch sliding patio door may be replaced by a nominal 72-by-80-inch French door, but actual unit dimensions vary by manufacturer. Rough opening requirements also vary. The difference of half an inch can decide whether the installation feels professional or turns into a wrestling match. Always compare the manufacturer’s rough opening requirements with your actual measurements before ordering.
Door swing also deserves more thought than people expect. A pair of inswing French doors can look perfect in a showroom but awkward in a furnished room. If the door opens into a dining chair, a sofa, or the edge of a rug, daily use becomes irritating fast. Outswing doors solve some interior space problems, but they need exterior clearance and durable weather exposure details. Before buying, tape the swing path on the floor and live with it for a day. Walk through the room. Open imaginary doors. Pretend you are carrying groceries, a laundry basket, or a sleepy dog. The tape will tell you the truth.
Hardware quality matters too. A strong multipoint locking system can make French doors feel more secure and stable. Good weatherstripping improves comfort. Adjustable hinges can save headaches later. Cheap hardware may work at first, but exterior doors live a hard life. Sun, rain, wind, humidity, and constant use will reveal weak parts quickly.
Finally, do not rush the final adjustments. Many homeowners get excited when the door is standing in the opening and start celebrating too early. The real finish line is when both panels swing smoothly, the reveal is even, the latch works without force, the flush bolts engage cleanly, the sill is sealed, the exterior flashing is correct, and the trim looks like it has always belonged there. That is the moment the project turns from “construction zone” to “home upgrade.”
Replacing a sliding glass door with French doors is not the easiest weekend project, but it is one of the most satisfying. It changes how a room feels, how light enters, how people move to the patio, and how the home presents itself. Done carefully, it is not just a door replacement. It is a small architectural glow-up with hinges.
Conclusion
Replacing a sliding glass door with French doors can bring charm, better access, improved ventilation, and a more polished look to your home. The project requires careful planning, accurate measuring, proper door selection, safe removal, rough opening repair, sill waterproofing, precise shimming, and thoughtful sealing. The most important details are the ones you do not see after the trim goes on: flashing, level framing, secure fastening, and insulation.
If your existing opening is in good shape and you have solid carpentry experience, this can be a rewarding DIY project. If the opening needs structural changes, shows water damage, or must meet special local code requirements, hire a professional. A French door should make your home feel brighter and more elegantnot draftier, leakier, or more dramatic than a reality TV reunion.