Building a raft sounds like the kind of project that begins with sunshine, rope, and confidenceand ends with someone saying, “Well, technically it floated.” A raft is one of humanity’s oldest simple watercraft ideas: a flat platform supported by buoyant materials. But before anyone starts tying logs together like a movie castaway with excellent lighting, let’s be clear: a homemade raft should be treated as an educational, decorative, backyard, camp, or supervised shallow-water projectnot a substitute for a certified boat, kayak, canoe, or professionally built raft.
This guide explains how rafts work, what materials are commonly used, how to think through design, and how to build a safe practice raft for learning basic structure and flotation principles. It also covers common mistakes, testing, maintenance, and real-world lessons from raft-building experiences. The goal is not to turn you into Captain Driftwood overnight. The goal is to help you understand raft building in a smart, safe, and practical way.
What Is a Raft?
A raft is a flat floating platform made from buoyant materials secured together into a stable shape. Unlike a boat, which usually has a shaped hull to cut through water, a raft mostly sits on top of the water and relies on displacement and surface area. That is why rafts are often slower, harder to steer, and more affected by wind, waves, and current.
Traditional rafts were often made from logs, reeds, bamboo, or inflated animal skins. Modern recreational or training rafts may use sealed plastic barrels, foam blocks, PVC pipe, timber frames, or purpose-built inflatable pontoons. The basic idea remains the same: create enough buoyancy to support the platform while keeping the weight balanced and the structure secure.
Important Safety First: Do Not Skip This Part
Homemade rafts can be fun engineering projects, but real water is not a polite testing laboratory. Rivers have currents, lakes have wind, ponds have mud, and all water has the annoying habit of being deeper than it looks. A raft that seems solid on land can become unstable once weight, movement, and waves are added.
For any raft activity near water, use adult supervision, wear properly fitted U.S. Coast Guard-approved life jackets, stay in calm shallow water, check local rules, and never use a homemade raft in moving water, cold water, deep water, flood conditions, or far from shore. Avoid alcohol, overcrowding, nighttime use, and “let’s see what happens” energy. That last one has sunk more plans than bad rope.
If the goal is actual boating, use a certified boat, commercial raft, canoe, or kayak designed for that purpose. If the goal is learning, a small demonstration raft or supervised dockside project is the wiser choice.
How Rafts Float: The Simple Science
A raft floats because it displaces water. In plain English, the raft pushes water out of the way, and the water pushes back. If the upward push is greater than the total weight of the raft and everything on it, the raft floats. If not, the raft becomes a very disappointing submarine.
Buoyancy depends on volume, material, sealing, weight distribution, and water conditions. A sealed empty barrel floats because it contains air. A dry log floats because its density is lower than water. A waterlogged log may not float well because it has absorbed water and become heavier. Foam floats because it traps air inside its structure. A strong raft design uses buoyant materials evenly spaced beneath a secure platform.
Common Types of Rafts
1. Log Raft
A log raft is the classic survival-story design. It uses straight logs tied side by side, sometimes with crosspieces for support. Log rafts look rugged and charming, but they can be heavy, slippery, and difficult to secure properly. They are better for historical demonstrations or supervised camp activities than casual recreation.
2. Barrel Raft
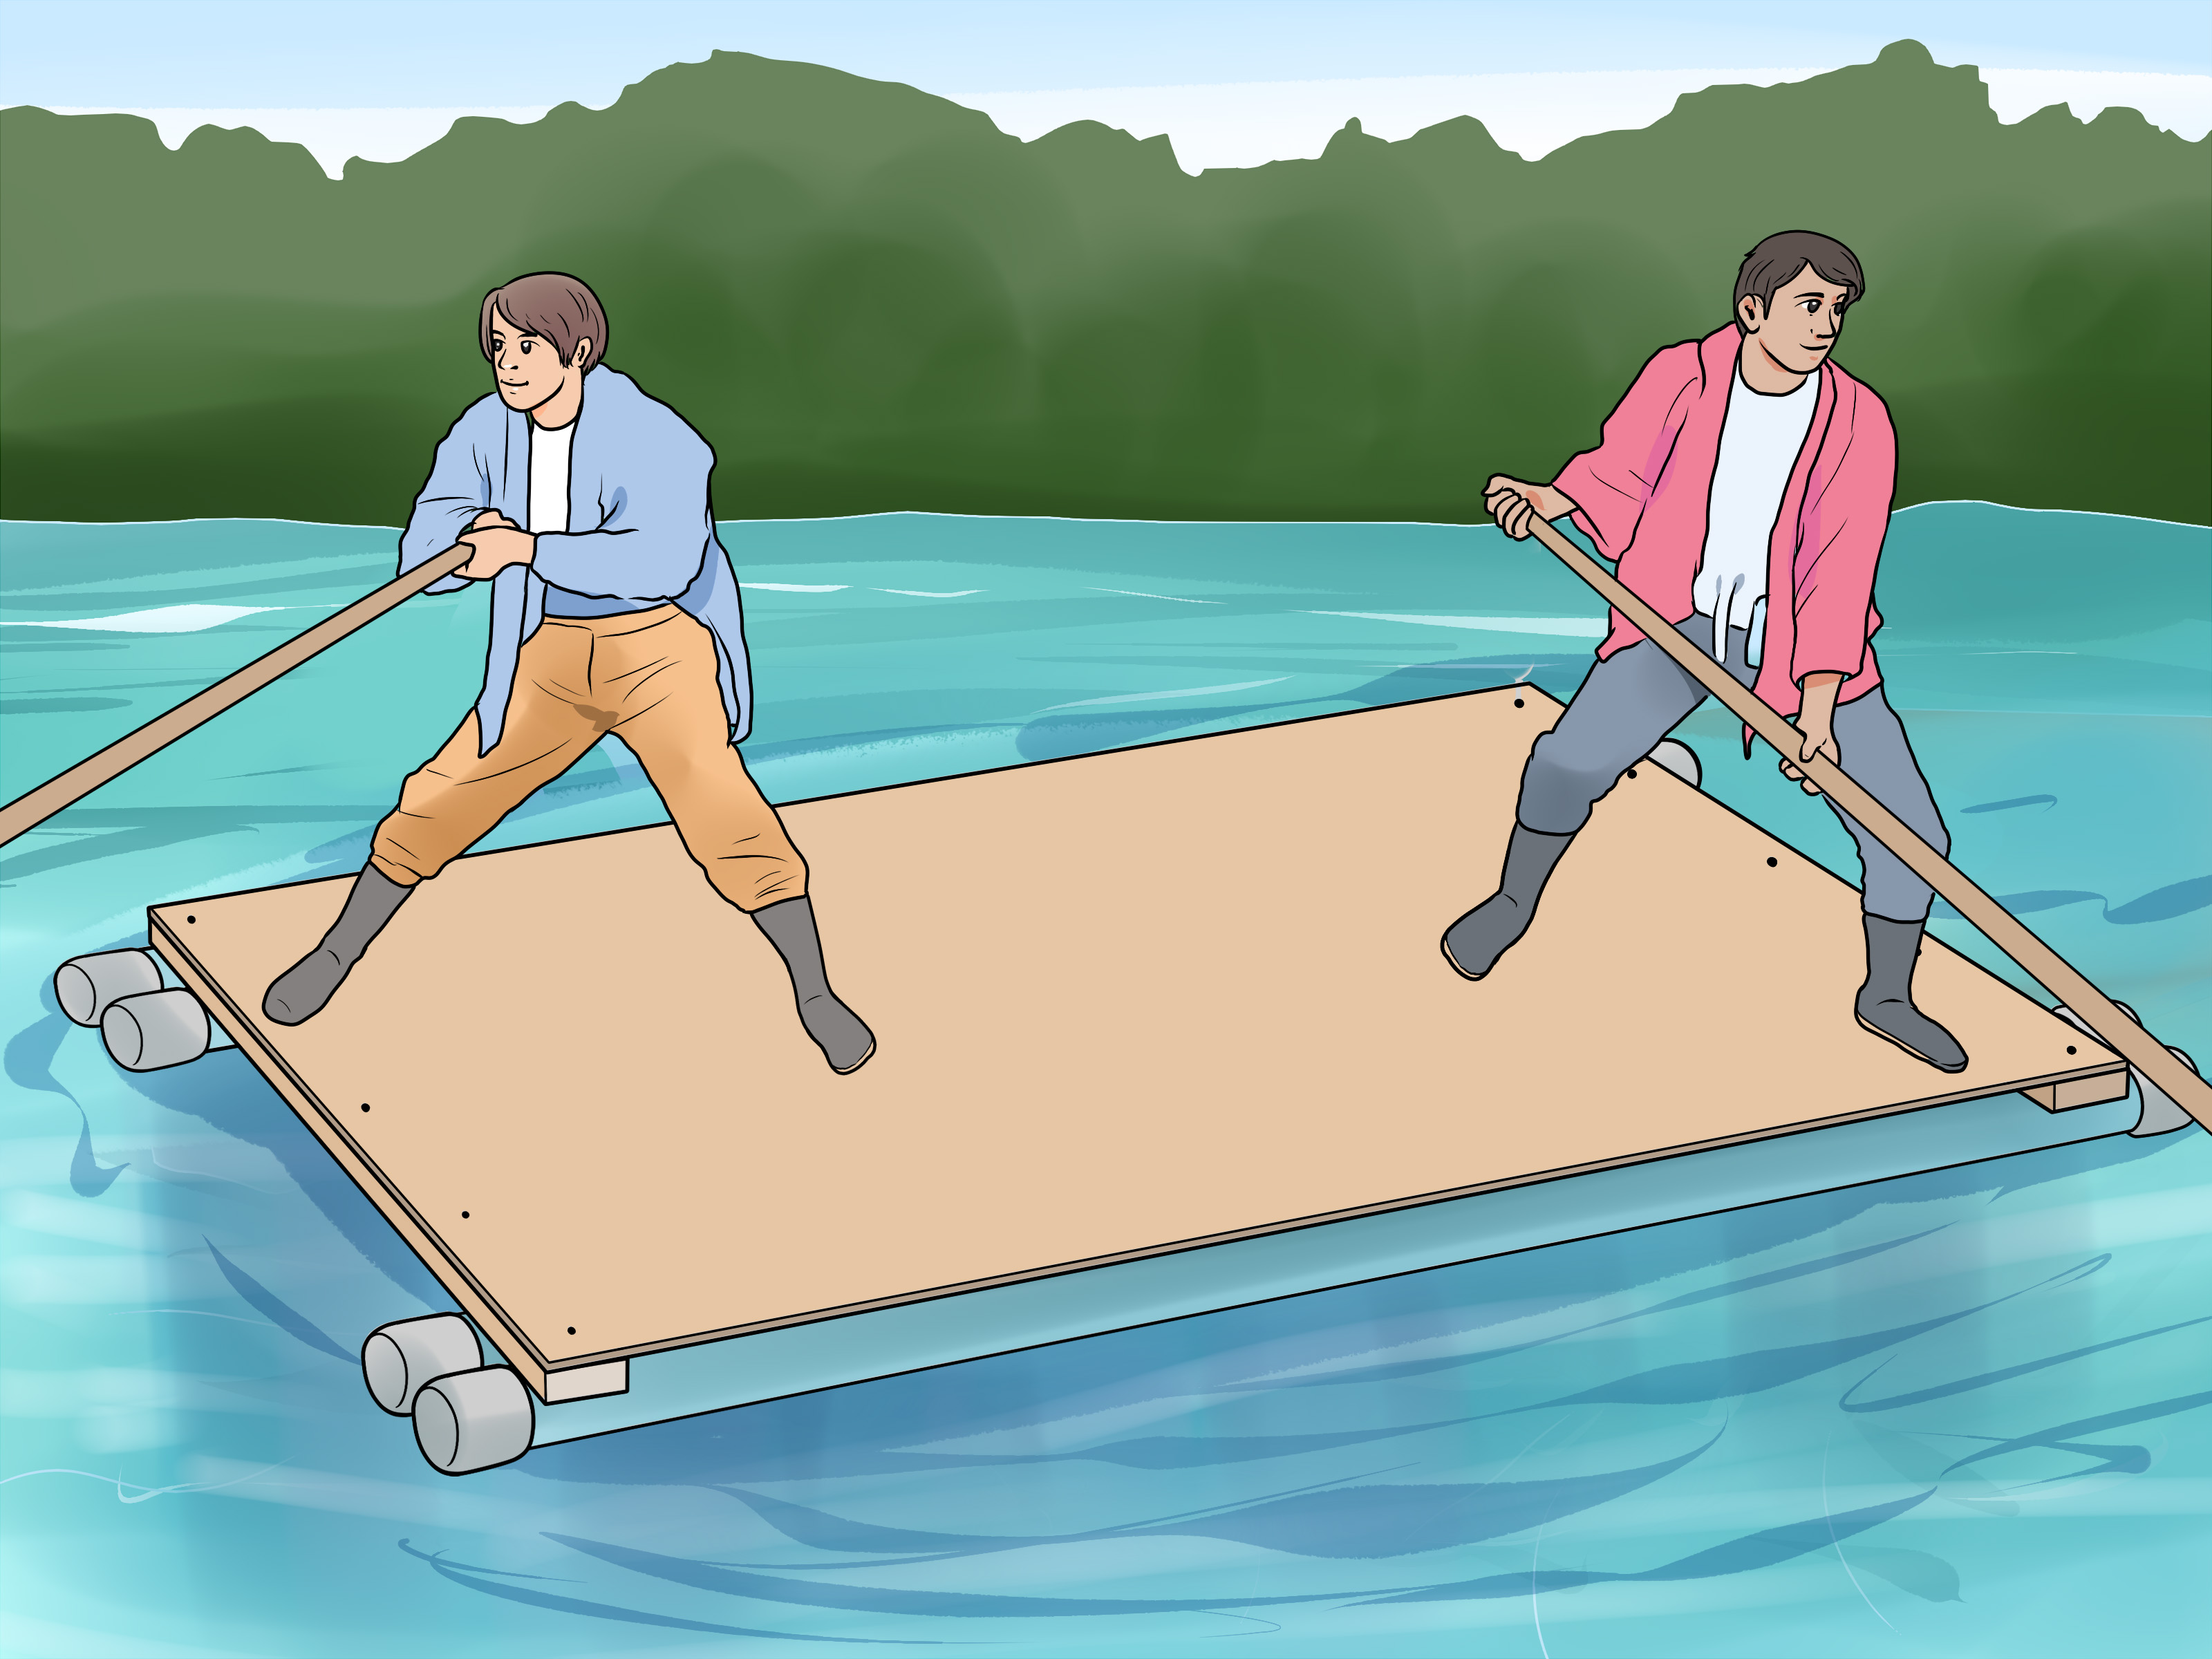
A barrel raft uses sealed plastic drums or containers as flotation under a wooden frame. This style is common in team-building events because the buoyancy units are predictable when properly sealed. The challenge is keeping the barrels firmly attached and making sure the frame does not twist.
3. Foam Block Raft
Foam blocks provide simple buoyancy for small educational rafts. They are lightweight and easy to handle, making them useful for model rafts, school projects, or floating platforms that are not intended to carry people.
4. PVC Pipe Raft
PVC pipe can be used for small-scale raft experiments because sealed air-filled tubes float. However, PVC structures can crack, leak, or separate if poorly assembled. A PVC raft should be considered a learning project, not a reliable watercraft.
5. Decorative or Miniature Raft
A miniature raft is the safest and easiest way to learn the design principles. Small sticks, craft wood, cork, foam, and string can demonstrate buoyancy, balance, and lashing without putting anyone in danger. It is also much easier to rescue from a bathtub than a lake.
Materials Commonly Used in Raft Building
The best materials depend on the purpose of the raft. For a small educational raft, lightweight wood, cork, foam, and cord are enough. For a supervised larger display raft, common materials may include untreated lumber, sealed plastic barrels, rope, ratchet straps, deck boards, and non-slip surface materials.
Avoid materials that leak, absorb water quickly, splinter badly, or release chemicals into the environment. Do not use damaged containers that once held hazardous substances. Do not rely on inflatable pool toys as flotation for a raft carrying weight. They are toys, not safety equipment, and they can puncture or deflate at the worst possible momentbecause apparently gravity has a sense of drama.
Planning a Safe Raft Project
Decide the Purpose
Before building anything, decide what the raft is for. Is it a classroom demonstration? A backyard STEM project? A camp team-building activity? A photo prop? A floating platform for shallow supervised testing? The purpose determines the size, materials, and safety rules.
Choose a Safe Size
Bigger does not automatically mean better. A huge raft may look impressive, but it is harder to move, harder to secure, and harder to control. For most learning projects, smaller is smarter. A compact raft lets builders test the design, observe flotation, and make improvements without creating a floating lumberyard.
Think About Weight Distribution
A raft should carry weight evenly. If one side is much heavier, it may tilt or sink lower on that side. Place flotation evenly under the frame and keep the deck balanced. Heavy items should sit near the center, not on the edge.
Plan for Stability
Stability comes from width, even flotation, secure connections, and a low center of gravity. A narrow raft may tip more easily. A raft with high seats, tall decorations, or people standing up can become unstable. A good raft design keeps weight low and spread out.
How to Build a Small Educational Raft
The safest way to learn how to build rafts is to start small. A miniature raft teaches the same basic principlesflotation, balance, structure, and testingwithout the danger of carrying people on open water.
Step 1: Gather Simple Materials
Use lightweight craft sticks, small straight twigs, corks, foam pieces, string, and waterproof tape. A shallow tub or basin can serve as the test area. Keep scissors and cutting tools under adult supervision.
Step 2: Build the Floating Base
Lay several buoyant pieces side by side. These may be corks, foam strips, or light sticks. The base should be wider than it is tall and flat enough to support a small deck. The wider the base, the more stable the raft usually becomes.
Step 3: Add Cross Supports
Place two or three crosspieces across the base. These keep the floating pieces aligned and help spread weight. Use string or tape to secure them. The goal is a firm platform that does not twist like a noodle trying yoga.
Step 4: Add a Deck
Place craft sticks or thin wood pieces across the top to create a deck. Leave small gaps so water can drain. A solid, sealed deck may trap water and add weight. A simple slatted deck is lighter and easier to adjust.
Step 5: Test in Shallow Water
Place the raft gently in a tub or shallow container. Watch whether it floats level. Add small weights slowly, such as coins or pebbles, to see how the raft responds. If it leans, adjust the flotation or move the weight toward the center.
Step 6: Improve the Design
Good builders test, fail politely, improve, and test again. If the raft tips, widen the base. If it sinks too low, add more flotation. If it bends, strengthen the frame. Every adjustment teaches something useful.
How to Think About a Larger Supervised Raft
A larger raft project should be handled only with knowledgeable adult supervision, proper safety equipment, and local permission. Instead of treating it like a casual weekend stunt, treat it like a structured engineering activity. That means planning, inspection, controlled testing, and clear limits.
The general structure usually includes flotation units underneath, a rigid frame above them, cross bracing to resist twisting, and a deck surface that allows safe footing. Flotation must be secured so it cannot slip out. The frame must stay square. The deck must not have sharp edges, loose boards, exposed nails, or tripping hazards.
Testing should begin without people on board. Then add weight gradually while the raft is held close to shore in calm, shallow water. If the raft leans, creaks, shifts, leaks, or becomes hard to control, the test ends. A raft that “almost works” is not ready. “Almost works” is fine for pancakes, not watercraft.
Best Places to Test a Raft
For small models, a bathtub, kiddie pool, storage bin, or shallow basin is perfect. For supervised larger demonstration rafts, testing should happen only in calm, shallow, controlled water with easy exit points, permission from the property owner or local authority, and rescue support nearby.
Avoid rivers, streams, floodwater, cold water, deep lakes, boat channels, ocean surf, and any place with strong current or poor visibility. Moving water can overpower a homemade raft quickly. Wind can push a flat raft off course. Cold water can cause shock. These are not minor details; they are the difference between a fun project and a dangerous situation.
Common Raft-Building Mistakes
Using Weak or Slippery Connections
Rafts fail when the parts move independently. Loose rope, weak knots, cracked fasteners, or shifting flotation can turn a platform into a floating puzzle. Every connection should be checked before testing.
Ignoring the Weight of Wet Materials
Wood, rope, and fabric can absorb water. That added weight reduces flotation. A raft that floats nicely for five minutes may sit lower after materials become soaked.
Building Too Tall
A tall structure raises the center of gravity and makes tipping more likely. Keep the design low and simple.
Forgetting About Steering
Rafts do not steer like boats. A paddle may help a little in calm water, but wind and current can easily take control. This is one reason homemade rafts should not be used for travel.
Overloading the Platform
Every raft has limits. Adding “just one more person” or “just one more cooler” can change everything. Overloading lowers the raft, reduces stability, and increases risk.
Eco-Friendly Raft Building Tips
Good raft building should not leave a mess behind. Use clean materials, avoid treated wood in natural water, never use containers that held chemicals, and collect every scrap of rope, tape, plastic, or foam after testing. Natural areas are not free dumpsters with better scenery.
If you build a small raft for a school or family project, consider reusable materials. Corks, craft sticks, scrap wood, and removable cord can be used again. For larger supervised projects, inspect materials for splinters, rust, leaks, and contamination before they go anywhere near water.
Raft Building as a Team Activity
Raft building works well as a group challenge because it requires planning, communication, and problem-solving. One person may focus on design, another on materials, another on safety checks, and another on testing notes. The quiet person who says, “Maybe we should add cross supports” is often the hero of the day.
For schools, camps, or youth programs, the best version is usually a miniature raft challenge. Teams can build small rafts and test how much weight each can hold in a tub of water. This keeps the fun, competition, and engineering lessons while avoiding the risks of carrying people on homemade watercraft.
What Makes a Good Raft Design?
A good raft design is stable, balanced, simple, and easy to inspect. The flotation is evenly placed. The frame does not twist. The deck is not overloaded. The materials are clean and appropriate. The raft is tested gradually instead of launched with dramatic music and questionable decision-making.
The best raft builders also know when not to launch. If conditions are windy, water is cold, the raft is unstable, safety equipment is missing, or local rules do not allow it, the correct choice is to stop. Smart builders respect water. The water is not impressed by confidence.
of Raft-Building Experience and Practical Lessons
The first thing most people learn when building a raft is that the drawing always looks cleaner than the real thing. On paper, every log is straight, every barrel lines up, and every knot behaves like it attended engineering school. In real life, wood rolls, rope slips, barrels wiggle, and the frame somehow develops a personality. That is why the best raft-building experience begins with patience.
One useful lesson is to build the raft upside down first when working on a larger supervised display model. Placing flotation units on the ground and setting the frame over them helps you see whether everything is evenly spaced. If the flotation looks crooked on land, it will not become magically balanced in water. Water is honest. Brutally honest.
Another experience-based tip is to over-check connection points. Many raft failures do not happen because the main material is weak; they happen because one connection loosens and the rest of the structure starts shifting. A raft is a team project even when it is made of objects. If one part gets lazy, the others suffer. Cross supports, tight lashings, and repeated inspections make a big difference.
Weight testing is also surprisingly educational. A miniature raft may float perfectly until a few coins are placed near one corner. Suddenly, the raft tilts like it just heard bad news. Move the coins toward the center, and it levels out. This simple test teaches balance better than a long lecture. It also teaches humility, which is included free with most DIY projects.
People often underestimate how slippery wet surfaces become. A deck that feels fine in the garage may become slick near water. For any supervised demonstration platform, a safe surface matters. Smooth boards, loose plastic, and algae-covered materials are bad choices. Footing should be stable, edges should be smooth, and nobody should stand or jump on a raft during testing.
Weather is another lesson that experienced builders respect. A flat raft catches wind easily. Even a light breeze can push it around. That means a raft should never be tested far from shore or in conditions that can change quickly. The best test day is boring: calm water, clear weather, shallow depth, lots of supervision, and no audience chanting, “Do it!” Boring is underrated. Boring gets everyone home dry.
Finally, cleanup is part of the build. A successful raft project does not end when the raft floats. It ends when the materials are removed, the area is clean, and everyone understands what worked and what did not. Good builders take notes. Great builders take notes and pick up all the rope scraps.
The biggest lesson is simple: raft building is more about thinking than floating. Anyone can throw buoyant objects together and hope for the best. A careful builder studies balance, structure, safety, materials, and conditions. That mindset turns a raft project from a risky stunt into a memorable learning experience.
Conclusion
Learning how to build rafts is really learning how to solve a floating puzzle. You need buoyancy, balance, structure, safe materials, and respect for water. A small educational raft can teach engineering principles in a fun, hands-on way. A larger raft project requires experienced adult supervision, proper safety equipment, local permission, and controlled conditions.
The smartest approach is to start small, test carefully, and treat homemade rafts as learning tools rather than real transportation. A raft can be funny, creative, and surprisingly educationalbut only when safety is the captain.
Note: This article is written for educational raft-building projects and safety-focused learning. Homemade rafts should not be used as certified watercraft or for travel on deep, cold, fast-moving, or open water.