Note: This guide is written from real sewing and fabric-care practices, including hand darning, knit patching, fusible interfacing, ballpoint needle use, and stretch-friendly stitching methods recommended by sewing educators, fabric-care experts, and sewing machine brands.
Jersey knit fabric is the lovable drama queen of the fabric world. It is soft, stretchy, breathable, and perfect for T-shirts, dresses, leggings, pajamas, baby clothes, and that one favorite top you swear is “just for lounging” but somehow wear to the grocery store. Unfortunately, jersey also has a tiny flaw: when it gets a hole, that hole can grow faster than a rumor at a family reunion.
The good news? You do not need to throw the garment away, hide it under a cardigan forever, or pretend “distressed” was the look you were going for. With a needle, matching thread, a little patience, and the right technique, you can fix a hole in jersey knit fabric so it looks neat, feels comfortable, and survives more than one wash cycle.
This step-by-step guide explains how to repair small holes, snags, tears, and worn spots in jersey knit fabric. You will learn when to hand sew, when to use fusible interfacing, when to add a patch, and how to keep the fabric stretchy instead of accidentally turning your T-shirt into cardboard.
Why Jersey Knit Fabric Needs Special Care
Jersey knit is not woven like dress shirts, jeans, or quilting cotton. Instead, it is made from loops of yarn that interlock. That looped structure gives jersey its stretch and drape, but it also means a small hole can pull open if the nearby stitches are not secured. Think of it like a tiny ladder in pantyhose, only less formal and usually discovered while folding laundry.
Because jersey stretches, your repair must stretch too. A stiff patch, tight straight stitches, or bulky knot can pucker the fabric and make the mend more obvious. The best repair supports the hole without fighting the natural movement of the knit.
Tools and Materials You Will Need
Before you begin, gather your supplies. A calm setup prevents the classic sewing mistake known as “I know the needle was just here somewhere,” followed by walking barefoot through the room in terror.
- Matching polyester thread or cotton-wrapped polyester thread
- Hand sewing needle with a fine point, or a ballpoint needle for machine sewing
- Small sharp scissors
- Lightweight fusible knit interfacing or fusible web
- Scrap jersey fabric for larger holes
- Iron and pressing cloth
- Pins, clips, or washable fabric marker
- Embroidery hoop, optional for darning
- Sewing machine, optional
How to Fix a Hole in Jersey Knit Fabric: 11 Steps
Step 1: Inspect the Hole Before You Touch It
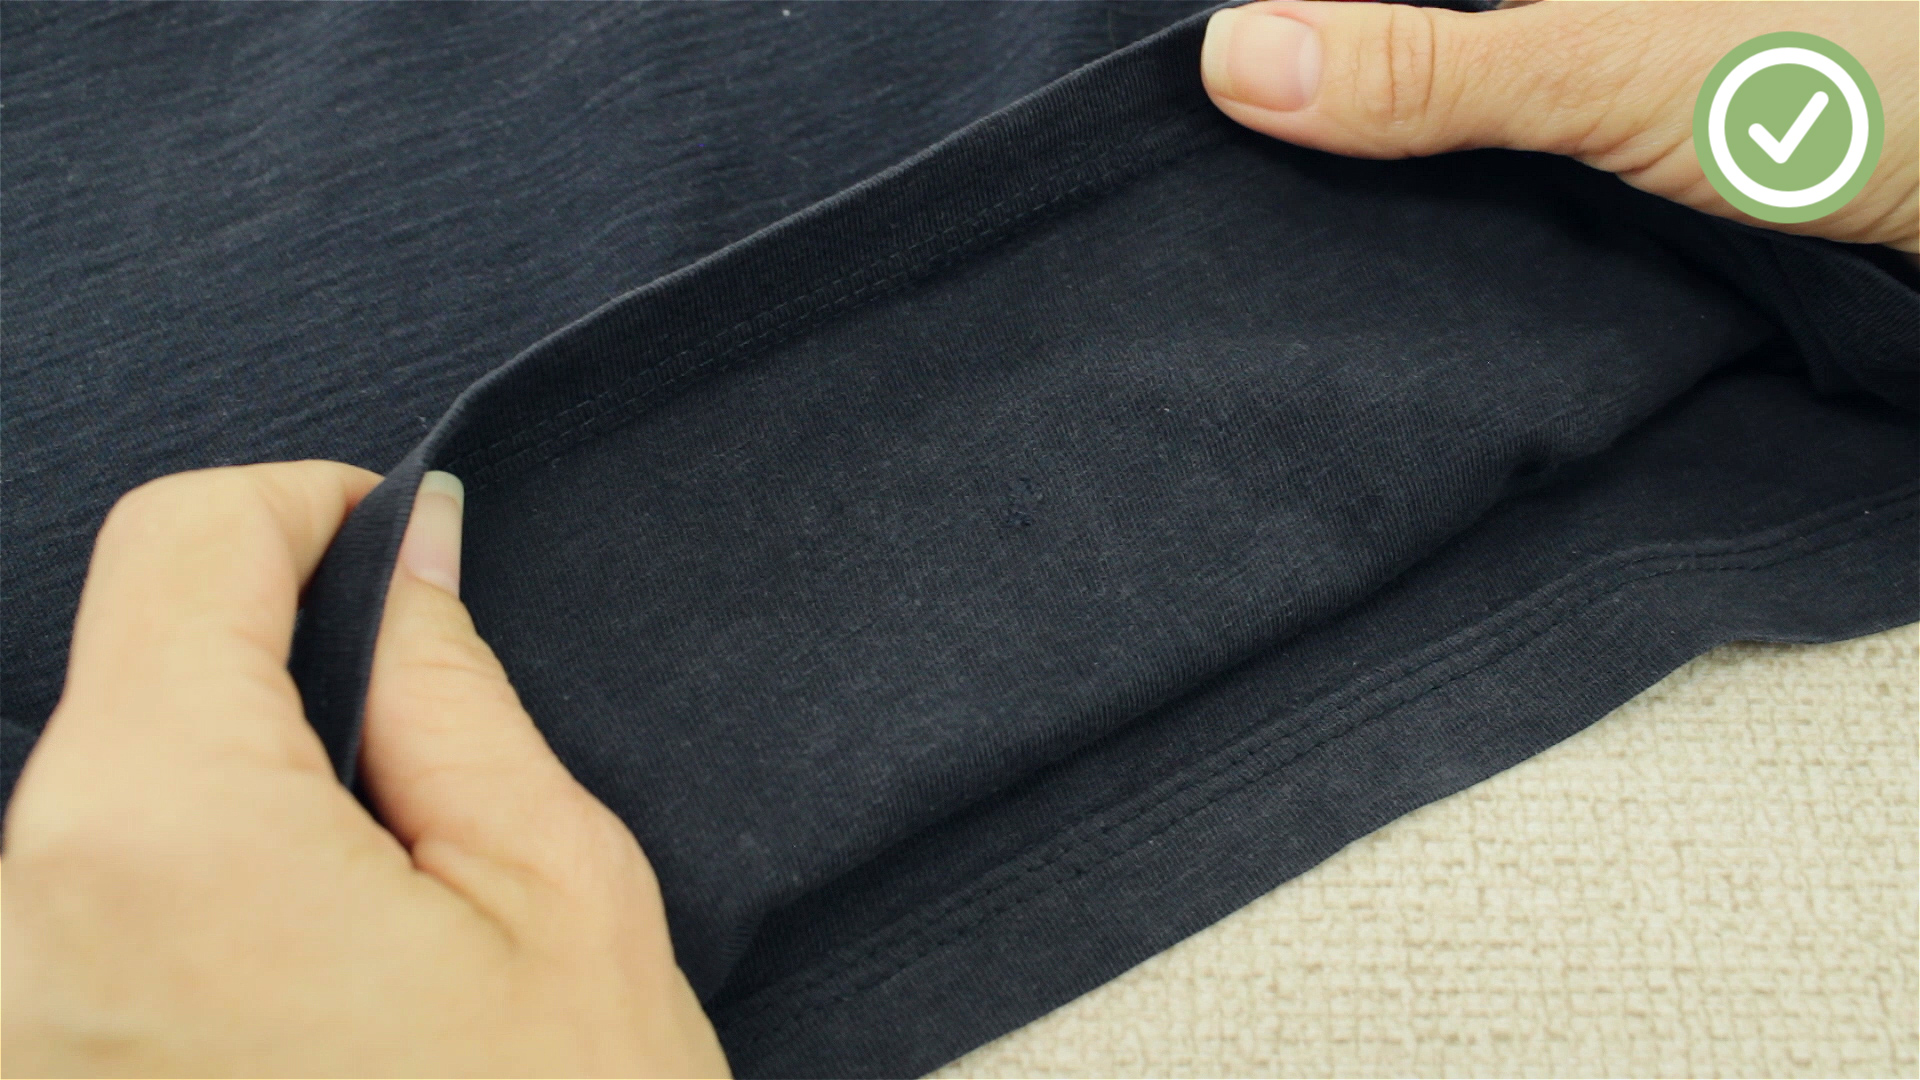
First, place the garment on a flat surface and look closely at the damage. Is it a tiny pinhole? A clean tear? A worn-out spot? A snag where the thread has been pulled? The type of hole determines the repair method.
For a pinhole or very small opening, hand stitching may be enough. For a hole larger than a pencil eraser, you will usually get a stronger result with backing support, such as fusible knit interfacing or a small patch. If the fabric around the hole is thin and tired, do not just close the opening. Reinforce the surrounding area too, or the repair may rip again like it has personal ambitions.
Step 2: Wash and Dry the Garment First
If the garment is dirty, wash it before repairing it. Oils, sweat, lotion, and detergent residue can prevent fusible materials from bonding properly. They can also make the fabric slippery and harder to sew.
Follow the care label. Most jersey garments do best with cool water and gentle drying. Avoid stretching the hole while washing. If the damaged area is fragile, place the garment in a mesh laundry bag. Let it dry completely before you start sewing or pressing.
Step 3: Turn the Fabric Inside Out
Most jersey knit repairs are cleaner from the wrong side of the fabric. Turning the garment inside out lets you hide knots, place interfacing discreetly, and control the edges of the hole without leaving a big “hello, I was repaired” announcement on the front.
Smooth the fabric gently. Do not pull hard. Jersey knit can stretch out of shape, especially around holes. If needed, place a small piece of cardboard, a pressing ham, or a folded towel inside the garment to keep the layers separated.
Step 4: Bring Loose Loops Back Into Place
If the hole came from a snag, you may see pulled loops or stretched threads around the opening. Use a needle, tiny crochet hook, or pin to ease those loops back toward the wrong side of the fabric. Do not cut them unless they are broken and fraying. Those loops are part of the original knit structure, and saving them helps the mend blend in.
Work slowly. Jersey fabric rewards patience and punishes yanking. If a loop is stubborn, coax it instead of dragging it. Yes, you are basically negotiating with a T-shirt. Welcome to mending.
Step 5: Choose the Right Thread and Needle
Use thread that matches the garment as closely as possible. If you cannot find an exact match, choose a slightly darker shade rather than a lighter one. Darker thread usually disappears better in shadows, while lighter thread may sit on top visually like it wants attention.
For hand sewing, choose a fine needle that slips through the knit without making new holes. For machine sewing, use a ballpoint or jersey needle. A ballpoint needle has a rounded tip that moves between knit fibers instead of piercing them aggressively. This helps reduce skipped stitches, snags, and extra damage.
Step 6: Stabilize the Hole With Fusible Knit Interfacing
For many small holes, lightweight fusible knit interfacing is the secret hero. Cut a piece slightly larger than the hole, usually about one-half inch beyond the damaged area on all sides. Round the corners so they do not peel up after washing.
Place the adhesive side against the wrong side of the fabric. Cover it with a pressing cloth, then press according to the interfacing instructions. Do not slide the iron back and forth. Press, lift, and press again. Sliding can distort the jersey and turn a small repair into a wavy little landscape feature.
Use low to medium heat if the fabric contains synthetic fibers such as polyester, rayon blends, or spandex. Too much heat can damage stretch fibers or leave shiny marks.
Step 7: Hand Stitch the Hole Closed
Thread your needle and tie a small knot. Starting from the wrong side, take tiny stitches around the hole, catching the loops of the knit rather than making large bites of fabric. For a clean invisible repair, use a ladder stitch, whip stitch, or tiny overcast stitch.
Pull the thread just snug enough to bring the edges together. Do not cinch it tightly. If the fabric puckers, the stitches are too tight. Jersey needs room to move. Imagine you are closing the hole, not putting it in a wrestling hold.
For a round hole, stitch around the opening in small circles, gradually closing the center. For a straight tear, align the edges and use small stitches from one end to the other. Knot securely on the wrong side and trim the excess thread.
Step 8: Use a Darning Method for Worn or Larger Holes
If the hole is too large to simply close, darning is a better option. Darning builds a new thread structure over the missing area. It is especially useful for thin spots, moth holes, and jersey that has worn down from friction.
To darn by hand, make several vertical stitches across the hole, anchoring them into strong fabric around the edges. Then weave horizontal stitches over and under those vertical threads. Keep the tension relaxed so the repair remains flexible. The result will not be totally invisible, but it will be strong, tidy, and far better than a hole waving at strangers.
If you like visible mending, use contrasting thread and turn the repair into a design detail. A small star, heart, leaf, or geometric patch can look intentional. Fashion has forgiven much stranger things.
Step 9: Add a Jersey Patch for Bigger Damage
For a hole larger than a dime, or for fabric that is weak around the tear, use a patch. Cut a small piece of jersey fabric in a similar weight and stretch. Ideally, borrow fabric from an inside hem, pocket, or matching scrap. The patch should stretch in the same direction as the garment.
Place the patch on the wrong side of the fabric, covering the hole with at least one-half inch of overlap. Pin or clip it gently. Hand stitch around the patch with small, flexible stitches, or use a narrow zigzag stitch on a sewing machine. A zigzag works better than a straight stitch because it stretches with the knit.
If the patch feels bulky, trim it carefully after sewing. Leave enough fabric around the stitches so the patch does not pull free.
Step 10: Press the Repair Gently
After sewing, give the repair a light press. Use a pressing cloth and low heat. Pressing smooths stitches, settles the thread, and helps the repaired area lie flatter.
Do not flatten the life out of the fabric. Jersey knit has texture and bounce. A gentle press is enough. If you used fusible interfacing, let the repair cool completely before moving the garment. The adhesive needs time to set.
Step 11: Test the Stretch and Trim Loose Threads
Turn the garment right side out and inspect the repair. Gently stretch the fabric in the direction it naturally moves. The stitches should flex without popping, puckering, or making the surrounding fabric strain.
Trim any loose threads. If the mend looks too tight, remove a few stitches and redo them with less tension. If the hole still spreads, add a small patch or additional backing. A good jersey repair should feel soft, secure, and comfortable against the skin.
Hand Sewing vs. Machine Sewing: Which Is Better?
Hand sewing is usually best for tiny holes, delicate jersey, and visible areas such as the chest, shoulder, or front of a dress. It gives you more control and makes it easier to hide stitches.
Machine sewing is faster and stronger for larger patches, underarm tears, leggings, pajama seams, and areas that get stretched often. Use a narrow zigzag, stretch stitch, or lightning stitch. Avoid a plain straight stitch on stretchy jersey unless the area does not need to stretch. Straight stitches can snap when the fabric moves.
Common Mistakes to Avoid
Using Thread That Is Too Thick
Heavy thread can make the repair bulky and obvious. Use regular all-purpose thread or fine polyester thread for most jersey repairs.
Pulling the Stitches Too Tight
Tight stitches create puckers. The goal is to support the fabric, not gather it into a tiny fabric raisin.
Skipping Reinforcement
If the fabric is thin around the hole, stitching alone may not last. Add lightweight fusible knit interfacing or a soft patch.
Using the Wrong Needle
A sharp woven-fabric needle can cut knit fibers. For machine repairs, a ballpoint or stretch needle is safer for jersey.
Ignoring Fabric Direction
If you add a patch, match the stretch direction. A patch that stretches the wrong way can pull against the garment and look lumpy.
How to Make the Repair Last Longer
Once your jersey knit fabric is repaired, treat it gently for the next few washes. Turn the garment inside out, use a gentle cycle, and avoid high heat in the dryer. Heat can weaken elastic fibers and may loosen some fusible materials over time.
For favorite T-shirts, leggings, and lightweight knit dresses, air drying is often the best choice. It reduces friction, shrinking, and stress on the repaired area. If you must use the dryer, choose low heat.
Also check what caused the hole in the first place. Was it a belt buckle? A rough countertop? A pet claw? A washing machine zipper attack? Fixing the cause helps prevent the same repair from becoming a monthly subscription service.
Best Repairs for Different Types of Jersey Holes
For Tiny Pinholes
Use a needle to ease the knit loops back into place, then secure from the wrong side with a few tiny stitches. Add fusible knit interfacing if the fabric is thin.
For Small Round Holes
Use hand stitching around the edges and gently draw the hole closed. Support the area with lightweight interfacing.
For Long Tears
Align the edges from the wrong side. Use a ladder stitch by hand or a narrow zigzag by machine. Reinforce with a patch if the tear is under stress.
For Worn Thin Spots
Darning or patching works better than simply sewing the area closed. Thin fabric needs new structure, not just a polite suggestion to behave.
For Athletic Jerseys
Use lightweight thread and avoid bulky patches. Athletic jersey fabric often contains synthetic fibers, so test iron temperature carefully before using fusible products.
Experience Notes: What Actually Works When Repairing Jersey Knit Fabric
After repairing many jersey knit garments, one lesson becomes very clear: the smallest repair often takes the most patience. A large patch on a pajama shirt is straightforward. A tiny hole on the front of a black T-shirt? That can feel like performing surgery on a shadow. The trick is to slow down, use good light, and stop trying to make the fabric obey by force.
One practical experience is that matching the thread matters more than fancy technique. A basic hand stitch in the right color often looks better than an advanced stitch in thread that is slightly too bright. If you are stuck between two shades, lay both threads across the garment in natural light. The one that disappears from a few feet away is usually the winner.
Another useful lesson is that fusible interfacing can be wonderful, but only when it is lightweight and flexible. Thick interfacing may hold the hole closed, but it can create a stiff square that moves differently from the rest of the garment. On a soft jersey top, that stiff square can look like the shirt is hiding a credit card. Knit interfacing is usually better because it moves with the fabric.
For very small holes, hand sewing from the wrong side is often the cleanest repair. The goal is not to sew a heavy seam across the opening. Instead, catch the nearby loops with tiny stitches and gently guide the fabric back together. If you pull too tightly, the repair puckers. If you leave it too loose, the hole may reopen. The sweet spot is snug but still relaxed.
For larger holes, a patch made from similar jersey fabric gives the best long-term result. If there is no matching scrap available, check the garment itself. Sometimes a small piece can be taken from an extra-long hem, inside pocket, or hidden seam allowance. This is the sewing version of borrowing sugar from a neighbor, except the neighbor is your own T-shirt.
Machine sewing works well for activewear, leggings, and children’s clothes because those garments take a lot of movement. A narrow zigzag stitch is especially helpful because it stretches. However, test first on scrap fabric if possible. Some lightweight jersey gets wavy under the presser foot. Lowering pressure, using a walking foot, or placing tissue paper under the fabric can help prevent stretching while you sew.
Finally, not every mend needs to be invisible. Visible mending can be charming, especially on casual clothing. A small embroidered star over a hole in a child’s shirt or a neat contrast patch on a lounge top can give the garment personality. The best repair is the one that makes the item wearable again. Perfect is nice, but wearable is the real victory. Your favorite jersey shirt does not need to return to factory condition. It just needs to stop flashing the world through a surprise ventilation port.
Conclusion
Fixing a hole in jersey knit fabric is easier when you respect the fabric’s stretch, softness, and looped structure. Start by inspecting the damage, stabilize the area, choose matching thread, and use tiny flexible stitches. For small holes, hand stitching and fusible knit interfacing may be enough. For larger or worn areas, darning or patching gives the repair extra strength.
The most important rule is simple: do not fight the knit. Work with its stretch, keep your stitches relaxed, and reinforce weak fabric before it tears again. With the right approach, you can save T-shirts, dresses, pajamas, leggings, and athletic jerseys from the donation pileor worse, the “I’ll fix this someday” drawer, where clothing goes to nap for seven years.