Note: Start with fit and focus before you even think about touching an alignment screw. A surprising number of “broken” binoculars are really just badly adjusted binoculars with excellent dramatic timing.
Double vision in binoculars can turn a beautiful hawk into two hawks, a bright moon into a weird cosmic dumpling, and your relaxing nature walk into an eye workout nobody requested. The good news is that not every double-image problem means your binoculars are doomed. Sometimes the fix is as simple as setting the eyecups correctly, adjusting the interpupillary distance, or resetting the diopter. Other times, the binoculars have been bumped hard enough to knock the optical alignment off, and that is when the repair gets more serious.
This guide walks you through 14 practical steps to troubleshoot and fix double vision in binoculars in a logical order. We will start with the easy, low-risk fixes and work toward the advanced stuff only if necessary. Think of it as triage for your optics: first the simple settings, then the deeper diagnosis, and only then the tiny screwdriver of destiny.
What Causes Double Vision in Binoculars?
If your binoculars are showing two images, one of four things is usually happening. First, the barrels may not match the distance between your eyes. Second, the diopter may be set incorrectly, so one barrel is focused differently than the other. Third, your eye placement may be off because the eyecups are in the wrong position. Fourth, the binoculars may be out of collimation, which means the two optical paths are no longer pointing at exactly the same place.
That last issue is the one people usually mean when they say binoculars are “out of alignment.” It can happen after a drop, a hard knock, rough travel, or sometimes from age and loosened internal components. But before you assume your binoculars need surgery, rule out the easy stuff. You do not want to perform optical heroics when the real villain is a diopter ring that got bumped in your backpack.
Before You Begin
Set yourself up in good light and choose a target at least a few hundred feet away. A telephone pole, roof edge, antenna, or any straight line against the sky works well. If you have a tripod adapter, even better. A stable view makes it much easier to tell whether the problem is focus, eye placement, or true misalignment.
You may also want a microfiber cloth, a blower or soft brush for dust, and a very small screwdriver only if you reach the final repair stage. If your binoculars are under warranty, pause before doing anything invasive. Some brands offer repair or replacement support, and self-repair can affect warranty coverage.
How to Fix Double Vision in Binoculars: 14 Steps
Step 1: Confirm the problem is in the binoculars
Look at the same distant object with your naked eyes first. If you also see double without the binoculars, the issue may not be the instrument. That is not a binocular problem; that is a good reason to stop and get your eyes checked. If your normal vision is fine and the doubling appears only through the binoculars, continue.
Step 2: Clean the lenses the right way
Dirty optics do not usually cause true double vision, but they can create blur, ghosting, flare, and glare that make the image look worse than it really is. Blow off loose grit first. Then use a clean microfiber cloth or lens-safe wipe. Do not use paper towels, tissues, your T-shirt, or the mysterious sleeve you have trusted since middle school. Scratched coatings are not a personality trait your binoculars need.
Step 3: Set the eyecups for your eyes
If you wear glasses, twist the eyecups down or keep them retracted. If you do not wear glasses, twist them up until the view is comfortable and full. Incorrect eyecup position can create black crescents, clipping, and unstable eye placement. Sometimes people mistake that messy, shadowy image for a more serious alignment problem.
Step 4: Adjust the interpupillary distance
Hold the binoculars to your face and hinge the barrels inward or outward until the two circular images merge into one clean circle. This setting is called the interpupillary distance, or IPD. If the barrels are too wide or too narrow for your face, the view can look like two overlapping worlds that refuse to sign a peace treaty. Get this right first.
Step 5: Reset the diopter to neutral
Find the diopter adjustment, usually near the right eyepiece or integrated into the center focus wheel. Return it to the zero mark or center position. A bumped diopter is one of the most common reasons binoculars suddenly feel “wrong,” especially if they were fine yesterday and weird today.
Step 6: Focus the left barrel first
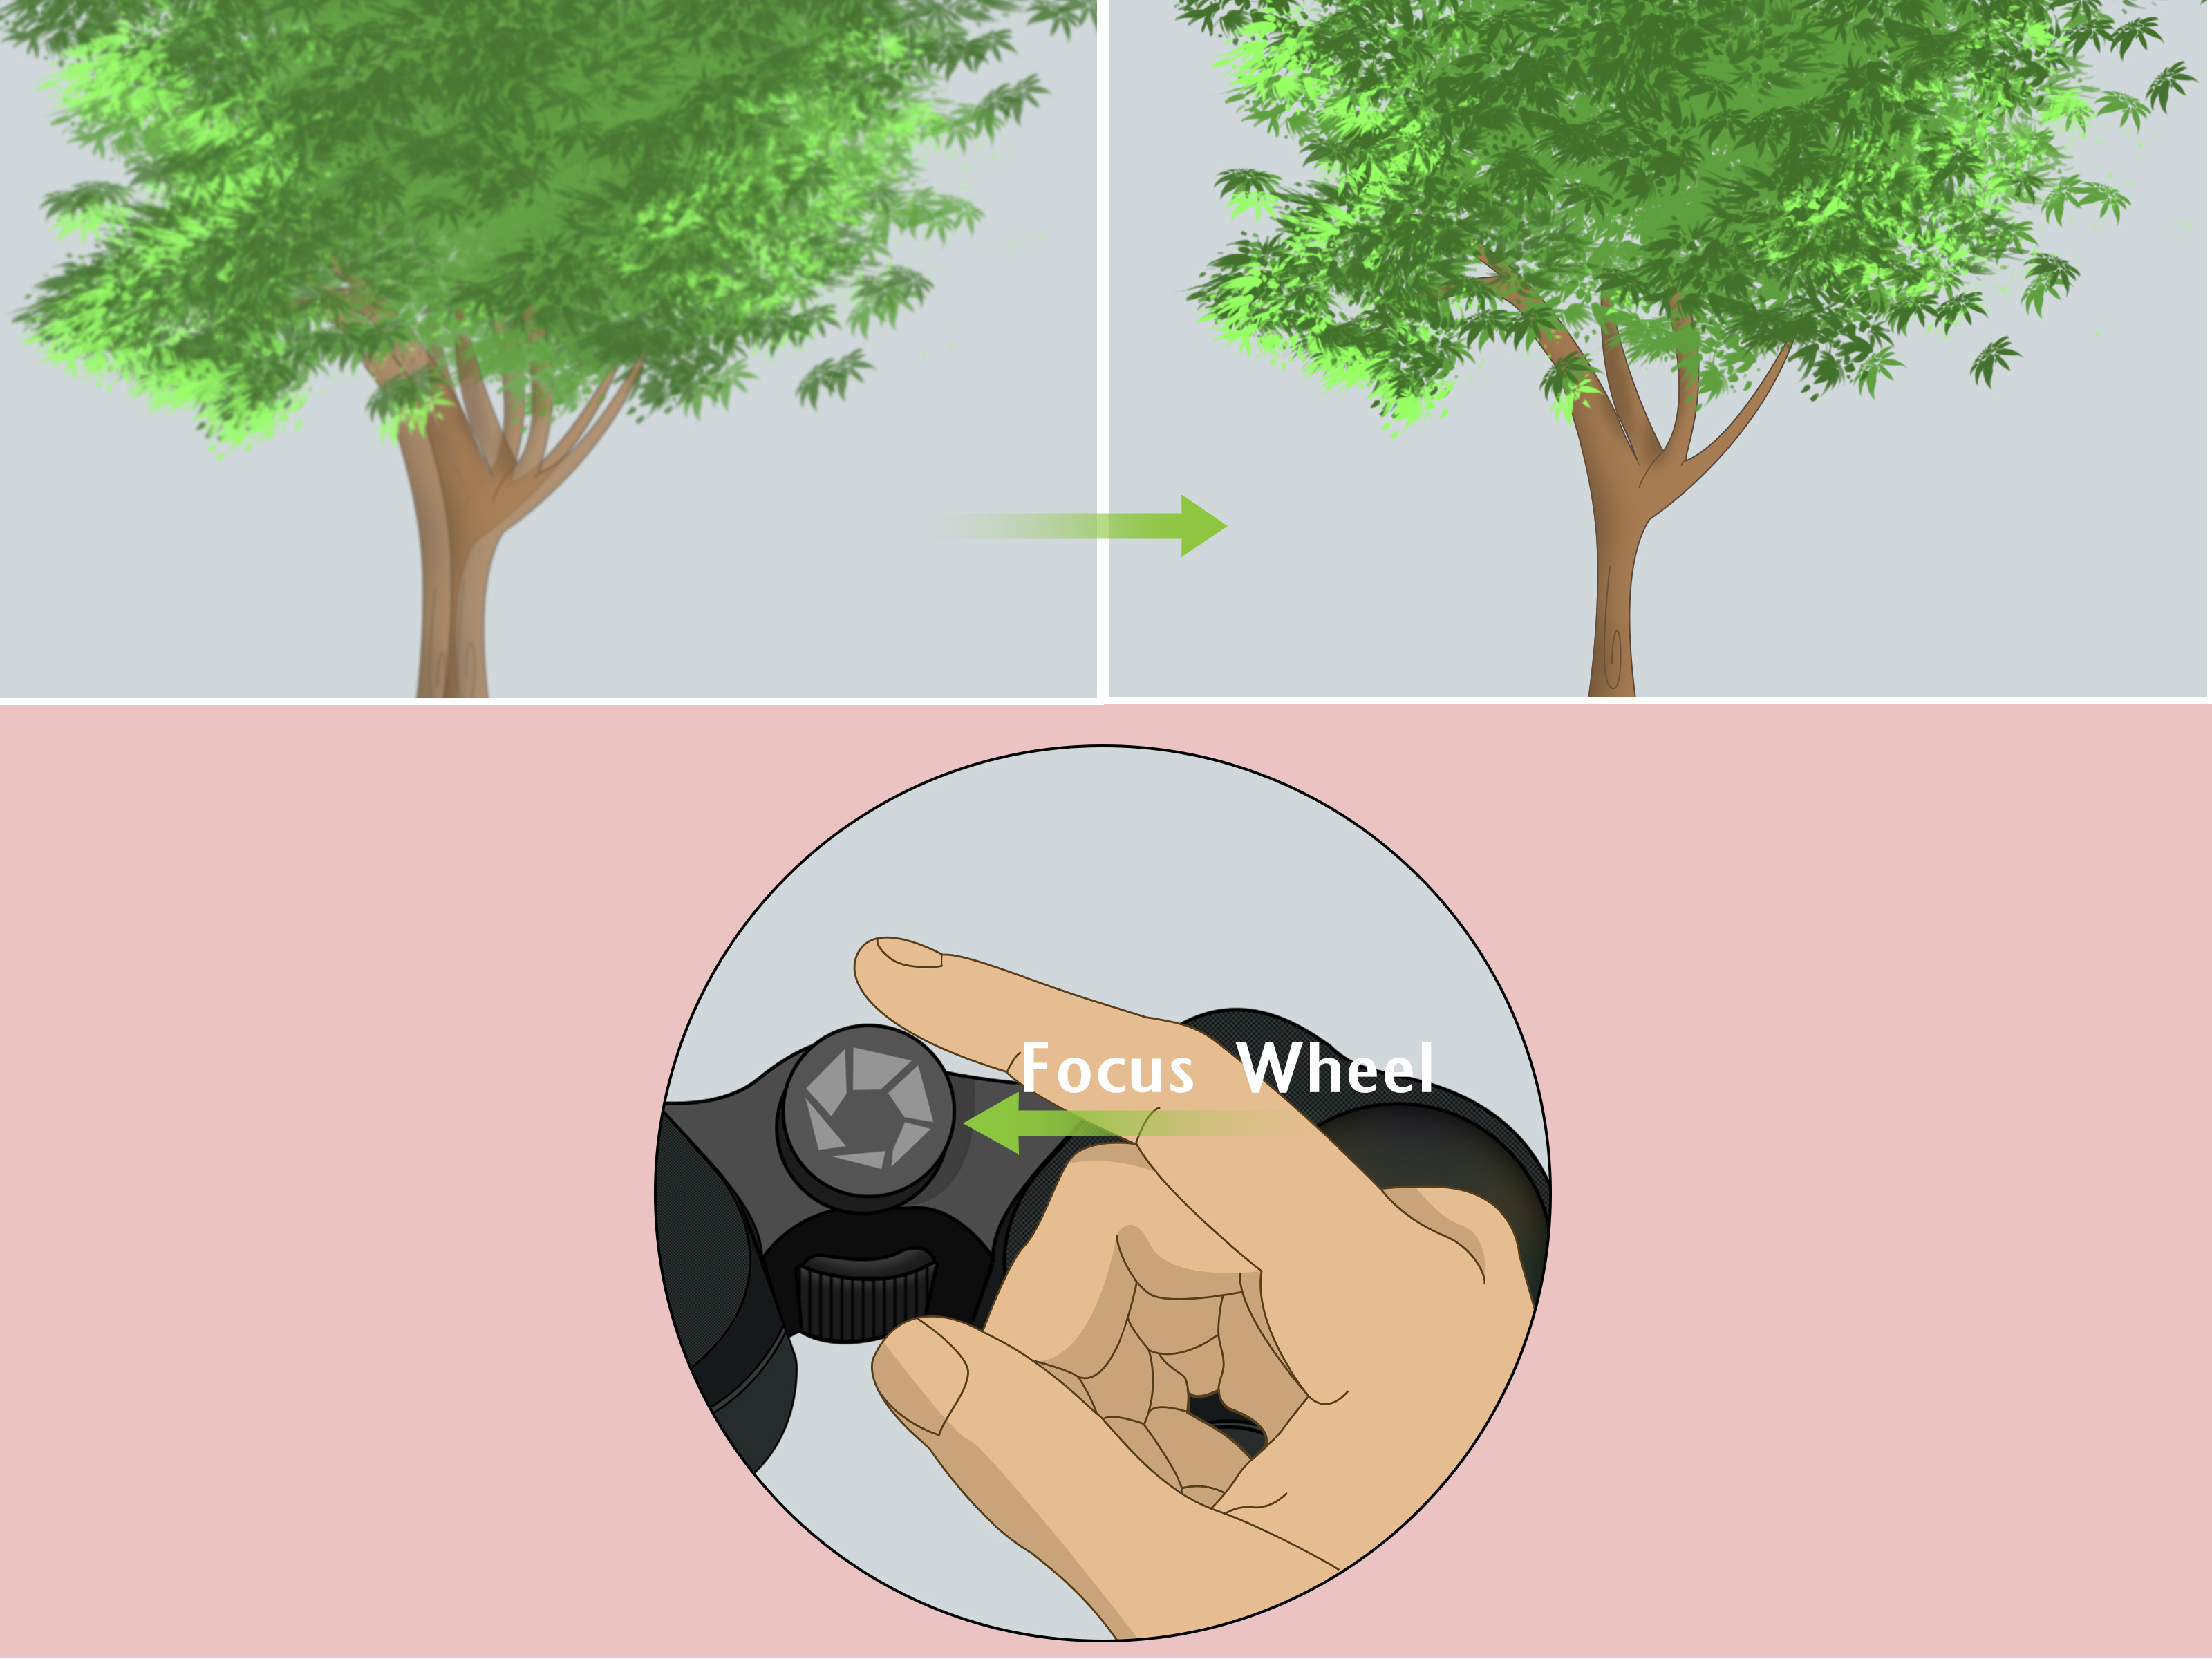
Cover the right objective lens with your hand or the lens cap. Keep both eyes open if that feels natural, but use only the left barrel. Focus on a distant object with fine detail, such as tree bark, brick lines, or an antenna. Turn the center focus wheel until the left image is crisp.
Step 7: Focus the right barrel with the diopter
Now cover the left objective lens and uncover the right. Look at the same distant object and adjust the diopter until the right image is equally sharp. Do not touch the center focus wheel during this step. When both sides are set correctly, the view should feel relaxed and easy, not like your eyes are negotiating a hostage release.
Step 8: Test the binoculars on a distant straight edge
Look at a vertical line, such as a power pole or building edge, or a horizontal roofline. If the image merges comfortably and stays merged, your problem was probably setup, not damage. If the view still splits into two images or feels like your eyes are being forced to “pull” the picture together, you may be dealing with miscollimation.
Step 9: Check each barrel separately
Close one eye and look through one barrel at a time. Then switch sides. If each barrel looks sharp on its own but the two images do not merge together, that strongly suggests an alignment problem between the barrels rather than a basic focus problem. This is a useful clue because it tells you the optics may still be decent even if the binoculars are not properly collimated.
Step 10: Stabilize the binoculars before judging them
Hand shake can make a binocular seem worse than it is, especially at 10x and above. Rest your elbows on a table, brace against a wall, or mount the binoculars on a tripod if the model allows it. A stable view helps you tell the difference between “my hands are caffeinated” and “the prisms are out of whack.”
Step 11: Inspect for signs of impact or internal trouble
Check the body for dents, loose armor, rattling sounds, uneven hinges, or eyepieces that feel unusually loose. If the problem began right after a drop, a car-door incident, or a dramatic tumble from a backpack, the odds of internal misalignment go up fast. In some cases, a prism may have shifted slightly. In others, a screw has loosened. Either way, this is where the story starts moving beyond normal user adjustment.
Step 12: Decide whether DIY repair is actually worth it
If you own a premium binocular that is still under warranty, stop here and contact the manufacturer or authorized service. That is usually the smartest move. If the binocular is inexpensive, out of warranty, or already unusable, a cautious DIY alignment attempt may be reasonable. The key word here is cautious. Not “bold.” Not “inspired.” Definitely not “I saw one video and now I am an optical surgeon.”
Step 13: Make a tiny conditional collimation adjustment
This is the advanced step, and it should be treated like hot sauce: a little goes a very long way. Many binoculars have small collimation or prism-tilt screws hidden under the rubber armor or near the prism housing, but the exact location varies by model. If you have a service manual or trusted model-specific repair reference, use it.
Mount the binoculars so they do not move. Aim at a distant target with a clean vertical or horizontal line. Mark the current screw position mentally, or photograph it before touching anything. Then turn one screw only by a very tiny amount, about 1/16 turn or less. Recheck the image immediately. If the view gets worse, return to the previous position. If it improves, continue in microscopic increments. Do not crank both sides randomly. That is how people turn “slightly misaligned” into “abstract art.”
Also remember that some binoculars are only being conditionally aligned for your eyes and at a specific IPD setting when adjusted this way, not perfectly factory-collimated on a bench. That can still make them usable, but it is not the same as a full professional optical service.
Step 14: Retest, then choose repair, service, or replacement
After any adjustment, repeat the full setup: eyecups, IPD, center focus, and diopter. Test on several distant targets and use the binoculars for a few minutes. A successful fix should feel relaxed. You should not feel eye strain, “seasick” discomfort, or an urge to stop using the binoculars after thirty seconds. If the image still will not merge cleanly, the internal alignment likely needs professional service, or the binoculars are simply not worth further effort.
Common Mistakes to Avoid
Mistake one: Assuming every blurry or uncomfortable image is collimation. Many are not.
Mistake two: Skipping the diopter setup and blaming the binoculars for human asymmetry. Eyes are rarely perfectly matched.
Mistake three: Cleaning optics with whatever happens to be in your pocket. Your binocular coatings are not interested in meeting a fast-food napkin.
Mistake four: Twisting adjustment screws too far, too fast, and on both sides. Tiny changes matter.
Mistake five: Forgetting that high magnification exaggerates every flaw, including hand shake and misalignment.
When You Should Skip DIY Completely
There are times when the wise move is to put the screwdriver down and back away slowly. Skip DIY repair if your binoculars are still covered by warranty, if the body shows obvious impact damage, if you hear loose internal parts rattling around, or if you cannot identify the correct adjustment point with confidence. Also skip DIY if the binoculars are waterproof and nitrogen-purged and you would need to peel back armor or open sealed areas to continue. Once factory sealing is compromised, fogging and moisture trouble can join the party.
Professional service makes the most sense for high-end birding, marine, or astronomy binoculars where optical quality really matters. A cheaper pair may be worth experimenting on. A premium pair deserves better than an enthusiastic guessing game conducted on the kitchen table.
Real-World Experiences With Double Vision in Binoculars
One of the most common real-life experiences goes like this: someone pulls an old pair of binoculars out of a closet before a vacation, looks at a distant tree, and immediately sees two trees having a disagreement. They assume the binoculars “went bad” while sitting still. In reality, the diopter was bumped years ago, the eyecups are set wrong for glasses, and the barrels are nowhere near the correct IPD. Ten minutes later, after a proper reset, the binoculars are back in business and the owner feels like they just performed optical CPR.
Another classic scenario happens after travel. Binoculars ride in a backpack, trunk, or boat bag, get knocked around a bit, and suddenly the image becomes tiring. Not dramatically double, just slightly off. This is the sneaky version of misalignment. The view may still merge, but the user starts feeling eye strain or a mild headache after a few minutes. Birders often describe this as a binocular that feels “off” or “fussy,” while stargazers might notice that stars never quite settle into clean points. In those cases, the problem is not imagination. Small alignment errors can absolutely create real fatigue.
There is also the “my kid dropped them but didn’t mention it” experience, which deserves its own museum wing. The binoculars look fine from the outside, but now straight lines split and the view feels crooked. This is where careful inspection matters. A hard impact can shift prism alignment even if the armor hides the evidence. People often spend ages resetting focus and diopter on a binocular that has already moved into true repair territory.
Then there is the overconfident DIY phase, and yes, this is common too. Someone reads that binoculars can be adjusted with tiny screws, finds something screw-like under the armor, and immediately becomes the world’s least supervised optical technician. Sometimes they get lucky. Sometimes they turn a minor issue into a major one by moving multiple adjustment points without tracking what changed. The lesson here is simple: slow, tiny, documented changes beat improvised chaos every time.
On the happier side, many people discover that what they thought was double vision was really poor eye placement. Eyecups matter more than beginners expect. So does using the binoculars for more than thirty rushed seconds. Once the eyecups, IPD, and diopter are set correctly, the view often becomes comfortable, bright, and relaxed. That moment can feel almost ridiculous. You spend an hour preparing for optical surgery, and the cure turns out to be “twist the eyecups and stop fighting the hinge.” Humbling, yes. Effective, also yes.
Experienced users also learn a useful truth: a successful fix feels calm. The image snaps together, the strain disappears, and you stop thinking about the binoculars themselves. You go back to watching birds, boats, ball games, or craters on the moon. That is the real goal. Not perfection for bragging rights. Not heroic repair drama. Just one clean image, two happy eyes, and zero temptation to blame the universe for your gear problems.
Final Thoughts
If your binoculars are showing double vision, do not jump straight to the scary conclusion. In many cases, the fix is simple: correct the eyecups, set the IPD, reset the diopter, and focus both barrels properly. If the problem remains after that, then you can investigate true alignment trouble. For budget binoculars, a careful DIY collimation attempt may save the day. For better binoculars, professional service is often the wiser and cheaper choice in the long run.
The smartest approach is patient, methodical, and slightly suspicious of easy internet heroics. Start simple. Test carefully. Adjust slowly. And remember: when binoculars show two birds where there should be one, the goal is not to become an instant repair legend. The goal is to get back to seeing one sharp, beautiful bird without your eyeballs filing a complaint.