Fitting a sink waste pipe is one of those DIY jobs that looks intimidating until you realize it’s basically a
fancy, leak-proof set of plastic (or chrome) “Lego” piecesplus one curved section that keeps your bathroom from
smelling like a subway tunnel. Do it right and you’ll get a smooth drain, no drips, and zero mystery odors. Do it
wrong and you’ll be hosting a recurring puddle under your cabinet like it pays rent.
This guide walks you through the simple, reliable way to fit a sink waste pipe (a.k.a. sink drain pipe assembly),
with practical tips for common setups: bathroom sinks, kitchen sinks, double bowls, and garbage disposals.
We’ll keep it homeowner-friendly, code-aware, and just humorous enough to make crouching under a cabinet feel like
a character-building hobby.
What “Sink Waste Pipe” Actually Includes
In most U.S. homes, the “sink waste pipe” is the short drainage system from the sink drain down to the wall (or
floor) drain connection. The usual cast of characters:
- Sink strainer / drain flange (kitchen) or pop-up drain (bath): the drain opening in the sink.
- Tailpiece: straight pipe dropping down from the drain.
- P-trap (trap bend / J-bend): the U-shaped curve that holds water and blocks sewer gas.
- Trap arm: the straight pipe that runs from the trap to the wall drain stub-out.
- Slip-joint nuts + washers: the hand-tightened fittings that (when installed correctly) don’t leak.
The “simple way” is to use a standard tubular P-trap kit (PVC, ABS, or chrome/brass) with slip-joint connections,
align everything without stress or weird angles, and tighten just enough to sealno Hulk strength required.
Quick Reality Check: Safety and Code Basics (Without the Snooze)
A few plumbing truths make this job go smoothlyand keep you out of “why does it smell like doom?” territory:
-
You want a P-trap, not an S-trap. An S-trap can siphon water out of the trap and let sewer gases in.
If your setup drops straight down into the floor with no proper venting arrangement, that’s a red flag. -
Every fixture should be trapped and vented. If your drain gurgles like it’s trying to communicate,
your venting or downstream drain may be unhappy. -
Leaks aren’t “minor.” A slow drip can rot cabinets, grow mold, and warp flooring. Treat leaks like
a smoke alarm chirp: annoying, but it’s telling you something important. -
When to stop DIY: if you see damaged wall piping, evidence of chronic backups, odd venting,
or you can’t get alignment without forcing parts together, a plumber is cheaper than water damage.
Tools and Parts You’ll Actually Use
Parts (buy after you measure)
- P-trap kit (most common sizes: 1-1/4 inch for many bathroom sinks; 1-1/2 inch for kitchens).
- Tailpiece extension (if the tailpiece doesn’t reach the trap comfortably).
- Reducing washer (if you’re connecting 1-1/4 inch to 1-1/2 inch tubular parts).
- Dishwasher branch tailpiece (kitchen sink without disposal but with dishwasher drain hose).
- Continuous waste kit (for double-bowl sinks) or a disposal-specific kit.
- New slip-joint washers (they’re cheap; old ones are often the reason for new drips).
Tools (minimal, but mighty)
- Bucket + old towel (because the trap always contains wateralways)
- Slip-joint pliers or channel-lock pliers (optional; hand-tight is usually enough)
- Hacksaw or tubing cutter (for trimming tubular pipe)
- Utility knife / sandpaper (to deburr cut edges)
- Flashlight (or your phone, set to “interrogation spotlight” mode)
- Paper towels (the best leak detector on Earth)
Before You Touch Anything: Identify Your Setup
Take 30 seconds to look under the sink and you’ll save 30 minutes of “why doesn’t this line up?” later.
Here are the most common situations:
Bathroom sink (pop-up drain)
You’ll likely have a vertical tailpiece, a P-trap, and a trap arm to the wall. There may be a pivot rod and stopper
assembly connected to the drain bodydon’t yank it like you’re starting a lawnmower.
Kitchen sink (single bowl, no disposal)
Usually a basket strainer connects to a tailpiece, then the P-trap, then the wall. If there’s a dishwasher hose,
you may need a dishwasher branch tailpiece (or a disposal provides the dishwasher inlet instead).
Kitchen sink with garbage disposal
The disposal outlet sits lower and sometimes changes the geometry. You may need a different trap arm length or
a trap configuration designed for disposal height.
Double-bowl kitchen sink
Two drains typically connect with a “continuous waste” pipe into a single P-trap. The trick is getting the
tee/baffle orientation right and maintaining a gentle slope toward the trap without turning it into a twisty straw.
Step-by-Step: The Simple, Reliable Way to Fit a Sink Waste Pipe
Step 1: Prep the cabinet (future-you will be grateful)
- Clear everything under the sink. Yes, even the “miscellaneous” bin you fear.
- Put a bucket directly under the P-trap.
- Lay a towel or a few paper towels on the cabinet floor for easy drip detection.
Step 2: Disassemble the old trap (if replacing)
Most tubular traps come apart at the slip-joint nuts. Turn the nuts counterclockwise by hand. If they’re stuck,
use pliers gentlyplastic threads can strip and chrome can deform. Lower the trap into the bucket and let it drain.
Step 3: Dry-fit everything first (the secret to “simple”)
“Dry-fit” means you assemble the pieces looselyno final tighteningjust to confirm alignment. The goal is a setup
where parts meet naturally, without pushing, bending, or “convincing” them into place.
-
Check height: The trap bend should sit comfortably below the tailpiece, and the trap arm should
meet the wall stub-out without forcing angles. -
Check reach: If the tailpiece is too short, add an extension. If the trap arm is too long,
trim it. -
Check material compatibility: Tubular PVC/ABS parts are common. Chrome/brass looks nice for exposed
plumbing. If you’re mixing materials, use fittings intended for that purpose.
Step 4: Understand washer orientation (because this is where leaks are born)
Slip-joint connections seal with a washer, not with thread tape. Most slip-joint washers are slightly tapered
(cone-shaped). In general:
- Slip nut first onto the pipe.
- Washer next onto the pipe.
-
Tapered washer orientation: the narrow/tapered end typically faces the fitting it will seat into,
so it compresses into the joint as the nut tightens.
If you install a tapered washer backward, you can tighten forever and still get a slow driplike a tiny plumbing
prank that never ends.
Step 5: Trim only when you must (measure twice, cut once, complain zero times)
If a pipe section is too long, mark it, cut it straight, and deburr the edge so it doesn’t chew up
the washer. A rough cut edge can create micro-channels for leaks. That’s not “bad luck,” it’s physics.
Step 6: Assemble the tailpiece to the trap bend
Slide the slip nut and washer onto the tailpiece. Insert the tailpiece into the trap inlet and thread the nut on.
Tighten hand-tight, then give it a small additional snug (often about a quarter turn) only if needed.
Overtightening can crack plastic nuts or distort washers.
Step 7: Connect the trap bend to the trap arm (to the wall)
Place the slip nut and washer on the trap arm, insert the trap arm into the trap bend outlet, then align the other
end with the wall stub-out. Some wall connections are slip-joint tubular; others transition to DWV piping at the wall.
Your goal is a clean, straight run with a gentle slope toward the wall drain, without turning the trap into an S-shape.
Step 8: Tighten in the right order
A simple tightening sequence prevents misalignment:
- Snug the connection at the tailpiece-to-trap bend.
- Snug the trap bend-to-trap arm connection.
- Snug the trap arm-to-wall connection.
Keep everything aligned as you tighten. If one joint twists, it can slightly unseat a washer elsewhere. Under-sink
plumbing is basically a group project: one person turning sideways ruins it for everyone.
Step 9: Test for leaks like a professional
Don’t just run a trickle and call it a day. Use a two-part test:
- Flow test: Run water for a few minutes while watching each joint.
- Load test: Fill the sink partway, then let it drain. This increases pressure and can reveal a weak seal.
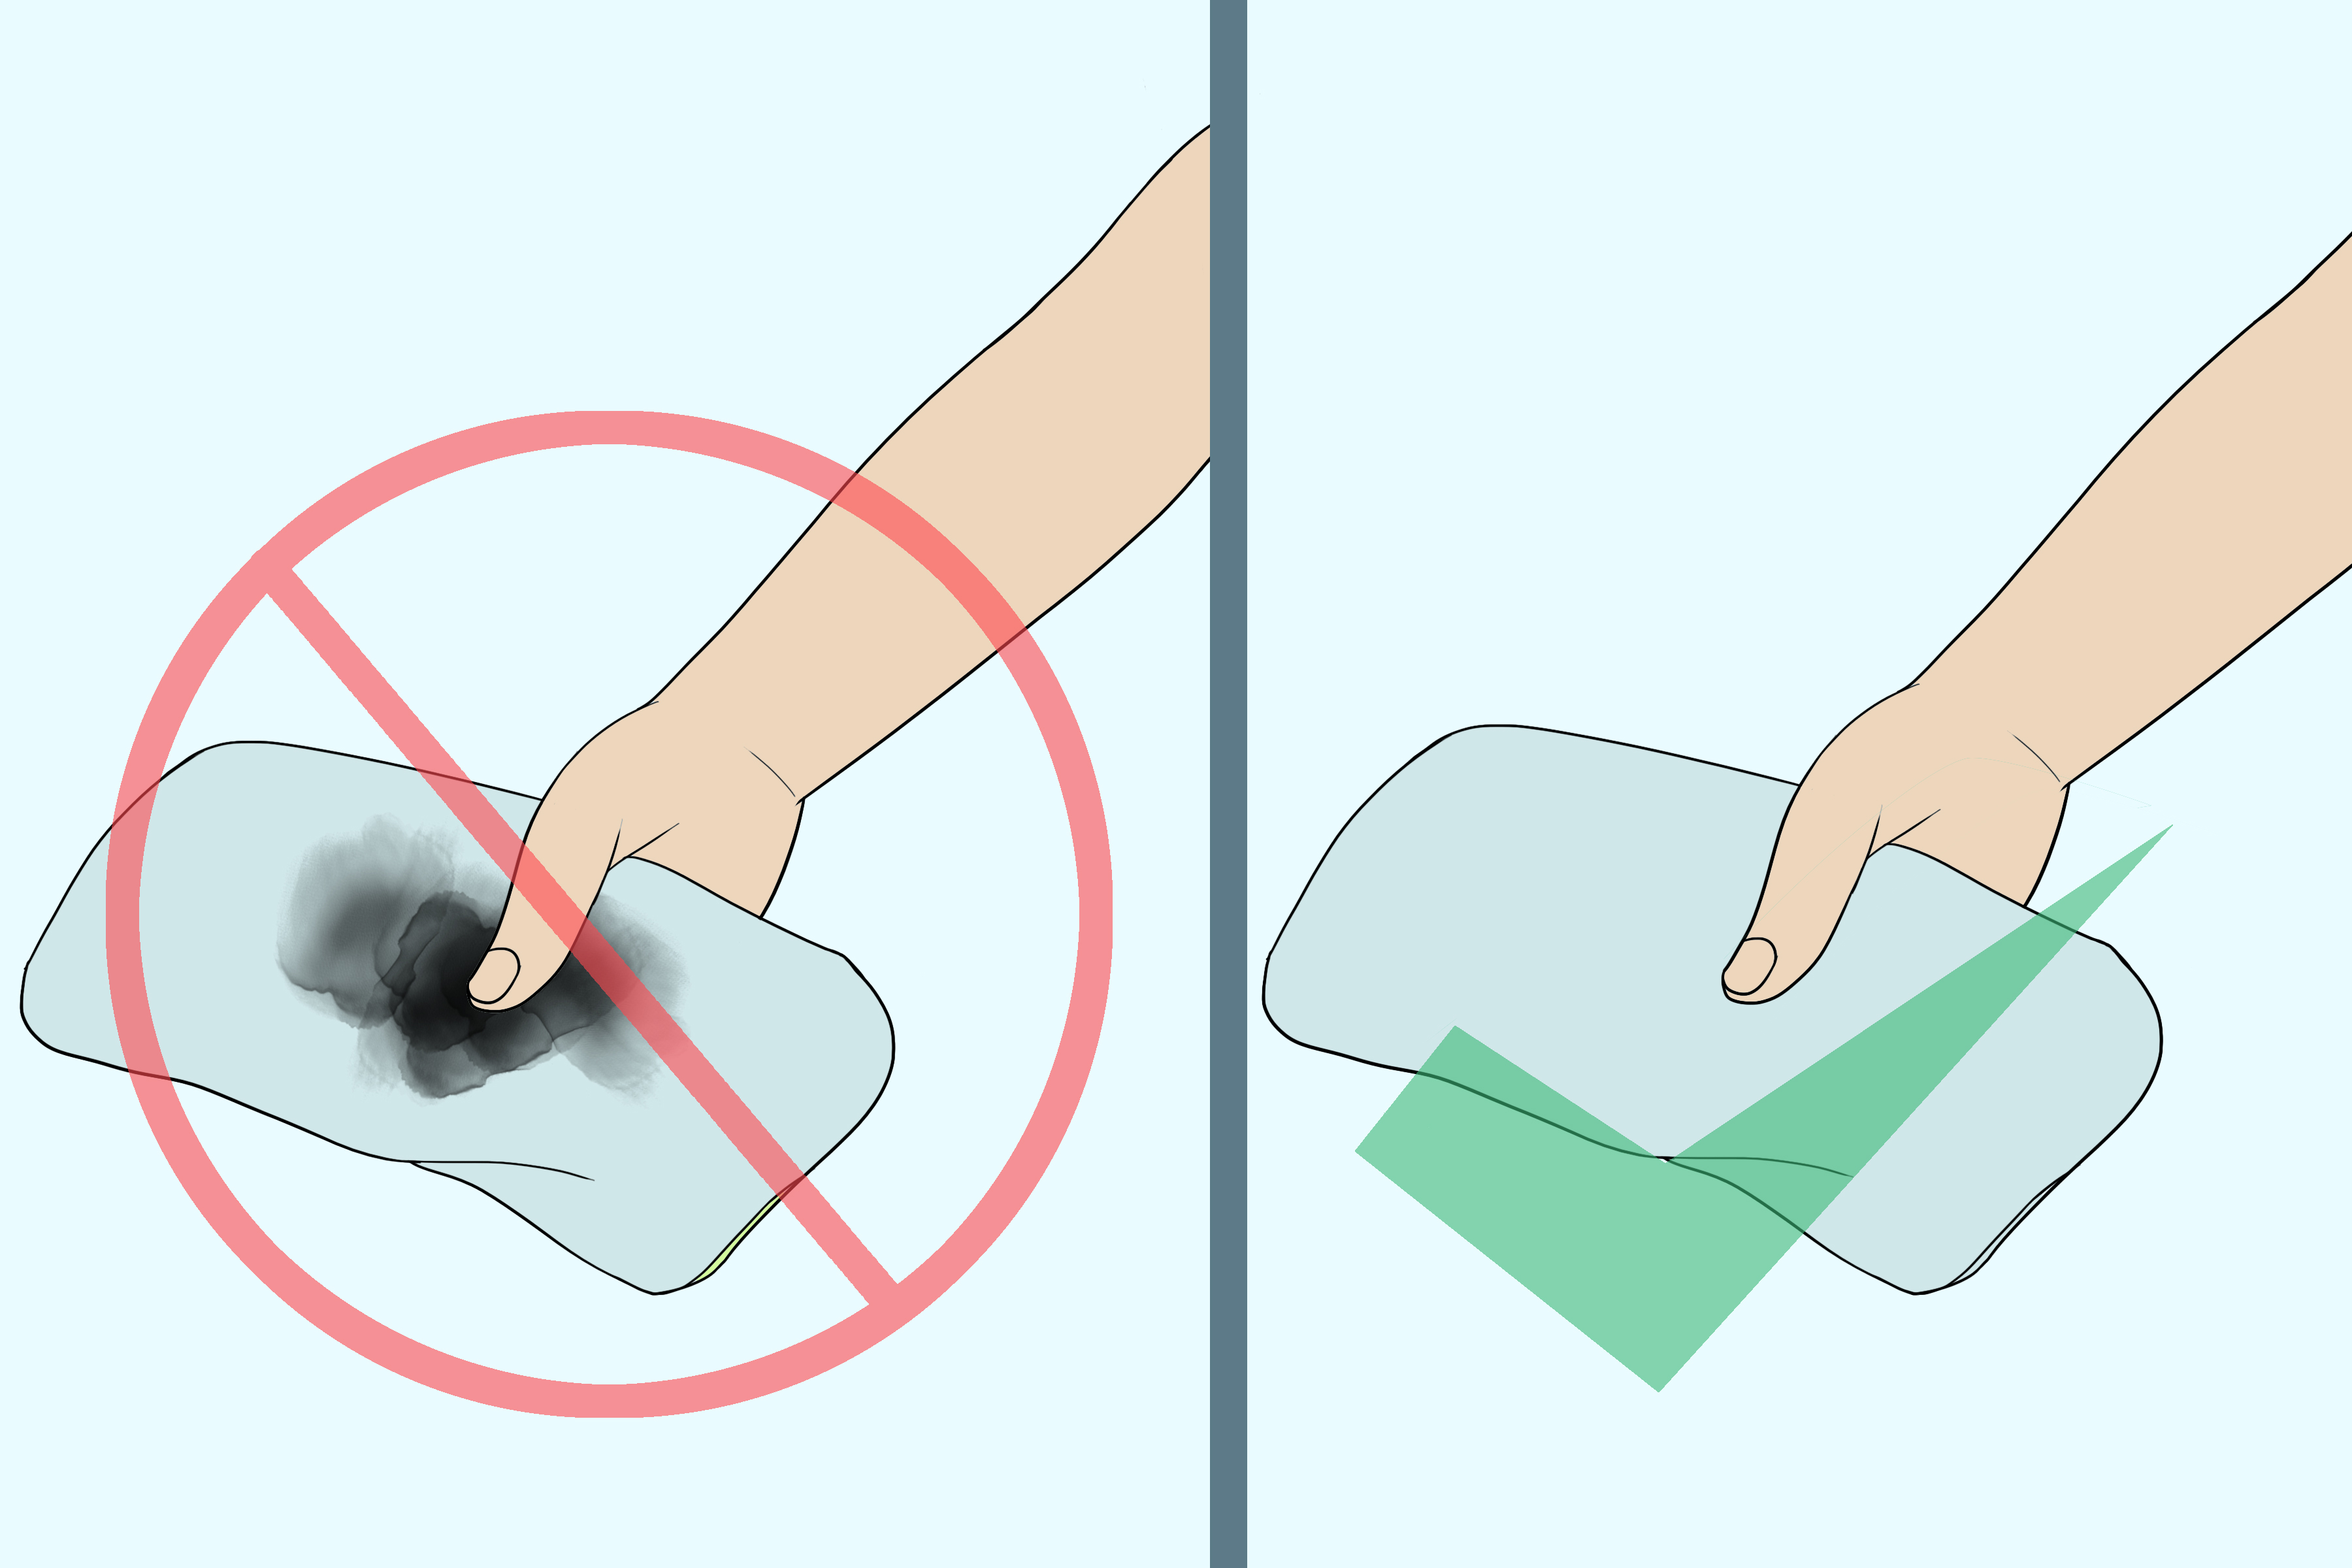
Pro move: wipe each joint dry, then wrap a dry paper towel around it. Even a tiny drip shows up immediately.
Simple Fixes for Common Sink Waste Pipe Scenarios
1) “My wall pipe and my trap arm don’t match”
This happens in older homes or after past DIY adventures. If the wall stub-out is a different diameter or material,
you may need a proper transition fitting or a trap adapter (depending on what’s coming out of the wall).
Avoid “creative” rubber couplings unless they’re code-approved for the location and application.
2) “The disposal outlet sits too low”
Garbage disposals often lower the drain outlet, which can reduce your ability to maintain the correct trap geometry.
Solutions include:
- Using a trap kit designed for disposal hookups
- Shortening or reconfiguring the tailpiece/disposal discharge tube
- Checking whether the wall drain stub-out is unusually high (a harder fix)
If you can’t get the trap arm to run to the wall without creating an S-trap shape, you may be in “call a plumber”
territorybecause the fix might involve changing the wall connection, not just the tubular parts.
3) “Double bowl sink: why are there so many pieces?”
Double bowls are not complicatedjust more parts to align. The key is building the continuous waste assembly so it
slopes gently toward the trap inlet. Keep the tee oriented correctly so water flows smoothly from both bowls without
creating a clog-friendly turbulence festival.
4) “Bathroom sink pop-up drain: what do I do with the pivot rod?”
If you’re replacing only the P-trap and not the drain body, you can usually leave the pop-up assembly alone.
If you’re replacing the drain body too, take a quick photo of how the pivot rod and clevis strap connect before
disassembling. That photo will save you from a 20-minute “mechanical archaeology” session later.
Why Leaks Happen (And How to Fix Them Fast)
Drip at a slip-joint nut
- Most likely: washer backward, washer missing, washer damaged, or joint misaligned.
- Fix: loosen, reseat the pipe, confirm washer direction, then retighten hand-snug.
- Tip: If tightening “more” didn’t fix it, tightening “even more” usually won’t either.
Leak only when the sink is full
- Most likely: drain flange or strainer seal issue (above the trap), or a joint that fails under higher flow.
- Fix: do the load test again and watch carefully; leaks often appear higher than you expect.
Bad smell, but no visible leak
- Most likely: trap seal evaporated (rare for a frequently used sink), siphoning due to venting issues, or a loose connection.
- Fix: run water to restore the trap seal; if gurgling persists, investigate venting or downstream blockage.
Pro Tips That Make the Job Easier (And Cleaner)
-
Don’t use thread tape on slip-joint threads. Slip joints seal with washers, not threads.
Tape can actually interfere with proper nut tightening. -
Hand-tight first, then micro-adjust. If it weeps, tighten a small amount. If it still weeps,
re-seat the washer instead of cranking harder. - Avoid stress angles. If you need to bend a pipe into place, it’s going to fight you laterusually at 2 a.m.
- Keep a spare washer set. They cost little and can turn “redo everything” into “fix in five minutes.”
- Paper towels are your leak radar. A dry towel under the joints makes tiny drips obvious fast.
Maintenance: Keep Your Sink Waste Pipe from Becoming a Drama Pipe
A well-fitted waste pipe needs very little attention, but a few habits help:
- Periodically check slip-joint nuts for loosening (especially after temperature swings or cabinet work).
- Clean the trap if drainage slows and you suspect buildup (bucket firstalways).
- Avoid harsh chemical drain cleaners when possible; they can be rough on pipes and seals.
When to Call a Plumber (No Shame, Just Wisdom)
DIY is great until it isn’t. Consider calling a pro if:
- You can’t align the trap without creating an S-shaped drop or awkward vertical run
- The wall stub-out is corroded, cracked, or poorly positioned
- You see signs of repeated backups, sewage smells that won’t quit, or water damage
- You suspect venting problems (persistent gurgling, trap siphoning)
Field Notes: Real Experiences Under the Sink (Extra )
Here are a few “been there, crouched that” experiences that make sink waste pipe fitting feel less like a tutorial
and more like real life:
1) The “It Was Fine Until I Touched It” Leak
Many people discover a leak right after they “just tightened something a little.” What actually happened is the
washer was already slightly mis-seated, and the twist finished the job of making it leak. The fix isn’t brute force.
It’s loosening the nut, straightening the pipe, confirming washer direction, and re-tightening evenly. Think of it
like putting a lid on a jar: cross-thread it and you’ll be sad.
2) The Mismatched Parts Mystery
Under-sink plumbing is where old repairs go to hide. You might find a 1-1/4 inch tailpiece meeting a 1-1/2 inch trap
with a washer that “sort of” fits. That “sort of” is how you get a drip that only shows up during heavy flow.
The solution is boring but effective: use the correct reducing washer or correct-size tubular kit so the parts seal
the way they were designed to.
3) The Chrome Trap That Looks Great (Until It Doesn’t)
Chrome tubular traps look sharp in pedestal sinks and exposed plumbing. But when a chrome trap has been leaking
for a while, corrosion can pit the sealing surfaces. You can tighten forever and it still weeps. Replacing the trap
(and the washers) is usually faster than fighting a losing battle with a 20-year-old joint that’s basically a
glittery sponge.
4) The “Why Is My Disposal So Low?” Puzzle
Garbage disposals change everything because the outlet sits lower than a standard strainer tailpiece. People
often try to “make it work” by dropping straight down and back up, accidentally creating a configuration that can
siphon or clog. The best experience-based advice: use a disposal-compatible kit and aim for a smooth path to the wall.
If you can’t do that without weird geometry, the wall drain height may be the real issue.
5) The Double Bowl Alignment Workout
Double sinks feel like a yoga pose: one bowl is always slightly higher, slightly offset, and slightly judgmental.
The trick is assembling the continuous waste loosely first, ensuring slope toward the trap, then tightening.
If you tighten one side too early, you’ll twist the whole assembly and unseat a washer on the other sideclassic
“group project” behavior from pipes that absolutely did not attend the meeting.
6) The “It Smells, But It’s Not Leaking” Panic
Sewer smell with no visible water is usually trap-seal related or venting relatednot a magical invisible leak.
Sometimes the trap dried out (guest bath sinks are famous for this). Run water to restore the seal and see if the
smell fades. If the drain gurgles or the smell returns quickly, that’s when you stop blaming the trap and start
suspecting venting or a partial blockage downstream.
7) The Paper Towel Moment of Truth
The best “experience hack” isn’t a toolit’s paper towels. Wipe joints dry, wrap a towel around each connection,
then run water. Tiny leaks show up as a damp ring, so you fix the correct joint instead of randomly tightening
everything like you’re playing plumbing roulette. This one trick saves more time than any fancy wrench.
8) The “I Overtightened and Now It’s Worse” Lesson
Over-tightening is the most common DIY regret. It can distort washers, crack plastic nuts, or warp thin tubular parts.
If a joint leaks, you want better alignment and correct washer seatingnot more torque. The “simple way” is gentle,
methodical tightening plus retesting. When you treat slip joints like precision seals instead of lug nuts, they behave.
Conclusion
Fitting a sink waste pipe doesn’t have to be complicated. Keep it simple: dry-fit first, use the right size parts,
seat washers correctly, avoid stressed angles, and test with both running water and a “sink-full” drain. Most leaks
come down to alignment and washer placementnot a lack of strength or a shortage of tools.
If your setup won’t align without creating an awkward S-shape, if the wall piping looks questionable, or if you’re
chasing repeated smells and gurgles, it’s smart to bring in a plumber. Otherwise, congratulations: you’re about to
become the kind of person who casually says, “Oh, that’s just the trap arm,” which is a very specific (and useful)
life upgrade.