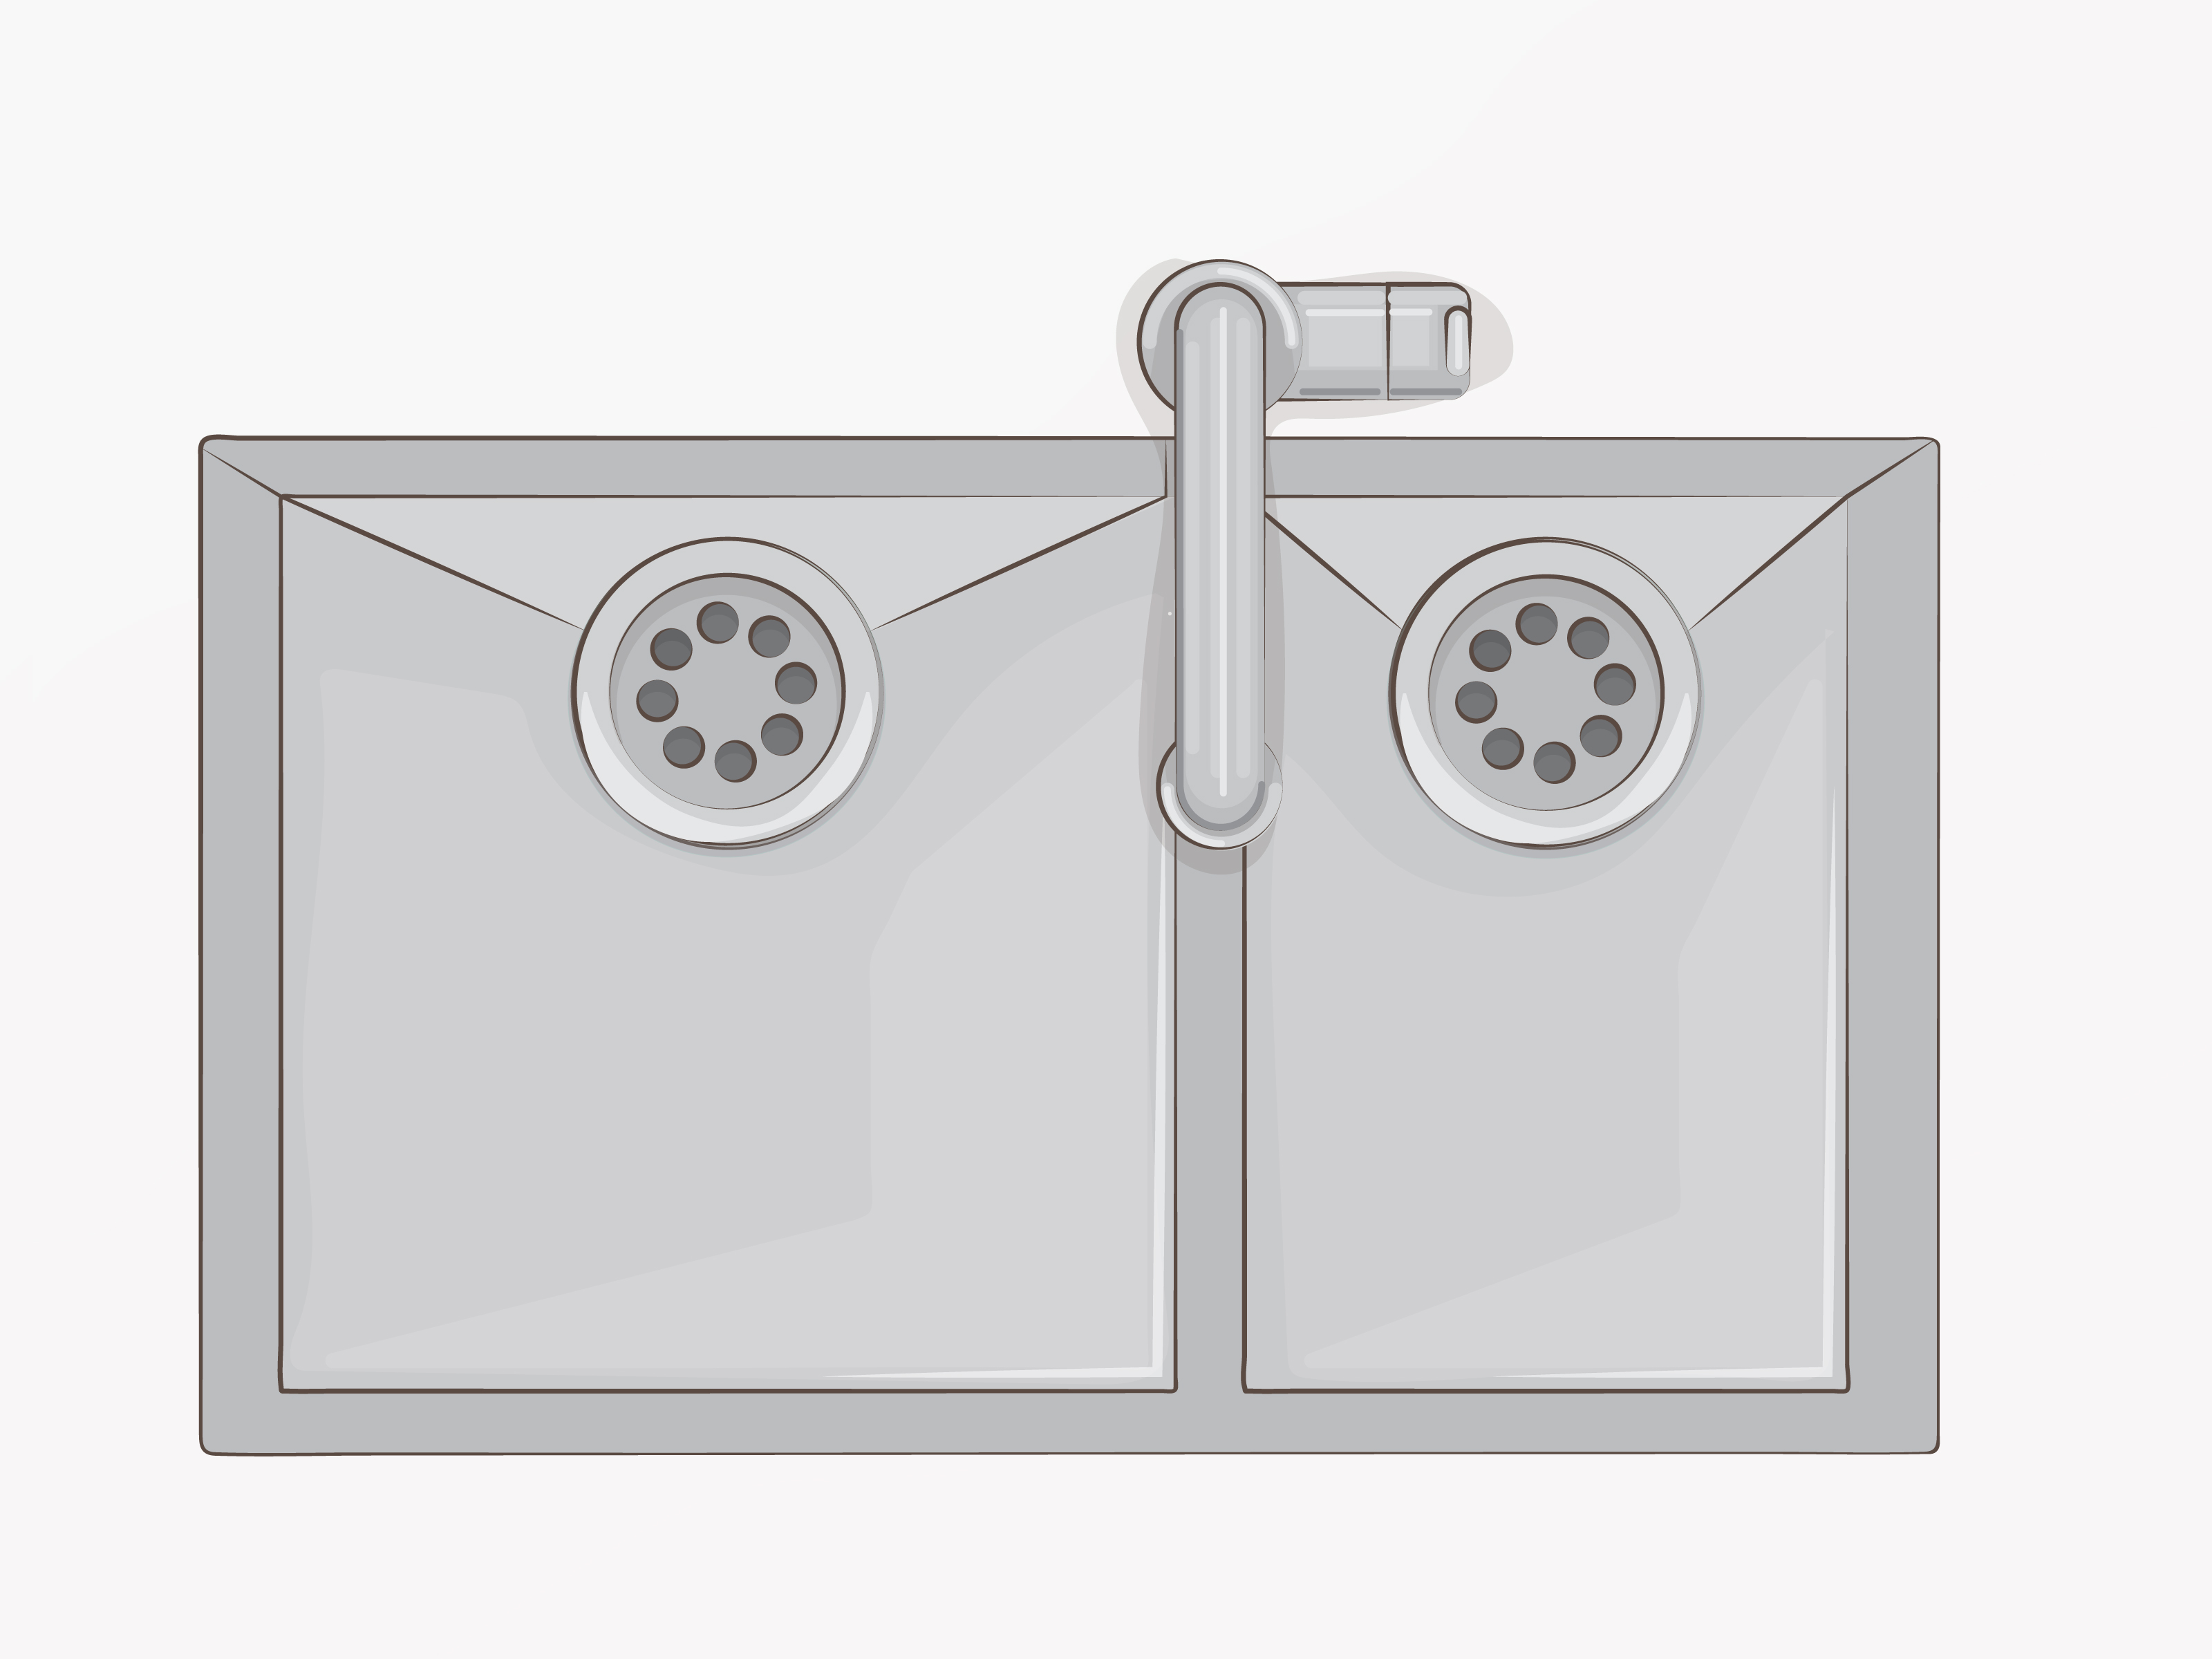
If drop-in sinks are the practical sneakers of the sink world, undermount sinks are the polished loafers: cleaner lines, sharper look, and somehow instantly more grown-up. They sit beneath the countertop instead of on top of it, which means crumbs, splashes, and rogue coffee grounds can be swept straight into the basin without getting trapped on a rim. It is a small luxury, but in a busy kitchen or bathroom, small luxuries have a funny way of feeling enormous.
The catch is that an undermount sink has to be installed correctly. Gravity is real, water is sneaky, and “that looks about right” is not an official plumbing method. The good news is that there is more than one smart way to get the job done. In this guide, you will learn three simple ways to install an undermount sink, when each method makes sense, and how to avoid the classic mistakes that turn a sleek sink upgrade into a damp cabinet disaster.
Why an Undermount Sink Is Worth the Effort
An undermount sink creates a cleaner visual line than a top-mount model because the countertop edge remains visible and uninterrupted. It also makes cleanup easier. Instead of sweeping debris into a metal lip and then muttering at it, you can move everything directly into the sink bowl. In kitchens, that is a daily win. In bathrooms, it gives the vanity a more finished, custom look.
That said, undermount sink installation is less forgiving than dropping a sink into a precut hole and calling it a day. You need the right countertop material, the right support method, a watertight seal, and enough patience to let adhesive products cure. The goal is not just to hang the sink under the counter. The goal is to keep it aligned, supported, and leak-free for years.
Before You Start: The Non-Glorious but Extremely Important Prep Work
1. Make Sure the Countertop Can Handle an Undermount Sink
Stone, quartz, solid surface, concrete, and similar countertop materials are the usual stars of undermount installations because the exposed sink cutout edge looks finished and durable. Traditional laminate has long been a weak candidate because moisture can damage the substrate if the exposed inner edge is not built for this use. Some newer laminate systems are specifically engineered for undermount applications, but unless your countertop manufacturer clearly approves it, the safest DIY assumption is this: undermount sinks belong under solid, water-resistant counters.
2. Pick Your Reveal Style
Before you install anything, decide how the sink edge will sit relative to the countertop cutout:
- Positive reveal: a small portion of the sink rim shows.
- Flush reveal: the sink edge aligns with the counter cutout.
- Negative reveal: the counter slightly overhangs the sink edge.
Flush and slight positive reveals are often the friendliest for cleaning and alignment. Negative reveal can look crisp, but it demands precise fabrication and can hide grime if the overhang is too aggressive.
3. Gather Tools and Materials
Your exact list depends on the sink and mounting method, but most undermount sink installs need these basics:
- 100% silicone sealant
- Mounting clips, anchors, or brackets
- Support rails, bars, or lumber if using a cradle method
- Drill or driver
- Adjustable wrench and pliers
- Painter’s tape
- Denatured alcohol or an approved cleaner for final wipe-down
- Caulk gun
- Drain assembly and plumbing parts
- A helper, because sinks are awkward and countertops do not enjoy solo wrestling matches
4. Dry-Fit Everything First
Always test-fit the sink under the cutout before you open the silicone. Check cabinet clearance, faucet placement, drain alignment, garbage disposal space, and whether the bowl interferes with drawers or support framing. The best time to discover a problem is before the sticky part begins.
Method 1: Install the Sink with Clips and Silicone
Best For
This is the classic undermount sink installation method. It works well for many stainless steel or composite sinks mounted under quartz, granite, marble, or solid-surface countertops, especially when the sink manufacturer includes clips and the countertop fabricator has prepared anchor points or mounting holes.
How It Works
The sink is pressed against the underside of the countertop with a bead of 100% silicone, then mechanically secured with clips or anchors. The silicone seals the joint; the clips help hold the sink in place and maintain alignment while everything cures.
Step-by-Step
- Clean the mounting surfaces. Wipe the underside of the countertop around the cutout and the sink rim so dust, oil, and old sealant are gone.
- Mark the position. Dry-fit the sink and use painter’s tape or pencil marks to show where the rim should land.
- Apply silicone. Run a continuous bead around the sink rim or the underside of the countertop opening, depending on the sink manufacturer’s instructions.
- Lift the sink into place. Press it firmly and evenly against the underside of the counter.
- Install the clips. Tighten them gradually in an alternating pattern so the sink seats evenly instead of twisting to one side like it is trying to escape the job.
- Clean squeeze-out. Remove excess silicone promptly for a neat finish.
- Support while curing. Even with clips, temporary support from below is smart until the sealant reaches full cure.
Why People Like This Method
It is clean, common, and often matches manufacturer instructions. When the countertop and hardware are compatible, it produces a tidy, professional result without building a separate support structure.
What Can Go Wrong
- Using too little silicone and ending up with gaps
- Overtightening clips and shifting the sink out of alignment
- Relying on adhesive alone without adequate mechanical support where the manufacturer or fabricator requires more
- Ignoring cure time and reconnecting plumbing too quickly
Method 2: Install the Sink with Support Rails or Brackets
Best For
This method is excellent when the original clips have failed, when you want more adjustability, or when the sink is heavier than average. It is also a favorite for repairs because rails or bracket systems can be installed from inside the cabinet without disturbing the countertop above.
How It Works
Metal rails, side brackets, or support bars are fastened to the cabinet walls or interior structure. The sink then rests on or hangs from that support while silicone seals the rim to the countertop. Think of it as giving your sink a little seatbelt and suspenders at the same time.
Step-by-Step
- Measure the sink height and rim position. You want the top of the sink to land exactly where it meets the underside of the countertop cutout.
- Install the brackets or rails. Secure them to sturdy cabinet sides or approved mounting points. Confirm everything is level.
- Dry-fit the sink on the support system. Check reveal, faucet hole clearance, and drain alignment.
- Apply silicone. Run a continuous bead where the sink will meet the counter.
- Raise and secure the sink. Set the sink onto the rails or tighten the support hardware until the rim meets the countertop evenly.
- Recheck alignment. Stand back and confirm the bowl is centered before the sealant skins over.
- Let it cure undisturbed. The support system carries the load while the seal forms.
Why People Like This Method
Brackets and rails offer extra confidence. They reduce dependence on small clips attached close to the cutout and are especially useful for large single-bowl sinks, workstation sinks, or situations where you want long-term serviceability.
What Can Go Wrong
- Anchoring into weak cabinet walls instead of solid structure
- Installing the support slightly out of level, which makes the sink sit crooked
- Forgetting to leave enough room for plumbing or a disposal unit
Method 3: Install the Sink with a Wood Cradle or Support Frame
Best For
This method shines with heavier sinks, including fireclay, cast iron, or oversized composite models. It is also useful when manufacturer clips are unavailable, when cabinet geometry is odd, or when you simply want a beefier support system that feels like it could survive a minor apocalypse.
How It Works
A custom frame or cradle is built inside the sink cabinet using wood cleats, crosspieces, or a full support platform. The sink sits on the frame while silicone seals the rim to the countertop. In practical terms, the cabinet carries the weight, not just the sink rim.
Step-by-Step
- Plan the frame. Measure the sink’s outside dimensions, depth, and final rim height.
- Install side cleats. Fasten them securely to cabinet walls at the height needed to support crosspieces.
- Add cross supports or a platform. Build a simple, stable frame that supports the sink base without blocking the drain.
- Dry-fit the sink. Set it on the frame and verify that the rim meets the countertop evenly.
- Apply silicone. Use a continuous bead for the seal between sink and countertop.
- Set and stabilize the sink. Adjust shims if necessary so the reveal stays consistent.
- Allow full cure. Do not rush the plumbing reconnection.
Why People Like This Method
It is sturdy, customizable, and excellent for heavy-duty applications. If you have ever looked at a giant sink full of water, dishes, and one cast-iron pan that weighs roughly as much as a small moon, a cradle system makes emotional sense immediately.
What Can Go Wrong
- Building the frame too high and forcing the sink hard against the countertop
- Building it too low and losing the proper seal
- Blocking access to the drain, disposal, or water lines
- Using wood that is not properly secured or protected from moisture exposure
How to Connect the Drain and Plumbing Without Creating Future Regrets
Once the sink is installed and the sealant has cured according to the product instructions, connect the drain assembly, faucet lines, trap, and disposal if applicable. For the sink basket or drain flange, follow the drain manufacturer’s instructions for sealant choice. In many cases, plumber’s putty is used on certain metal drain assemblies, but silicone is the better choice for many sink-to-counter bonding applications and may also be preferred for some drain components depending on the sink or surface material.
After everything is connected, test like a cautious person who enjoys dry cabinets:
- Run a slow stream of water and inspect all joints.
- Fill the bowl partway and release it to test the drain under a larger flow.
- Check the sink rim from below for any sign of seepage.
- Look again after several hours, because tiny leaks love a dramatic late entrance.
Common Mistakes to Avoid
- Skipping temporary support: even a light sink can shift before sealant cures.
- Using the wrong sealant: a good undermount install wants quality 100% silicone, not random leftovers from the garage.
- Ignoring countertop compatibility: not every counter should get an undermount sink.
- Installing the faucet too late: many setups are easier if faucet components are prepped before the sink goes in.
- Trusting eyeballs alone: measure for level and centering instead of relying on optimism.
Which of the Three Methods Is Best?
If you want the short answer, here it is:
- Choose clips and silicone for a standard, manufacturer-approved install on a compatible countertop.
- Choose rails or brackets when you want more support, easier adjustment, or a solid repair solution.
- Choose a cradle or support frame for heavy sinks or when you want the cabinet itself doing most of the lifting.
For many homeowners, the smartest approach is not treating these methods like rivals. The strongest installs often combine them. A sink may be sealed with silicone, aligned with clips, and quietly backed up by rails or a cradle below. That is not cheating. That is good judgment.
Experience and Lessons From Real Undermount Sink Installs
The most memorable thing about undermount sink projects is that they rarely fail in a dramatic, movie-worthy way. There is no soundtrack, no slow motion, no villain speech. They fail quietly. A bead of water appears in the cabinet. A corner starts to sag. A homeowner notices the sink looks “a little off,” which is home-improvement language for “I now stare at this every morning and it is ruining my peace.”
One of the clearest lessons from real-world installs is that prep matters more than bravado. People often assume the hard part is lifting the sink into place. It is not. The hard part is everything you do before that moment: confirming the reveal, cleaning the surfaces properly, checking whether the cabinet can accept support hardware, and making sure the sink bowl will not collide with a disposal or drawer box. Installers who move slowly at the beginning tend to move quickly later. Installers who rush the beginning usually end up meeting the underside of the cabinet multiple times in frustration.
Another common experience is discovering that “included hardware” does not always mean “ideal hardware.” Many sink kits come with clips, but real homes are messy little ecosystems. Cabinet walls may not be perfectly square. Countertop overhangs may vary slightly. A giant single-bowl sink may weigh more than the original hardware seems eager to support. That is why experienced installers often add support rails or a cradle even when the box technically says the clips are enough. It is not overkill. It is a recognition that water, dishes, garbage disposals, and time all add stress to the system.
Heavy sinks teach this lesson especially well. Fireclay and cast iron look beautiful, but they are not shy about their weight. Homeowners who have installed these models often say the project became easier once they stopped thinking like adhesive salespeople and started thinking like structural planners. When the cabinet carries the weight and the silicone handles the seal, everything feels calmer. The sink sits where it should, the reveal stays consistent, and nobody is left wondering whether a bead of cured sealant is performing emotional labor beyond its job description.
There is also the universal experience of learning that undermount sink work is better with two people. One person can technically balance a sink, adjust a clamp, and reach for a rag at the same time in the way that one person can technically assemble furniture while holding an instruction booklet in their teeth. But “technically possible” and “pleasantly successful” are not twins. A helper makes alignment faster, cleanup cleaner, and accidental smearing less likely.
Finally, the best experiences come from patience. The homeowners and installers who are happiest with the result are usually the ones who let the sealant cure, test for leaks carefully, and do one last inspection before filling the cabinet with cleaning supplies and moving on with life. An undermount sink looks effortless when it is done well. That is the trick. Good installation hides its own effort. But behind that sleek finished edge is a lot of measuring, supporting, sealing, checking, and refusing to cut corners. In other words, the glamorous secret of a beautiful sink is wonderfully unglamorous competence.
Conclusion
Installing an undermount sink is not one single trick. It is a smart combination of fit, support, and sealing. Whether you go with clips and silicone, brackets and rails, or a custom cradle, the best method is the one that matches your sink weight, countertop material, and cabinet structure. Do the prep work, dry-fit like a perfectionist, seal like a pro, and support the sink like you expect it to spend years holding water, dishes, and the occasional overconfident stockpot. Because it will.
Get those fundamentals right, and an undermount sink becomes one of the most satisfying upgrades in the house: cleaner look, easier cleanup, and a finished result that feels custom every time you wipe the counter.