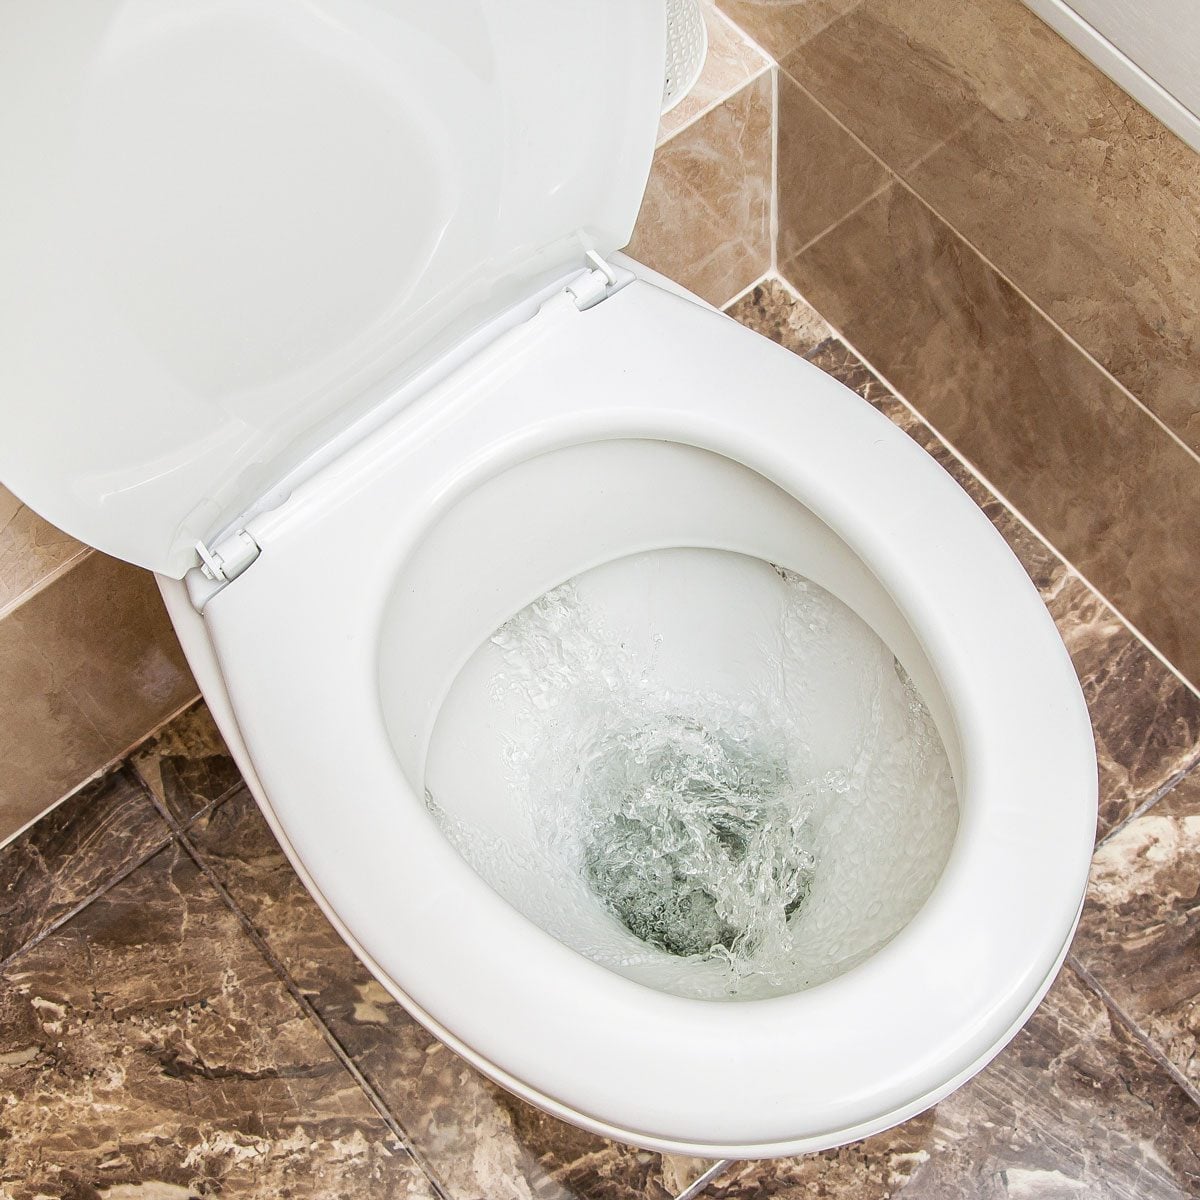
You push the toilet handle and wait for the familiar whoosh. Instead, you get a lazy swirl, an alarming rise in water, or absolutely nothing. Your toilet has apparently gone on strike, and it did not bother submitting a written notice.
The good news is that a toilet that won’t flush is often caused by a simple problem you can diagnose and repair without replacing the entire fixture. Common culprits include a clogged trap, an empty tank, a disconnected lift chain, a worn flapper, a faulty fill valve, mineral-clogged rim holes, or a blockage farther down the drain system.
The key is to pay attention to what happens when you press the handle. Does the handle feel loose? Does the bowl fill with water? Is the tank empty? Do nearby drains gurgle? Each symptom points toward a different repair.
This guide explains why your toilet is not flushing, how to fix the most common problems safely, and when the issue has officially graduated from a do-it-yourself project to a job for a licensed plumber.
First, Identify What “Won’t Flush” Actually Means
Not all flushing failures are the same. Before grabbing every tool in the garage, watch and listen to the toilet during one careful test.
- The handle moves but nothing happens: The chain may be disconnected, broken, or too loose to lift the flapper.
- The bowl fills or nearly overflows: A clog is probably blocking the toilet trap or drainpipe.
- The toilet flushes weakly: The tank water may be too low, the flapper may close too quickly, or mineral deposits may be restricting water flow.
- The tank is empty or refills slowly: Check the shutoff valve, supply line, float, and fill valve.
- You must hold the handle down: The flapper may not stay open long enough to release a full tank of water.
- Several toilets or drains are affected: The problem may be in the plumbing vent, branch drain, sewer line, or septic system.
- A touchless toilet does nothing: The batteries, sensor, wiring, or electronic module may need attention.
A quick diagnosis saves time because plunging will not reconnect a chain, and adjusting a float will not remove a toy from the trap. Toilets may be simple machines, but they are extremely committed to making the wrong repair feel embarrassing.
Stop the Toilet From Overflowing
If the bowl water is rising, do not flush again to “see whether it works this time.” That experiment usually ends with towels, disinfectant, and regret.
- Remove the tank lid carefully and place it on a folded towel.
- Push the rubber flapper or canister seal down to stop additional tank water from entering the bowl.
- Turn the toilet’s shutoff valve clockwise. It is usually located on the wall or floor behind the toilet.
- Wait for the bowl water to fall before attempting a repair.
If the shutoff valve is stuck, do not attack it with excessive force. An old corroded valve can break and create a much larger leak. Shut off the home’s main water supply if necessary.
Why Your Toilet Won’t Flush and How To Fix It
1. The Toilet Is Clogged
A clog is the most common reason a toilet bowl fills with water but does not drain normally. Excessive toilet paper, wipes, paper towels, hygiene products, small toys, and other foreign objects can become trapped in the toilet’s curved internal passage.
Use a toilet plunger with a fold-out flange rather than a flat sink plunger. The flange fits into the drain opening and creates a stronger seal.
- Make sure there is enough water in the bowl to cover the plunger cup.
- Place the flange directly into the toilet drain opening.
- Press down gently at first to release trapped air without splashing.
- Use 15 to 20 firm, controlled strokes while maintaining the seal.
- Finish with a strong upward pull.
- Test the drain by pouring a moderate amount of water into the bowl before performing a full flush.
If plunging does not work, use a toilet auger. Feed its protected cable into the trap, turn the handle, and work through or retrieve the obstruction. A toilet auger is designed to navigate the fixture without scratching the porcelain.
Avoid using a wire coat hanger. It can scratch the bowl, become stuck, or push the object deeper. Chemical drain cleaners are also a poor choice for toilets. They may not clear solid obstructions, can damage components, and leave corrosive liquid in the bowl for whoever has to work on it next.
Hot tap water with a small amount of dish soap may help soften a minor paper or organic clog. Never pour boiling water into a toilet because sudden temperature changes can crack porcelain.
2. The Lift Chain Is Disconnected or Incorrectly Adjusted
When you press the handle, an arm inside the tank pulls a chain that lifts the flapper. If the chain has fallen off, the handle may move without triggering a flush.
Reconnect the chain to the trip lever and flapper. Leave a small amount of slack when the flapper is closed. A chain that is too loose will not lift the flapper high enough. A chain that is too tight may keep the flapper slightly open, causing the toilet to run and slowly draining the tank between flushes.
If the chain is rusty, stretched, or broken, replace it. Universal replacement chains are inexpensive, but trim or secure the extra length so it cannot become trapped beneath the flapper.
Also inspect the handle and trip lever. A cracked lever may bend instead of lifting the chain. If the handle is loose, carefully tighten its mounting nut. Many toilet handle nuts use reverse threads, so confirm the direction before applying force.
3. There Is Not Enough Water in the Tank
A gravity-fed toilet needs a rapid release of tank water to start the siphoning action that clears the bowl. When the tank water level is too low, the toilet may swirl dramatically while accomplishing very little.
Remove the tank lid and compare the water level with the manufacturer’s fill line. If no line is visible, the water generally should stop near, but below, the top of the overflow tube. Follow the toilet manufacturer’s instructions because the correct level varies by model.
Check the shutoff valve first. It should be fully open. Someone may have partially closed it during an earlier repair and forgotten about it.
Next, inspect the float. Older toilets may use a ball float on a metal arm, while newer models commonly use a cup-shaped float that moves along the fill-valve shaft. Adjust the float according to the manufacturer’s directions so the tank fills to the proper level without sending water into the overflow tube.
Confirm that the small refill tube is attached correctly. It should direct water into the overflow tube without being pushed too far down. A loose or incorrectly positioned refill tube can leave the bowl with an improper water level.
4. The Fill Valve Is Dirty, Restricted, or Worn Out
The fill valve controls water entering the tank after each flush. Sediment, mineral deposits, worn seals, or internal damage can cause the tank to refill slowly or not at all.
Listen after flushing. If you hear hissing but see little water entering the tank, the valve may contain debris. Turn off the water, flush the toilet to empty the tank, and clean the valve using the procedure recommended for that specific model. Fill-valve designs differ, and forcing apart the wrong component is an excellent way to turn a ten-minute repair into a hardware-store field trip.
Replace the fill valve if cleaning does not restore normal flow. Universal replacement valves fit many common toilets, but verify the toilet’s dimensions and connection type. After installation, reopen the shutoff valve slowly and inspect the supply connection for leaks.
5. The Flapper Closes Too Soon
The flapper is the rubber or plastic seal covering the flush-valve opening at the bottom of the tank. Pressing the handle lifts it, allowing tank water to rush into the bowl.
If the flapper drops too quickly, only part of the tank empties. This commonly produces a weak or incomplete flush and may force you to hold the handle down.
Watch the flapper while flushing. It should rise fully and remain open long enough for most of the necessary water to leave the tank. Correct an overly loose chain, but do not tighten it so much that the flapper cannot seal.
Replace a flapper that is warped, cracked, slimy, stiff, or no longer buoyant enough to function correctly. Turn off the water, empty the tank, remove the old flapper, and install a replacement compatible with the toilet’s flush-valve size and model.
Some newer toilets use a canister seal rather than a traditional hinged flapper. In that case, replace the correct seal or canister component specified by the manufacturer.
6. The Flapper Leaks and Leaves the Tank Partially Empty
A leaking flapper does not always create an obvious puddle. Water can quietly seep from the tank into the bowl, causing the fill valve to cycle periodically. When you finally flush, the tank may not contain enough stored water for a powerful flush.
Place a few drops of food coloring in the tank and wait without flushing. If colored water appears in the bowl, water is leaking through the flush-valve area. Replace the flapper or seal and clean the surface where it sits.
Do not leave coloring in the toilet longer than necessary, and flush immediately after the test to prevent staining.
7. Mineral Deposits Are Blocking the Rim Jets or Siphon Jet
Water enters the bowl through small openings beneath the rim and, on many toilets, through a larger siphon jet near the bottom of the bowl. Hard-water minerals can gradually restrict these passages.
Signs of clogged jets include uneven rim washing, a slow swirling flush, and water entering strongly from only one section of the bowl.
Turn off the water and clean visible deposits with white vinegar, a small nylon brush, and a nonmetallic tool appropriate for the openings. Avoid enlarging the holes or scratching the porcelain. Severe mineral buildup may require repeated soaking or professional cleaning.
If the toilet is very old and has chronic mineral restrictions, replacement may be more practical than repeatedly cleaning an inefficient fixture.
8. A Foreign Object Is Trapped Inside the Toilet
Toilets occasionally receive contributions from children, pets, and adults who mistake them for extremely confident trash cans. Common discoveries include toys, air fresheners, combs, caps, toothbrushes, and excessive amounts of wipes.
If a solid object is lodged in the trap, plunging may push it deeper. Try a toilet auger if the object can be retrieved safely. When the obstruction cannot be reached, the toilet may need to be removed from the floor and accessed from underneath.
Turn off the water and call a plumber if you are not experienced with toilet removal. Reinstallation requires a proper seal at the flange, and an incorrect wax-ring installation can lead to leaks, odors, and floor damage.
9. The Plumbing Vent Is Blocked
Your drain system needs air to move wastewater efficiently. A blocked roof vent can cause weak flushing, slow drainage, bubbling, and gurgling sounds from toilets or nearby drains.
Leaves, animal nests, debris, snow, and damaged vent piping can restrict airflow. Because vent inspection usually involves roof access, this repair carries fall and plumbing risks. A professional can inspect the vent and determine whether the problem is there or deeper in the drain system.
10. The Main Drain or Sewer Line Is Restricted
A single clogged toilet usually points to a local problem. Several slow toilets, gurgling drains, sewage odors, or wastewater backing up into a tub or shower suggest a blockage farther downstream.
Main-line obstructions may be caused by wipes, accumulated debris, damaged piping, tree-root intrusion, shifting soil, grease, or problems in a septic system. Stop using water fixtures if sewage is backing up. Continued flushing can force contaminated water into the home.
A drain professional may need to inspect the line with a camera and clear it using professional equipment. Contact your utility if the blockage may be in the public sewer rather than the property’s private plumbing.
11. A Touchless or Electronic Flush System Has Failed
Touchless toilets add batteries, sensors, and electronic modules to a job traditional toilets accomplish with a handle and a small chain.
Replace the batteries, clean the sensor area, verify that the module is positioned correctly, and check accessible connections according to the product manual. Objects placed near the sensor may interfere with operation.
If the toilet can be flushed manually, use the manufacturer’s manual-flush procedure while diagnosing the electronic problem. Avoid exposing electrical components to water.
A Fast Toilet Troubleshooting Sequence
When you are unsure where to begin, follow this order:
- Check for an overflow risk. Shut off the water if the bowl is rising.
- Look inside the tank. Is it full, empty, or slowly filling?
- Test the handle. Confirm that the lever and chain lift the flapper.
- Watch the flapper. Make sure it opens fully and remains open long enough.
- Verify the water level. Adjust the float if the level is below the manufacturer’s mark.
- Plunge a suspected clog. Use a flange plunger and maintain a tight seal.
- Use a toilet auger. Move to an auger when proper plunging does not work.
- Check other fixtures. Gurgling or backups elsewhere may indicate a vent or sewer-line problem.
This sequence starts with the easiest visible causes and moves toward deeper plumbing issues. It also prevents the classic mistake of replacing three tank parts before noticing that the shutoff valve is closed.
When To Call a Plumber
Many toilet repairs are manageable, but call a licensed plumber when:
- The toilet repeatedly clogs after being cleared.
- More than one toilet or drain is backing up.
- Sewage appears in a tub, shower, sink, or floor drain.
- A solid object is trapped and cannot be retrieved with a toilet auger.
- The toilet must be removed from the floor.
- The shutoff valve leaks or will not move safely.
- The toilet rocks, leaks around its base, or has a damaged flange.
- You suspect a blocked plumbing vent, broken drainpipe, tree roots, or septic failure.
- The porcelain is cracked.
- A repair still leaks after the water is restored.
Cracked porcelain deserves special caution. Tightening bolts against a cracked toilet can cause sudden breakage, and sharp ceramic edges can cause serious injury.
How To Prevent Future Toilet Flushing Problems
Flush Only Waste and Toilet Paper
Wet wipes, including products marketed as flushable, do not break apart as quickly as toilet paper. Paper towels, facial tissues, cotton swabs, dental floss, diapers, hygiene products, hair, and cat litter also belong in the trash.
Avoid Overloading the Bowl
Large amounts of toilet paper can overwhelm a narrow trapway. Use a reasonable amount and consider an intermediate flush when necessary. It is less dramatic than standing beside a rising bowl while bargaining with the plumbing gods.
Inspect the Tank Periodically
Check the chain, flapper, water level, refill tube, and fill valve several times a year. Replacing a deteriorating flapper is easier than discovering the problem after receiving an unusually high water bill.
Be Careful With In-Tank Cleaning Tablets
Some drop-in cleaners contain chemicals that can shorten the life of rubber seals and other tank components. Follow the toilet and replacement-part manufacturers’ recommendations before using an in-tank product.
Address Hard-Water Deposits
Clean rim holes and visible mineral deposits before they become severe. A whole-home water treatment solution may be worth considering when hard water causes recurring problems throughout the plumbing system.
Consider Replacing a Chronically Poor Toilet
An old fixture that clogs repeatedly, wastes water, has a damaged trapway, or requires frequent repairs may be ready for retirement. A properly installed WaterSense-labeled toilet can use less water while still meeting performance requirements.
Real-World Toilet Repair Experiences and Lessons
The following composite examples reflect common situations homeowners encounter. They illustrate why observing the symptoms before beginning a repair is often more valuable than immediately buying replacement parts.
Experience 1: The “Broken” Toilet With a Ten-Second Repair
A toilet handle suddenly became loose and produced no flush at all. Because there was no rising bowl water, the first assumption was that something expensive had broken inside the tank. After the lid was removed, the actual problem became obvious: the lift chain had slipped off the trip lever.
Reattaching it restored the flush immediately. The useful lesson was not merely that chains fall off. It was that the toilet’s reaction provided a clue. A loose handle with a full tank usually points toward the handle, lever, or chain rather than a drain clog. Looking inside the tank before plunging prevented unnecessary mess and turned a potentially stressful repair into a ten-second adjustment.
Experience 2: The Clog That Seemed To Be Gone
Another toilet would flush after vigorous plunging but became slow again within a few days. Each temporary success made the problem appear solved. Eventually, a toilet auger encountered a solid obstruction lodged in the trapway.
The item allowed some water and waste to pass, which explained why the toilet occasionally behaved normally. It also caught paper during later flushes, rebuilding the clog. The larger lesson was that repeated clogs are evidence, not bad luck. When a toilet needs frequent plunging, consider a foreign object, a restricted trapway, mineral buildup, or a downstream drain problem rather than repeating the same temporary fix forever.
Experience 3: The Weak Flush Caused by an Almost-Closed Valve
After a bathroom repair, a toilet began refilling slowly and flushing weakly. The float and flapper looked normal, so replacing the fill valve seemed like the next logical step. Before purchasing parts, someone checked the shutoff valve behind the toilet.
It had been reopened only partway after the earlier work. Opening it fully restored a normal refill rate and allowed the tank to reach the proper water level. The experience demonstrated why simple external checks should come before component replacement. Verify the water supply, tank level, chain operation, and visible connections first. Plumbing repairs become much cheaper when diagnosis happens before shopping.
Experience 4: The “Flushable” Wipe Surprise
A household experienced recurring toilet clogs despite using what appeared to be a reasonable amount of toilet paper. The mystery continued until family members compared bathroom habits and discovered that so-called flushable wipes were being used regularly.
Once the wipes were placed in a covered wastebasket instead, the recurring clogs stopped. The packaging description had created false confidence, but the drain system delivered the final product review. Toilet paper is designed to lose strength rapidly in water; many wipes remain intact much longer. This experience is a useful reminder that an item fitting through the bowl opening does not mean it will travel safely through the entire plumbing and sewer system.
Experience 5: The Problem Was Bigger Than the Toilet
One toilet began flushing slowly, followed by bubbling in a nearby shower drain. Soon, another toilet developed similar symptoms. Replacing tank hardware would not have solved anything because the real restriction was in the home’s main drain line.
The important clue was that multiple fixtures were affected. A local toilet clog generally causes trouble at one fixture. Gurgling, sewage odors, or backups involving several drains point toward a branch line, plumbing vent, main sewer pipe, or septic problem. Stopping water use and calling a drain professional early helped prevent a larger wastewater overflow. Sometimes the smartest do-it-yourself decision is recognizing when the problem is no longer located inside the toilet.
Final Takeaway
When a toilet won’t flush, begin with the symptom. A rising bowl usually indicates a clog. A loose handle points toward the chain or lever. A weak flush suggests insufficient tank water, a fast-closing flapper, or blocked water passages. Trouble involving multiple fixtures may signal a vent or sewer-line restriction.
Start with safe, visible checks, use the correct tools, and resist the temptation to flush repeatedly. Many problems can be repaired with a plunger, toilet auger, adjusted chain, replacement flapper, or cleaned fill valve. Call a plumber when wastewater backs up, the toilet must be removed, or the problem affects several fixtures.
Note: This guide covers common household toilet systems. Pressure-assisted, wall-hung, touchless, smart, and commercial flushometer toilets may require model-specific troubleshooting. Always shut off the water before removing components, and follow the fixture manufacturer’s instructions.