Squid has a dramatic reputation for such a small sea creature. Cook it well, and it is tender, lightly sweet, pleasantly briny, and ready to star in everything from lemony appetizers to cozy tomato stews. Cook it badly, and dinner starts chewing back. The good news? Learning how to cook squid is not complicated. It is just timing-sensitive, like a text message you should not send after midnight.
In American kitchens, squid is often introduced as fried calamari, the crispy restaurant appetizer that arrives with marinara, lemon wedges, and at least one person saying, “I’ll just have one more,” while clearly lying. But squid is far more versatile than the deep fryer. You can sear it in a hot skillet, grill it until lightly charred, fry it until crisp, or simmer it slowly in sauce until it becomes soft and rich.
This guide focuses on three reliable ways to cook squid at home: quick searing or grilling, crispy frying, and slow braising. Each method works because it respects the golden rule of squid: cook it very fast or cook it long enough to become tender again. The awkward middle zone is where rubber bands go to ruin dinner.
Before You Start: Buying, Cleaning, and Preparing Squid
Squid is sold fresh or frozen, whole or cleaned. For most home cooks, cleaned squid is the easiest option. You will usually get tubes, tentacles, or both. The tubes can be sliced into rings, opened flat for grilling, or stuffed. The tentacles are edible, flavorful, and often become the crispiest, most snackable pieces when fried.
What to Look For When Buying Squid
Fresh squid should look moist, glossy, and ivory-colored, with a clean ocean smell. A strong fishy or ammonia-like odor is a warning sign. Frozen squid is often an excellent choice because it is usually cleaned soon after harvest and holds up well in the freezer. Thaw it overnight in the refrigerator, not on the counter. Squid may be quick to cook, but food safety should not be treated like an optional garnish.
How to Clean Whole Squid
If you buy whole squid, the cleaning process is simple once you stop expecting it to look glamorous. Pull the head and tentacles away from the body. Remove the clear cartilage from inside the tube. Cut the tentacles just below the eyes, discard the beak from the center, and rinse everything well. Peel off the outer membrane if you want a cleaner look, though it is not always necessary. Pat the squid dry before cooking, especially if you plan to sear, grill, or fry it.
The Tenderness Rule
Squid becomes tender in two very different ways. The first is fast cooking over high heat, usually one to three minutes. The second is slow cooking in liquid, usually thirty minutes or more. Anything in between can make squid chewy. This is why quick-seared calamari and slow-braised squid can both be wonderful, while “I forgot it in the pan for eight minutes” squid feels like seafood-flavored exercise equipment.
Method 1: Quick-Seared or Grilled Squid
Quick-seared squid is the best method when you want dinner fast, bright, and full of flavor. It is ideal for salads, rice bowls, tacos, pasta, or a simple plate with lemon, olive oil, herbs, and crusty bread. Grilling adds smoky char, while pan-searing gives you a golden edge without needing outdoor equipment.
Best Cuts for Searing or Grilling
Use cleaned squid tubes and tentacles. For pan-searing, slice the tubes into rings about half an inch thick, or cut the tubes open and score them lightly in a crosshatch pattern. Scoring helps the squid curl attractively and hold sauce. For grilling, butterflied tubes are easier to manage than tiny rings, which may attempt a tragic escape through the grates.
Ingredients
- 1 pound cleaned squid tubes and tentacles
- 2 tablespoons olive oil
- 2 cloves garlic, minced or grated
- 1 teaspoon lemon zest
- 1 tablespoon lemon juice
- 1/2 teaspoon kosher salt
- 1/4 teaspoon black pepper
- Optional: red pepper flakes, chopped parsley, oregano, or smoked paprika
How to Pan-Sear Squid
First, pat the squid very dry. Moisture is the enemy of browning. If the squid is wet, it will steam instead of sear, and you will wonder why your skillet has turned into a tiny ocean. Toss the squid with olive oil, garlic, lemon zest, salt, pepper, and any optional spices.
Heat a large cast-iron or stainless-steel skillet over high heat until very hot. Add a small amount of oil, then add the squid in a single layer. Do not crowd the pan. Cook for about 60 to 90 seconds, tossing once or twice, until the squid turns opaque and lightly browned. Remove immediately and finish with lemon juice and herbs.
How to Grill Squid
Preheat the grill or grill pan over high heat. Oil the grates well. Place butterflied squid tubes and tentacles on the hot surface and cook for about one minute per side. The goal is light char and opaque flesh, not a long conversation with the fire. Slice after grilling, then toss with lemon, olive oil, herbs, and a pinch of salt.
Flavor Ideas for Quick-Cooked Squid
For a Mediterranean version, use olive oil, lemon, garlic, parsley, and oregano. For a Spanish-inspired plate, add smoked paprika and serve with roasted peppers. For a Korean-style variation, toss cooked squid with gochujang, sesame oil, rice vinegar, and scallions. For tacos, season with chili powder and lime, then serve with cabbage slaw and crema.
Common Mistakes to Avoid
The biggest mistake is overcooking. Squid does not need a long time to “develop flavor” over high heat. The flavor comes from browning, seasoning, and sauce. Another mistake is crowding the pan. Cook in batches if needed. A crowded pan drops in temperature quickly, causing the squid to release liquid and simmer instead of sear.
Method 2: Crispy Fried Squid
Fried squid, or fried calamari, is the crowd-pleaser. It is crisp, salty, tender, and dangerously easy to eat. The key is a light coating, hot oil, and short cooking time. You want the outside golden and crunchy while the inside stays tender. You do not want squid nuggets that require dental negotiation.
Best Cuts for Fried Squid
Slice squid tubes into rings about 1/2 inch thick. Rings that are too thin can overcook before the coating browns. Include the tentacles because they fry beautifully and add texture. Pat everything dry before coating.
Ingredients
- 1 pound cleaned squid, sliced into rings, tentacles included
- 1/2 cup milk or buttermilk
- 1 teaspoon kosher salt, divided
- 3/4 cup all-purpose flour
- 1/4 cup cornstarch or rice flour
- 1/2 teaspoon garlic powder
- 1/2 teaspoon paprika
- 1/4 teaspoon black pepper
- Neutral oil for frying, such as canola, vegetable, or peanut oil
- Lemon wedges and marinara, aioli, or spicy mayo for serving
How to Fry Squid
Soak the squid in milk or buttermilk with half the salt for 20 to 30 minutes in the refrigerator. This step can help mellow the flavor and encourage the coating to stick. Drain well and lightly pat dry.
In a bowl, combine flour, cornstarch or rice flour, garlic powder, paprika, black pepper, and the remaining salt. Toss the squid in the flour mixture, coating each piece evenly. Shake off excess flour. Too much coating can fall into the oil and create a burnt confetti situation.
Heat two to three inches of oil in a heavy pot to 350°F to 375°F. Fry the squid in small batches for about two to three minutes, just until pale golden and crisp. Do not wait for a deep brown color; by then the squid may be overcooked. Transfer to a wire rack or paper towel-lined tray and season immediately with a pinch of salt.
How to Keep Fried Calamari Crispy
Use a wire rack instead of piling fried squid onto a plate. Steam is the enemy of crunch. Fry in batches and allow the oil to return to temperature between batches. If the oil is too cool, the coating absorbs grease. If it is too hot, the outside burns before the squid cooks. A thermometer makes this much easier, and it will not judge you for using it.
Best Sauces for Fried Squid
Classic marinara is always welcome, but fried squid also loves lemon aioli, garlic mayo, tartar sauce, spicy sriracha mayo, or a simple squeeze of fresh lemon. For a lighter finish, toss fried calamari with chopped parsley, lemon zest, and a tiny pinch of chili flakes.
Fried Squid Troubleshooting
If the coating falls off, the squid was probably too wet or not coated evenly. If the squid is greasy, the oil temperature was too low. If it is tough, it cooked too long. If it disappears before reaching the table, congratulations: you made it correctly.
Method 3: Slow-Braised Squid
Braised squid is the cozy, underrated method that turns a quick-cooking ingredient into a deeply flavored meal. Instead of fighting squid’s texture, braising works with it. The squid first firms up, then relaxes into tenderness as it simmers in sauce. Think of it as a spa day, but with tomatoes and garlic.
Best Cuts for Braising
Use whole cleaned tubes, sliced rings, or larger pieces. Tentacles are excellent in braises because they add body and flavor. Smaller squid may become tender faster, while larger pieces may need more time.
Ingredients
- 1 1/2 pounds cleaned squid, tubes sliced or left whole
- 3 tablespoons olive oil
- 1 small onion, finely chopped
- 4 cloves garlic, sliced
- 1/2 teaspoon red pepper flakes
- 1 tablespoon tomato paste
- 1/2 cup dry white wine or seafood stock
- 1 can crushed tomatoes, 14 to 15 ounces
- 1/2 cup pitted olives, optional
- 1 tablespoon capers, optional
- 1 bay leaf
- Kosher salt and black pepper to taste
- Fresh parsley or basil for serving
How to Braise Squid
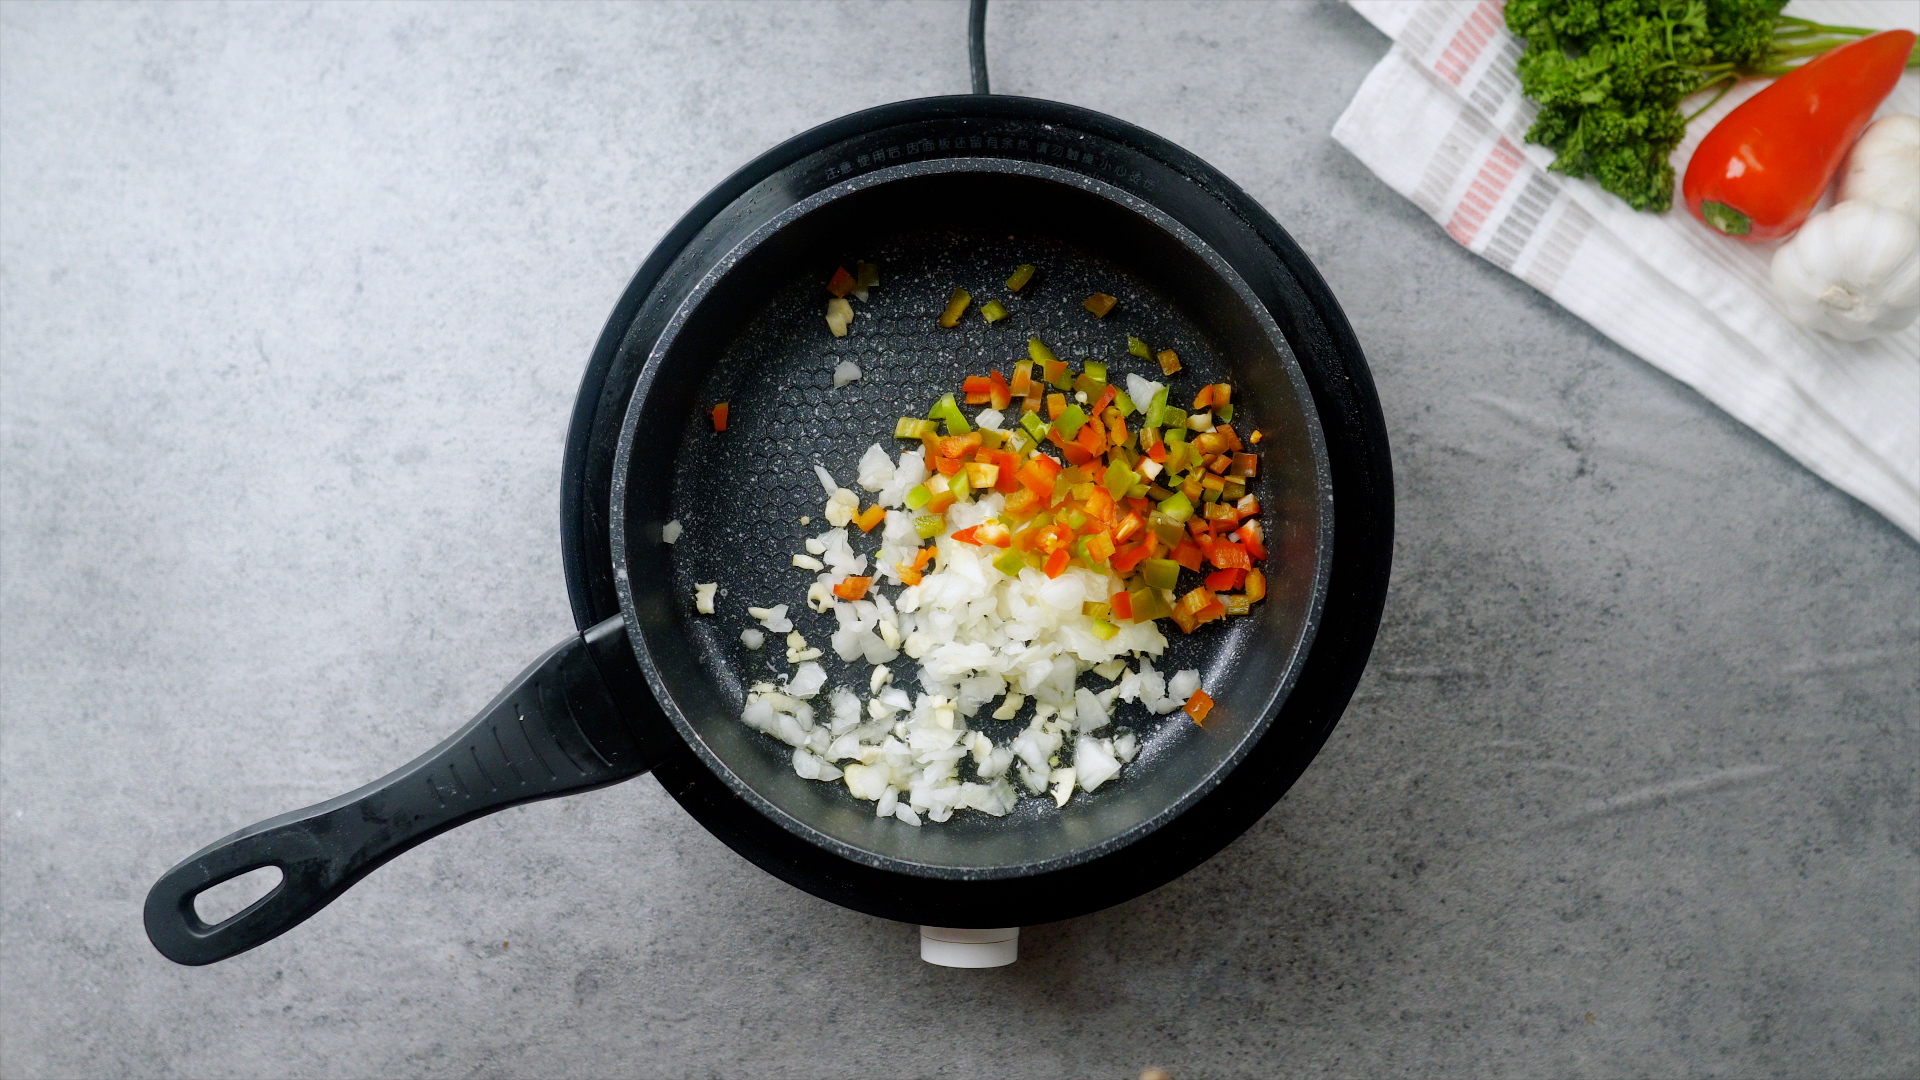
Warm olive oil in a heavy pot over medium heat. Add onion and cook until softened, about five minutes. Add garlic and red pepper flakes, then cook for another minute. Stir in tomato paste and let it darken slightly, which builds flavor.
Add wine or seafood stock and scrape up any browned bits from the bottom of the pot. Stir in crushed tomatoes, olives, capers, bay leaf, salt, and pepper. Add the squid, bring the mixture to a gentle simmer, then reduce the heat. Cover partially and cook for 30 to 45 minutes, stirring occasionally, until the squid is tender.
Remove the bay leaf. Taste and adjust seasoning. Finish with fresh herbs and a drizzle of olive oil. Serve with pasta, polenta, rice, toasted bread, or roasted potatoes. This is the kind of dish that makes people think you worked harder than you did. Let them believe it.
Flavor Variations for Braised Squid
For an Italian-style braise, use tomatoes, garlic, white wine, parsley, and olives. For a Spanish version, add smoked paprika, saffron, and chickpeas. For a spicy North African-inspired dish, stir in harissa and serve with couscous. For a lighter broth-based version, skip the tomatoes and simmer squid with fennel, garlic, lemon peel, and seafood stock.
Why Braising Works
Squid contains muscle fibers that tighten quickly when exposed to heat. During a short cook, they stay tender because they do not have time to toughen dramatically. During a longer braise, those fibers soften again. The trick is patience. If the squid tastes chewy after 15 minutes, it is not ruined; it is simply halfway through its personality change.
How to Serve Squid Like You Know What You Are Doing
Squid pairs beautifully with acidity, herbs, garlic, olive oil, tomatoes, chili, and smoky spices. Lemon is the classic finishing move because it brightens the mild sweetness of the seafood. Fresh herbs such as parsley, cilantro, basil, and mint keep squid dishes lively. For texture, add toasted bread crumbs, crisp vegetables, or crunchy slaw.
For a full meal, serve seared squid over arugula with white beans and lemon vinaigrette. Add fried squid to a seafood platter with shrimp, fries, and dipping sauces. Spoon braised squid over linguine or creamy polenta. Squid also works well in rice dishes, seafood stews, tacos, and chilled salads.
Food Safety Tips for Cooking Squid
Keep raw squid cold until you are ready to cook. Store it in the refrigerator and use it within a day or two if fresh. Thaw frozen squid in the refrigerator overnight or under cold running water if you need it sooner. Wash your hands, cutting board, and knife after handling raw seafood. Cook squid until opaque and firm. For general seafood safety, a food thermometer is useful, though thin squid pieces often cook so quickly that visual cues matter too.
Which Squid Cooking Method Is Best?
The best way to cook squid depends on your goal. Choose quick searing or grilling when you want a fast, healthy, flavorful meal. Choose frying when you want crunch, party energy, and zero leftovers. Choose braising when you want comfort food with deep flavor and a sauce that begs for bread.
For beginners, pan-searing is the easiest place to start. It requires little equipment, cooks in minutes, and teaches you how squid behaves with heat. Once you understand that, frying and braising become much less intimidating.
Extra Kitchen Experience: Lessons Learned from Cooking Squid at Home
The first time many home cooks try squid, they treat it like shrimp, chicken, or a vague protein tube from the sea. That is understandable, but squid has its own rules. The most useful lesson is that preparation matters as much as cooking. Dry squid browns; wet squid steams. Even a few extra minutes in a colander followed by a paper towel pat-down can change the final result. This is especially true for frozen squid, which often releases more water after thawing.
Another real-world lesson: smaller batches are not fussy; they are smart. When too much squid goes into a skillet at once, the pan temperature drops. Suddenly you are not searing anymore. You are hosting a seafood hot tub. Cooking in two or three batches may feel slower, but the total time is still short, and the texture is much better.
Seasoning also makes a bigger difference than people expect. Squid is mild, which is great because it welcomes bold flavors. Lemon, garlic, chili, herbs, soy sauce, sesame oil, paprika, and tomatoes all work well. But because squid cooks quickly, marinades should be used with care. A short marinade adds flavor; an overly acidic marinade can affect texture. For most quick-cooked squid, 15 to 30 minutes is enough.
When frying squid, the most common disappointment is sogginess. The fix is not mysterious. Use hot oil, do not overcrowd the pot, drain on a rack, and serve immediately. Fried calamari is not a “make it two hours early and hope for the best” food. It is a “call everyone to the table now” food. The lemon wedges should be ready before the squid leaves the oil.
Braising teaches the opposite kind of patience. At first, the squid may seem tough, and a nervous cook may panic. Keep simmering gently. The sauce will thicken, the garlic will mellow, and the squid will soften. A low simmer is important; aggressive boiling can make the sauce harsh and the squid uneven. Braised squid is also excellent the next day, which makes it perfect for meal prep or dinner guests. Reheat it gently and add fresh herbs at the end.
Finally, do not waste the tentacles. Some people ignore them because they look a little dramatic, like they are auditioning for a tiny sea monster movie. But tentacles are delicious. They crisp beautifully when fried, char nicely on the grill, and add character to stews. In many squid dishes, they are the best bite.
Cooking squid well is less about fancy technique and more about confidence. Start with clean squid, dry it well, choose the right method, and respect the timing. Once you get comfortable, squid becomes one of the fastest and most flexible seafood options in the kitchen. It is affordable, flavorful, and impressive without being complicated. That is a rare combinationlike finding a recipe that says “easy cleanup” and actually means it.
Conclusion
Squid may look intimidating, but it is one of the most rewarding seafood ingredients to cook at home. The secret is simple: go fast and hot, or slow and gentle. Quick-seared or grilled squid gives you bright, tender results in minutes. Fried squid delivers restaurant-style crunch when the oil is hot and the batches stay small. Braised squid turns humble ingredients into a rich, comforting dish with deep flavor.
Once you understand these three ways to cook squid, you can adapt them endlessly. Add herbs and lemon for a clean Mediterranean plate, chili and sesame for bold heat, or tomatoes and olives for a cozy dinner. Squid is not difficult; it just refuses to be ignored. Treat it right, and it will reward you with tender bites, big flavor, and possibly a new reputation as the seafood genius of your kitchen.
SEO Tags
Note: This article is original web-publishing content synthesized from reputable American culinary and seafood-safety guidance, rewritten in a natural style without copied source text or citation artifacts.