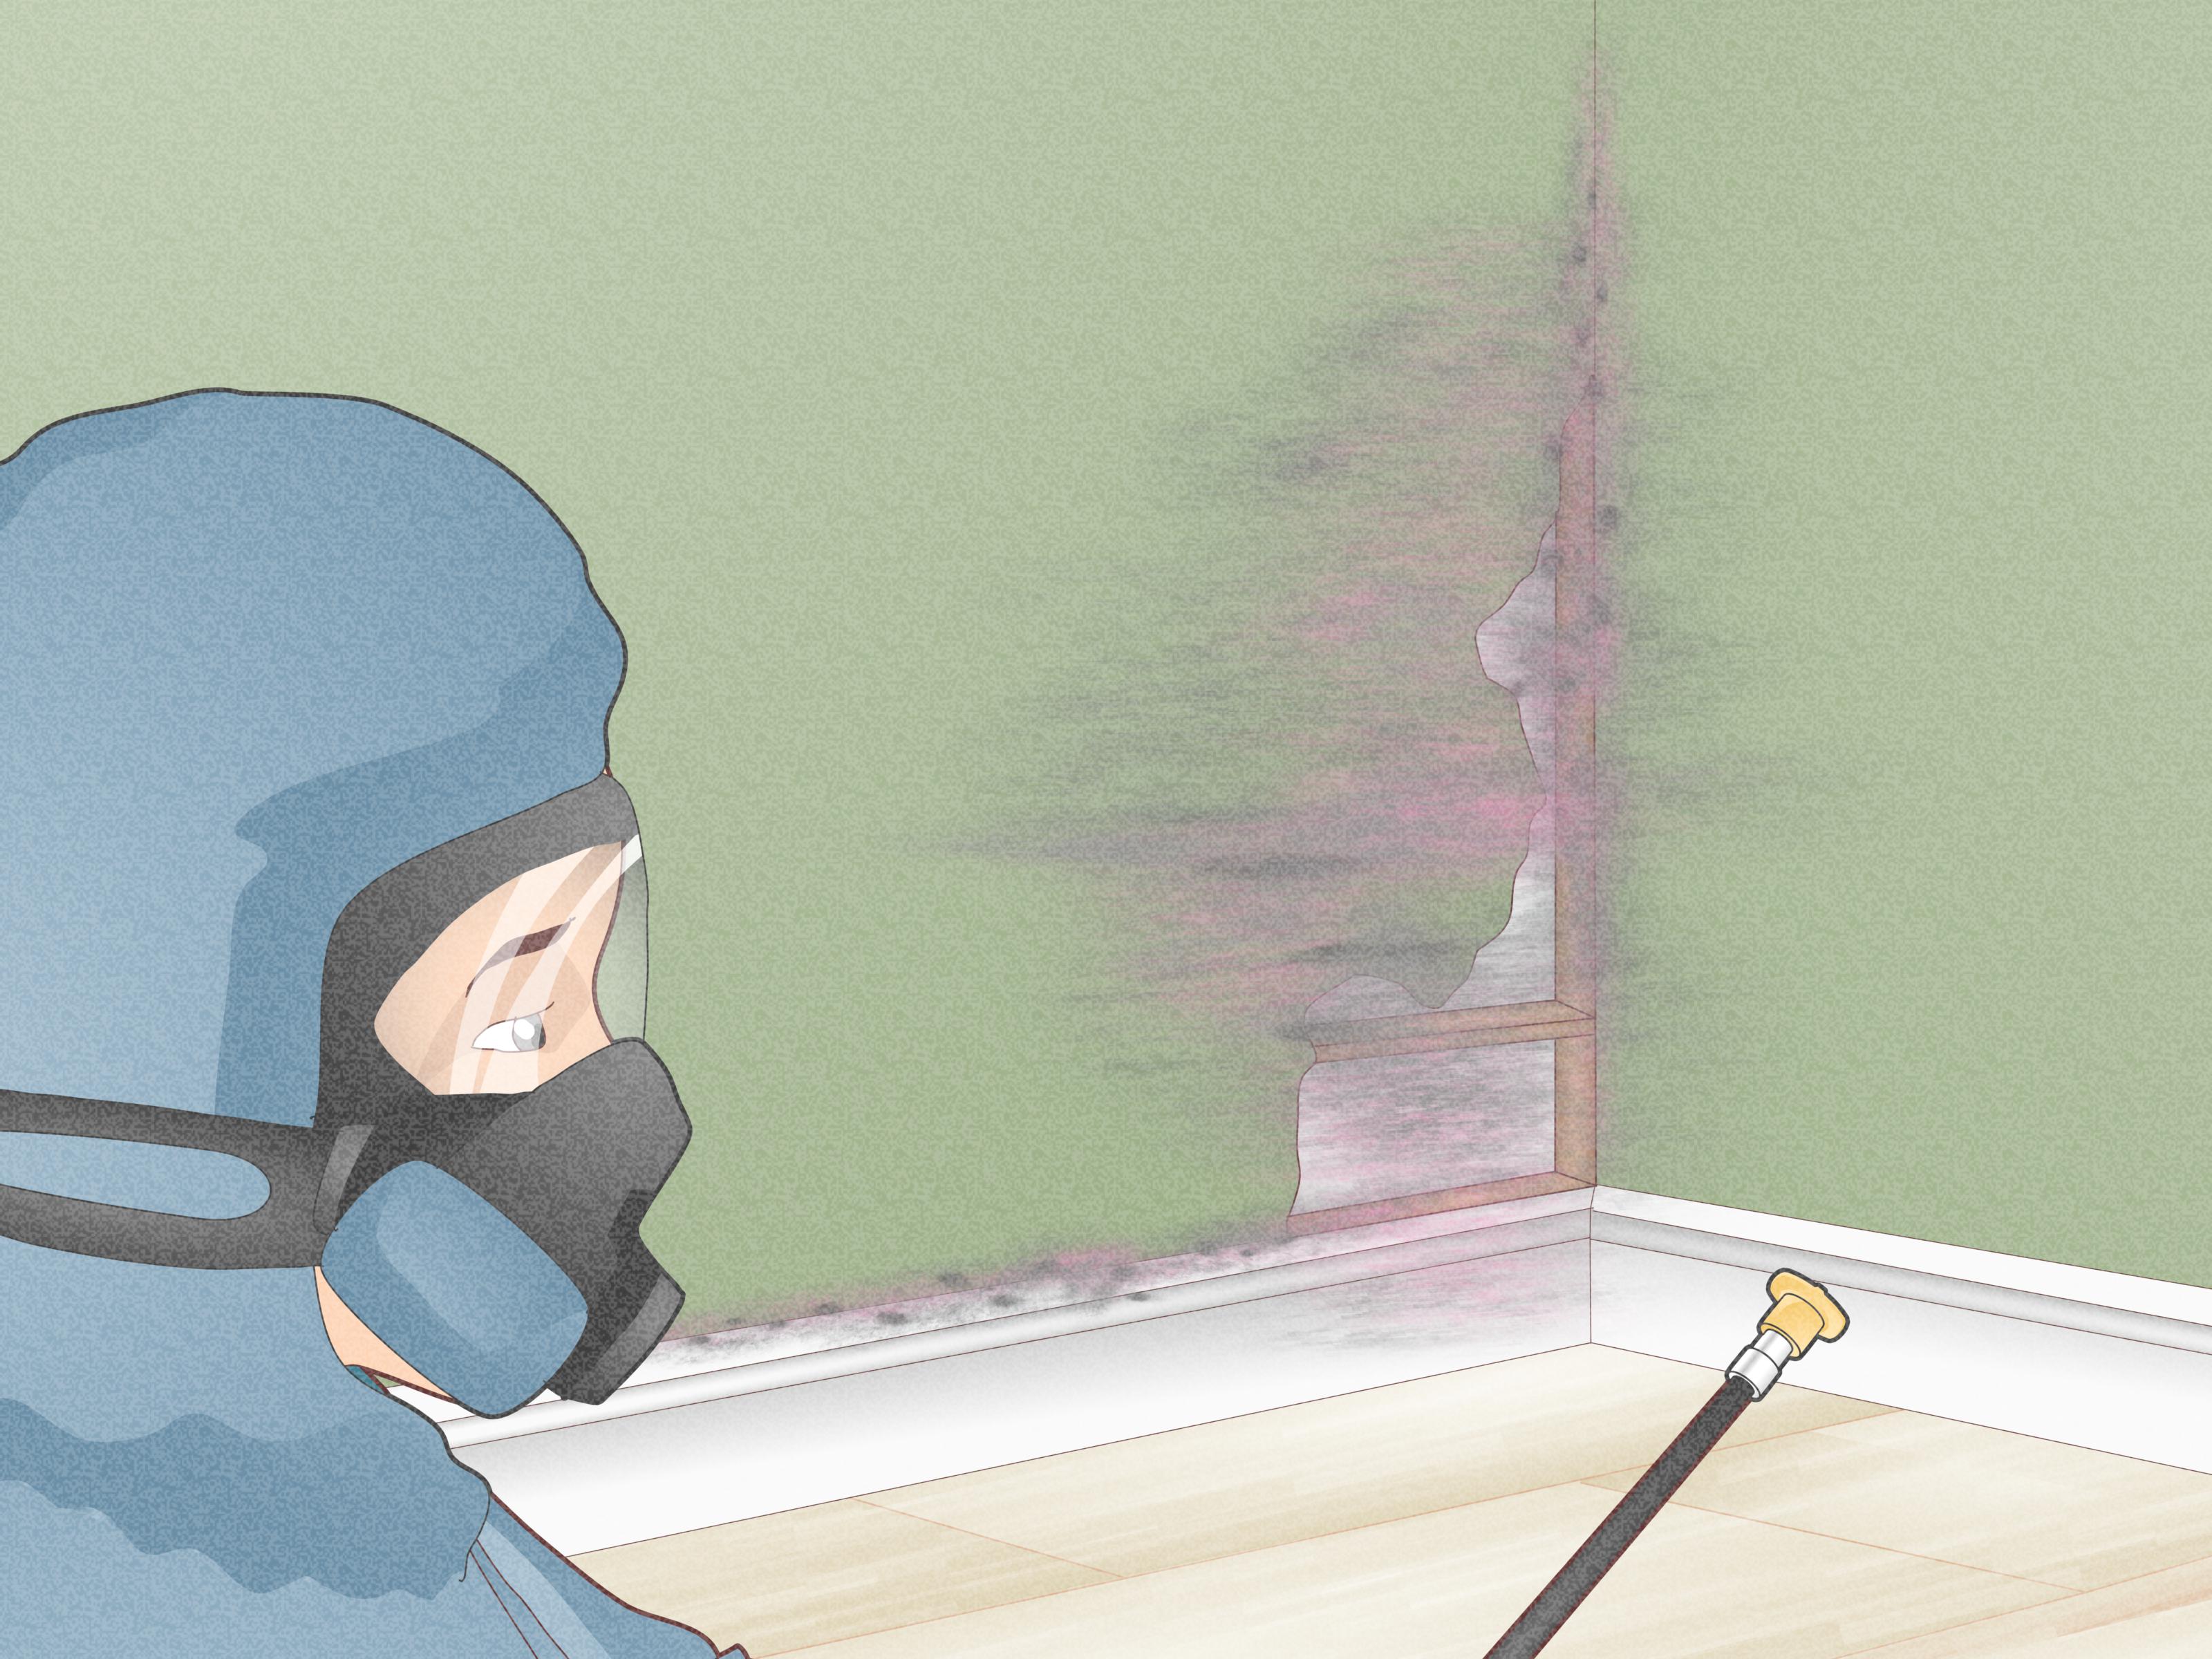
Mold on drywall is the houseguest nobody invited, nobody likes, and nobody wants hanging around after breakfast. It may begin as a few dark freckles near a bathroom ceiling, a fuzzy patch behind a dresser, or a suspicious stain below a leaking window. Give it moisture and time, however, and that little patch can become a full-scale wall renovation.
The secret to getting rid of drywall mold is not finding the strongest-smelling cleaner on the hardware-store shelf. Successful mold removal requires three things: eliminating the moisture source, removing contaminated material, and drying the area thoroughly. Skip any one of those steps, and the mold may return for an encore.
This guide explains how to kill mold on drywall safely, when surface cleaning may work, when drywall must be replaced, and how to stop mold from returning.
Guidance synthesized from current EPA, CDC, OSHA, FEMA, HUD, state health department, university extension, medical, consumer, and home-improvement resources.
Why Mold Grows on Drywall
Drywall contains a gypsum core covered by paper. Although gypsum itself is not a gourmet meal for mold, the paper facing contains organic material that mold can use for food. Add moisture from a leak, condensation, flooding, or high humidity, and you have created a tiny fungal resort.
Common moisture sources include:
- Leaking plumbing inside a wall
- Roof or flashing leaks
- Condensation around windows and exterior walls
- Poor bathroom or kitchen ventilation
- Basement seepage and foundation moisture
- Air-conditioning drain or duct problems
- Floodwater or sewage backups
Wet materials should ideally be dried within 24 to 48 hours. Once drywall remains damp longer than that, mold may begin growing on the surface, inside the paper facing, or within the wall cavity. Mold can also be present even when the visible stain looks small.
Damp materials should be dried promptly, and hidden growth may occur behind drywall or other finishes.
Can Moldy Drywall Be Cleaned?
Sometimesbut not always. The decision depends on the condition of the drywall, the source of the moisture, and how deeply the contamination has spread.
Drywall May Be Cleanable When:
- The affected area is small and limited to the surface.
- The drywall is painted, sealed, firm, and completely dry.
- The mold resulted from temporary surface condensation.
- There is no bubbling paint, swelling, crumbling, or softness.
- There is no evidence of sewage or contaminated floodwater.
Drywall Should Usually Be Removed When:
- It is soft, swollen, warped, crumbly, or sagging.
- Mold has penetrated unpainted drywall or exposed paper.
- The material remained wet for more than 48 hours.
- Mold is growing on both sides of the panel.
- Wet insulation is trapped behind the wall.
- The damage came from sewage or contaminated floodwater.
- The mold returns after repeated surface cleaning.
Drywall is porous, so mold roots and fragments can extend into spaces that a sponge, spray, or dramatic amount of scrubbing cannot reach. When the panel has been saturated or structurally damaged, replacement is generally more reliable than attempting to disinfect it.
Porous materials such as moldy drywall and insulation are often difficult to clean completely and may need disposal.
When Is DIY Mold Removal Appropriate?
The Environmental Protection Agency states that homeowners can usually handle a moldy area smaller than approximately 10 square feet, roughly a three-foot-by-three-foot patch. That guideline assumes the problem is localized, the moisture source is understood, and the cleanup does not involve sewage, extensive flooding, HVAC contamination, or major structural damage.
Consider professional mold remediation when:
- The affected area exceeds about 10 square feet.
- Mold appears in several rooms or repeatedly returns.
- You suspect contamination inside an HVAC system.
- There was extensive flooding or sewage exposure.
- The ceiling or wall may be structurally unstable.
- A musty odor persists with no visible source.
- Someone in the home has severe asthma, COPD, major allergies, or a weakened immune system.
People with weakened immune systems, serious lung conditions, or significant mold sensitivity should avoid mold cleanup areas. Mold exposure can cause coughing, eye or skin irritation, allergy symptoms, wheezing, and asthma flare-ups in susceptible individuals.
EPA uses approximately 10 square feet as a practical DIY threshold. CDC advises higher-risk people to avoid mold-contaminated buildings and cleanup work.
What You Need to Remove Mold From Drywall
For a small, manageable area, assemble your supplies before disturbing the mold. Running through the house in moldy gloves because you forgot the trash bags is not an ideal containment strategy.
- A properly fitted N95 respirator or better protection
- Non-vented safety goggles
- Long chemical-resistant gloves
- Long sleeves, long pants, and washable or disposable clothing
- Plastic sheeting and painter’s tape
- Heavy-duty plastic disposal bags
- Household detergent or a labeled mold-cleaning product
- Disposable cloths or sponges
- A soft-bristled brush
- A HEPA-filtered vacuum, when appropriate
- A dehumidifier and hygrometer
- A utility knife and drywall saw if removal is necessary
Never use a regular household vacuum on visible mold. A standard vacuum can capture larger debris while blowing smaller particles back into the room like a microscopic confetti cannon. Use only a true HEPA-filtered unit designed to contain fine particles.
Recommended minimum protection includes an N95 respirator, goggles, and protective gloves. Mold-contaminated debris should be sealed before removal.
How to Kill Surface Mold on Painted Drywall
Use this method only when the drywall is structurally sound and the growth appears limited to an intact painted surface.
Step 1: Stop the Moisture
Repair the leaking pipe, roof, window seal, or ventilation problem first. Cleaning before fixing the moisture source is like mopping the floor while the bathtub is still overflowing. You may feel productive, but the house remains unimpressed.
Step 2: Isolate the Work Area
Move furniture and belongings out of the area. Close interior doors and use plastic sheeting to separate the workspace from the rest of the home. Cover nearby supply and return vents so moldy dust does not enter the HVAC system.
If you use ventilation, direct contaminated air outdoors rather than into another room. Do not point an ordinary fan directly at dry mold before containment; moving air can spread particles.
Step 3: Put On Protective Equipment
Wear your respirator, goggles, gloves, and protective clothing before touching the wall. Keep children, pets, and anyone with respiratory or immune-system concerns away from the workspace.
Step 4: Remove Loose Material Carefully
If loose dust or spores are present, use a HEPA vacuum with gentle passes. Avoid aggressive dry brushing or sanding, both of which can launch particles into the air.
Step 5: Clean the Wall
Mix a small amount of household detergent with warm water. Dampen a cloth or sponge without soaking it, then wipe the affected area. For stubborn surface growth, use a soft brush with light pressure.
The goal is physical removal. “Killing” mold without removing the residue is not enough because dead mold fragments may still trigger allergic reactions. Use as little liquid as practical; drywall does not appreciate being washed like a muddy pickup truck.
Step 6: Wipe and Dry
Use a separate damp cloth to remove detergent residue, then dry the wall quickly. Run a dehumidifier and, when safely arranged, exhaust moist air outdoors. Do not repaint until the wall and surrounding cavity are completely dry.
Physical removal, moisture correction, containment, and complete drying are central to successful remediation.
Should You Use Bleach on Drywall Mold?
Bleach advice can sound contradictory because different agencies address different cleanup situations. The CDC permits a diluted bleach solution for certain household and disaster-cleanup applications, using no more than one cup of household bleach per gallon of water. The EPA, however, does not recommend biocides such as chlorine bleach as a routine mold-cleanup practice.
On porous drywall, bleach may lighten the stain without reaching contamination below the surface. It can also add more moisture to an already moisture-sensitive material. For ordinary, superficial mold on intact painted drywall, detergent and physical removal are often more useful. For deeply contaminated drywall, removal is usually better than repeatedly soaking it with chemicals.
When bleach is appropriate because of contaminated water or specific product instructions:
- Ventilate the room well.
- Follow the product label.
- Wear gloves and eye protection.
- Never use full-strength bleach.
- Never mix bleach with ammonia.
- Never mix bleach with vinegar, lemon juice, or other acids.
- Never combine separate mold cleaners.
Mixing bleach with other cleaners can produce dangerous gases. This is not a situation where two cleaners become twice as powerful. They become a chemistry emergency.
CDC allows limited diluted-bleach use in some cleanup situations, while EPA does not recommend bleach as a routine mold-remediation practice. Both emphasize ventilation and chemical safety.
How to Remove Mold-Damaged Drywall
If the drywall is saturated, soft, extensively moldy, or contaminated by floodwater or sewage, it should generally be removed rather than surface-cleaned.
1. Check for Electrical and Building Hazards
Turn off electrical power to the affected wall when wiring, outlets, or switches may have been exposed to water. Contact an electrician when there is any uncertainty. Do not cut blindly into walls that may contain plumbing, electrical cables, or gas lines.
Before disturbing walls in an older home, consider lead and asbestos hazards. Pre-1978 paint may contain lead, and some older wall systems or joint compounds may contain asbestos. Suspect materials should be evaluated by qualified professionals before demolition.
2. Build Containment
Seal the room with plastic sheeting, protect the floor, and cover HVAC vents. Prepare bags inside the work area so contaminated drywall can be packaged before it travels through the house.
3. Remove the Damaged Section
Cut a neat rectangle that extends into sound, dry material. Whenever practical, cut to the centers of nearby studs so the replacement drywall has solid backing. Remove wet insulation and inspect the back of the drywall, studs, sill plates, and adjoining cavities.
4. Bag Debris Immediately
Place contaminated drywall and insulation into heavy plastic bags while still inside the contained area. Seal the bags before carrying them through occupied rooms. Large pieces can be wrapped in plastic sheeting and taped shut.
5. Clean the Framing
HEPA-vacuum exposed framing, then scrub sound wood or other cleanable materials with detergent and water. Collect residue and dry everything thoroughly. Severely decayed wood or widespread contamination requires professional evaluation.
6. Confirm the Cavity Is Dry
Do not reinstall insulation or drywall simply because the studs look dry from six feet away. Use a moisture meter when possible and compare readings with dry wood elsewhere in the home. Rebuilding over damp framing can trap moisture and restart the problem behind your beautiful new wall.
7. Rebuild and Finish
Install new insulation and drywall only after the moisture source has been corrected and the cavity is dry. In bathrooms, laundry rooms, and other moisture-prone areas, consider moisture- and mold-resistant products. Prime and paint according to the manufacturers’ instructions.
Moldy porous debris should be sealed before transport. Wet cavities must be cleaned and dried before rebuilding. Older walls may also require lead- or asbestos-safe practices.
How to Know the Cleanup Worked
A successful mold cleanup should meet several practical conditions:
- The original leak or humidity problem has been corrected.
- No visible mold or moldy debris remains.
- The area is dry and structurally sound.
- There is no persistent musty odor.
- Paint is not bubbling, peeling, or becoming discolored again.
- Mold does not return during the following weeks.
Routine home mold testing is usually unnecessary when mold is already visible. There are no federal airborne mold limits that a basic home test can use to declare a room universally “safe.” Inspection, moisture correction, complete removal, and careful follow-up are generally more useful than discovering the Latin name of the fungus occupying your wall.
EPA and CDC generally do not recommend routine mold sampling when visible growth is present.
How to Prevent Mold From Returning
Keep Indoor Humidity Under Control
Aim for approximately 30% to 50% relative humidity. Use an inexpensive hygrometer to check the air rather than relying on whether the basement “feels sort of clammy.” Run an air conditioner or dehumidifier when humidity remains elevated.
Use Bathroom and Kitchen Exhaust Fans
Run bathroom ventilation during showers and afterward until excess moisture clears. Exhaust fans should vent outdoors, not into an attic where they can relocate the mold problem to a darker and more expensive neighborhood.
Repair Leaks Quickly
Inspect plumbing under sinks, around toilets, near water heaters, and behind appliances. Check roof flashing, gutters, downspouts, window seals, and exterior penetrations. A small stain is often the wall’s polite way of announcing a larger moisture problem.
Improve Drainage Around the Foundation
Keep gutters clear, direct downspouts away from the house, and make sure soil slopes away from the foundation. Correct basement seepage before finishing walls or installing carpet.
Allow Air to Circulate
Leave a small gap between furniture and cold exterior walls. Avoid packing damp closets with cardboard, clothes, and papers. Air circulation helps prevent condensation and makes early moisture problems easier to spot.
Choose Materials for the Room
Use moisture-resistant drywall and mold-resistant coatings in appropriate damp locations, but remember that no building material is magical. Even mold-resistant drywall can develop problems when exposed to ongoing leaks or extreme humidity.
Inspect Previously Damaged Areas
Check repaired walls after heavy rain, plumbing work, seasonal humidity changes, and major temperature swings. Look for odors, stains, peeling paint, swollen baseboards, or recurring condensation.
Recommended indoor relative humidity is generally 30% to 50%. Ventilation, drainage, rapid leak repair, and moisture control help prevent regrowth.
Common Drywall Mold Removal Mistakes
Painting Over Mold
Mold-resistant primer is useful only after contaminated material has been cleaned or removed and dried. Painting directly over active mold may temporarily hide discoloration, but the coating can peel while growth continues underneath.
Using Too Much Water
Drywall is not tile. Saturating it with cleaning solution can push moisture deeper into the paper and gypsum, creating conditions for additional growth.
Cleaning Without Fixing the Leak
No spray can defeat a pipe that drips every day. Moisture correction must come first.
Dry Sanding or Scraping
Aggressive sanding can spread spores and contaminated dust. Remove unsalvageable drywall under containment instead.
Running the HVAC System During Demolition
Operating central heating or cooling while disturbing moldy drywall can carry particles to other areas. Cover nearby vents and keep the system serving that workspace off when practical and safe.
Rebuilding Too Soon
Fresh drywall over wet studs is not a repair. It is a mold time capsule.
Mold should be removed and surfaces dried before painting or rebuilding.
Real-World Experiences and Practical Lessons
The following composite examples reflect common situations encountered in household moisture and mold cleanup. They are not descriptions of one specific property, but they demonstrate why treating the cause matters more than choosing a fashionable cleaning solution.
Experience 1: The Bathroom Ceiling That Kept Turning Black
In one common scenario, a homeowner notices small black dots above the shower. The ceiling feels solid, the paint remains intact, and there is no plumbing leak above it. The homeowner wipes the area with cleaner, and the spots disappear. Three weeks later, they return in nearly the same formationas if the mold saved a seating chart.
The real problem is a weak exhaust fan connected to a long, partially blocked duct. After every shower, humid air remains trapped in the room and condenses on the cold ceiling. Replacing the fan, cleaning the duct, confirming that it vents outdoors, and running it longer after showers solves the moisture problem. The painted drywall can then be cleaned gently and dried. Because the substrate is still sound and the growth is superficial, demolition is unnecessary.
The lesson is simple: recurring bathroom mold is often a ventilation diagnosis, not a cleaning-product competition.
Experience 2: The “Tiny” Stain Behind a Baseboard
Another homeowner discovers a six-inch stain near the floor behind a dresser. A surface spray removes the visible discoloration, but the room continues to smell musty. When the baseboard is removed, the back is heavily stained. The drywall paper is soft, and a slow plumbing leak has dampened the insulation inside the wall.
In this situation, surface cleaning was never going to work. The damaged drywall and insulation must be removed under containment, the plumbing connection repaired, and the framing cleaned and dried. The visible patch was small, but the hidden contamination followed the path of water inside the cavity.
The practical lesson is to investigate musty odors, softened drywall, peeling paint, and swollen trim. Mold does not always respect the borders of the stain you can see.
Experience 3: The Basement Rebuilt Before It Was Ready
After a minor basement flood, a homeowner removes the bottom portion of the drywall and runs several fans for two days. The framing feels dry to the touch, so new insulation and wallboard are installed immediately. Two months later, the lower wall develops a musty smell and brownish spots.
The studs and concrete had retained more moisture than expected. Once the wall was closed, that moisture had nowhere useful to go. The new drywall paper became the nearest available food source.
A more reliable approach would have included extended dehumidification, moisture-meter readings, removal of all wet insulation, examination of the sill plate, and confirmation that exterior drainage had been corrected. Drying time is influenced by humidity, airflow, wall design, temperature, and how deeply water penetrated. A calendar cannot tell you when framing is dry; measurements can.
Experience 4: The Miracle Spray That Wasn’t
Homeowners often purchase a product advertised to “kill 99.9%” of mold and assume the job is complete when the stain fades. Yet discoloration is not the same thing as contamination, and dead mold residue is not the same thing as a clean surface. If drywall remains wet or mold has penetrated its paper facing, no spray can restore the panel’s strength or remove growth buried inside it.
The strongest results usually come from boring fundamentals: stop the water, contain the work, remove damaged porous material, clean salvageable surfaces, dry the structure, and monitor the repair. It is less exciting than discovering a secret mold-killing potion, but it is considerably more effective.
Final Thoughts
To kill mold on drywall permanently, think beyond the visible spots. Small amounts of superficial mold on sound, painted drywall may be cleaned with detergent, careful physical removal, and rapid drying. Saturated, soft, unpainted, deeply contaminated, sewage-exposed, or repeatedly moldy drywall should usually be removed and replaced.
The moisture source is the real target. Repair leaks, manage humidity, improve ventilation, dry wet materials within 24 to 48 hours, and avoid rebuilding until concealed framing is fully dry. Mold may be persistent, but it is not particularly creative. Take away its water, food, and comfortable living conditions, and it loses most of its enthusiasm.
Research note: This article synthesizes information from the U.S. Environmental Protection Agency, Centers for Disease Control and Prevention, Occupational Safety and Health Administration, Federal Emergency Management Agency, Department of Housing and Urban Development, ENERGY STAR, New York State Department of Health, Minnesota Department of Health, University of Minnesota Extension, University of Georgia Cooperative Extension, University of Missouri Extension, Mayo Clinic, Harvard Health Publishing, Consumer Reports, and This Old House.
Note: This guide is intended for small, localized household mold problems. Seek qualified professional assistance for extensive contamination, recurring hidden mold, HVAC involvement, sewage or major flood damage, structural deterioration, suspected lead or asbestos hazards, or cleanup areas occupied by people with serious respiratory conditions or weakened immune systems.