A PDF can preserve fonts, images, charts, signatures, forms, and page layouts with impressive consistency. Unfortunately, it can also preserve every oversized photograph, duplicate font, forgotten attachment, and unnecessary pixel hiding inside the document. The result is often a file that looks like a modest report but weighs as much as a digital refrigerator.
Knowing how to reduce PDF file size makes documents easier to email, upload, store, download, and open on slower devices. The goal, however, is not to crush a PDF until the text resembles ancient cave writing. Good PDF compression removes waste while protecting the content people actually need.
This guide explains three practical methods: exporting the PDF again with efficient settings, optimizing its internal content, and using a dedicated PDF compression tool. It also covers image resolution, font handling, scanned documents, privacy, accessibility, and quality checks so that “smaller” does not become a polite synonym for “ruined.”
Why Are Some PDF Files So Large?
A PDF is a container that can hold text, raster images, vector graphics, embedded fonts, metadata, comments, form fields, attachments, thumbnails, layers, and multimedia. Any one of these elements can increase file size, but high-resolution images are usually the main suspects.
A photograph prepared for professional printing may contain far more pixels than a document viewed on a laptop needs. Scanned pages can be even larger because each page may be stored as a full-page image. A 50-page scan at an unnecessarily high resolution can become enormous before the scanner has finished humming its victory song.
Fonts also matter. Embedding an entire font family adds more data than embedding only the characters used in the document. Repeated edits may leave behind unused objects, old image versions, temporary information, or incremental save data. Some PDFs also contain hidden attachments, comments, layers, or metadata that are useful during production but unnecessary in the final copy.
Research basis: PDF structure, images, fonts, metadata, compression, and optimization behavior.
Before You Compress a PDF
Always save a backup copy before changing the file. Compression can be lossy, meaning some original image data is permanently discarded. If the result looks too soft, contains missing characters, or behaves strangely, the untouched original is your escape hatch.
Next, decide how the PDF will be used. A document intended only for email or web viewing can usually tolerate stronger image reduction than a brochure going to a commercial printer. A legal archive, medical record, engineering drawing, or preservation copy may require stricter quality and format standards.
Finally, inspect the current size and set a realistic goal. Reducing a 42 MB presentation to 8 MB may be easy if it contains giant photographs. Reducing a clean, text-only 500 KB document to 50 KB may produce little benefit because the file is already efficient.
Research basis: lossy versus lossless compression and preservation considerations.
1. Export the Document Again Using Smaller PDF Settings
The cleanest way to reduce PDF file size is often to return to the original Word document, presentation, spreadsheet, publishing file, or design project and create a new PDF using more efficient export settings. This method gives the software a chance to rebuild the document instead of merely squeezing an already complicated file.
Use the “Minimum Size” Option in Microsoft Office
Microsoft Office applications commonly provide a choice between standard publishing quality and a minimum-size option when saving or exporting to PDF. Choose the smaller setting when the document is primarily intended for online distribution rather than high-quality printing.
Before exporting, compress the pictures in the source document. Apply compression to all images, remove cropped picture data when you no longer need it, and select a practical resolution. Deleting cropped areas can save more space because cropping often hides part of an image without actually removing the hidden pixels.
For example, imagine a 20-page employee handbook containing 15 photographs copied directly from a modern smartphone. Each original photo may be several megabytes. Compressing those pictures in Word and then exporting with the minimum-size setting can produce a dramatically smaller PDF while leaving the photos perfectly acceptable for screen viewing.
Research basis: Microsoft PDF export and picture-compression options.
Use Preview on a Mac
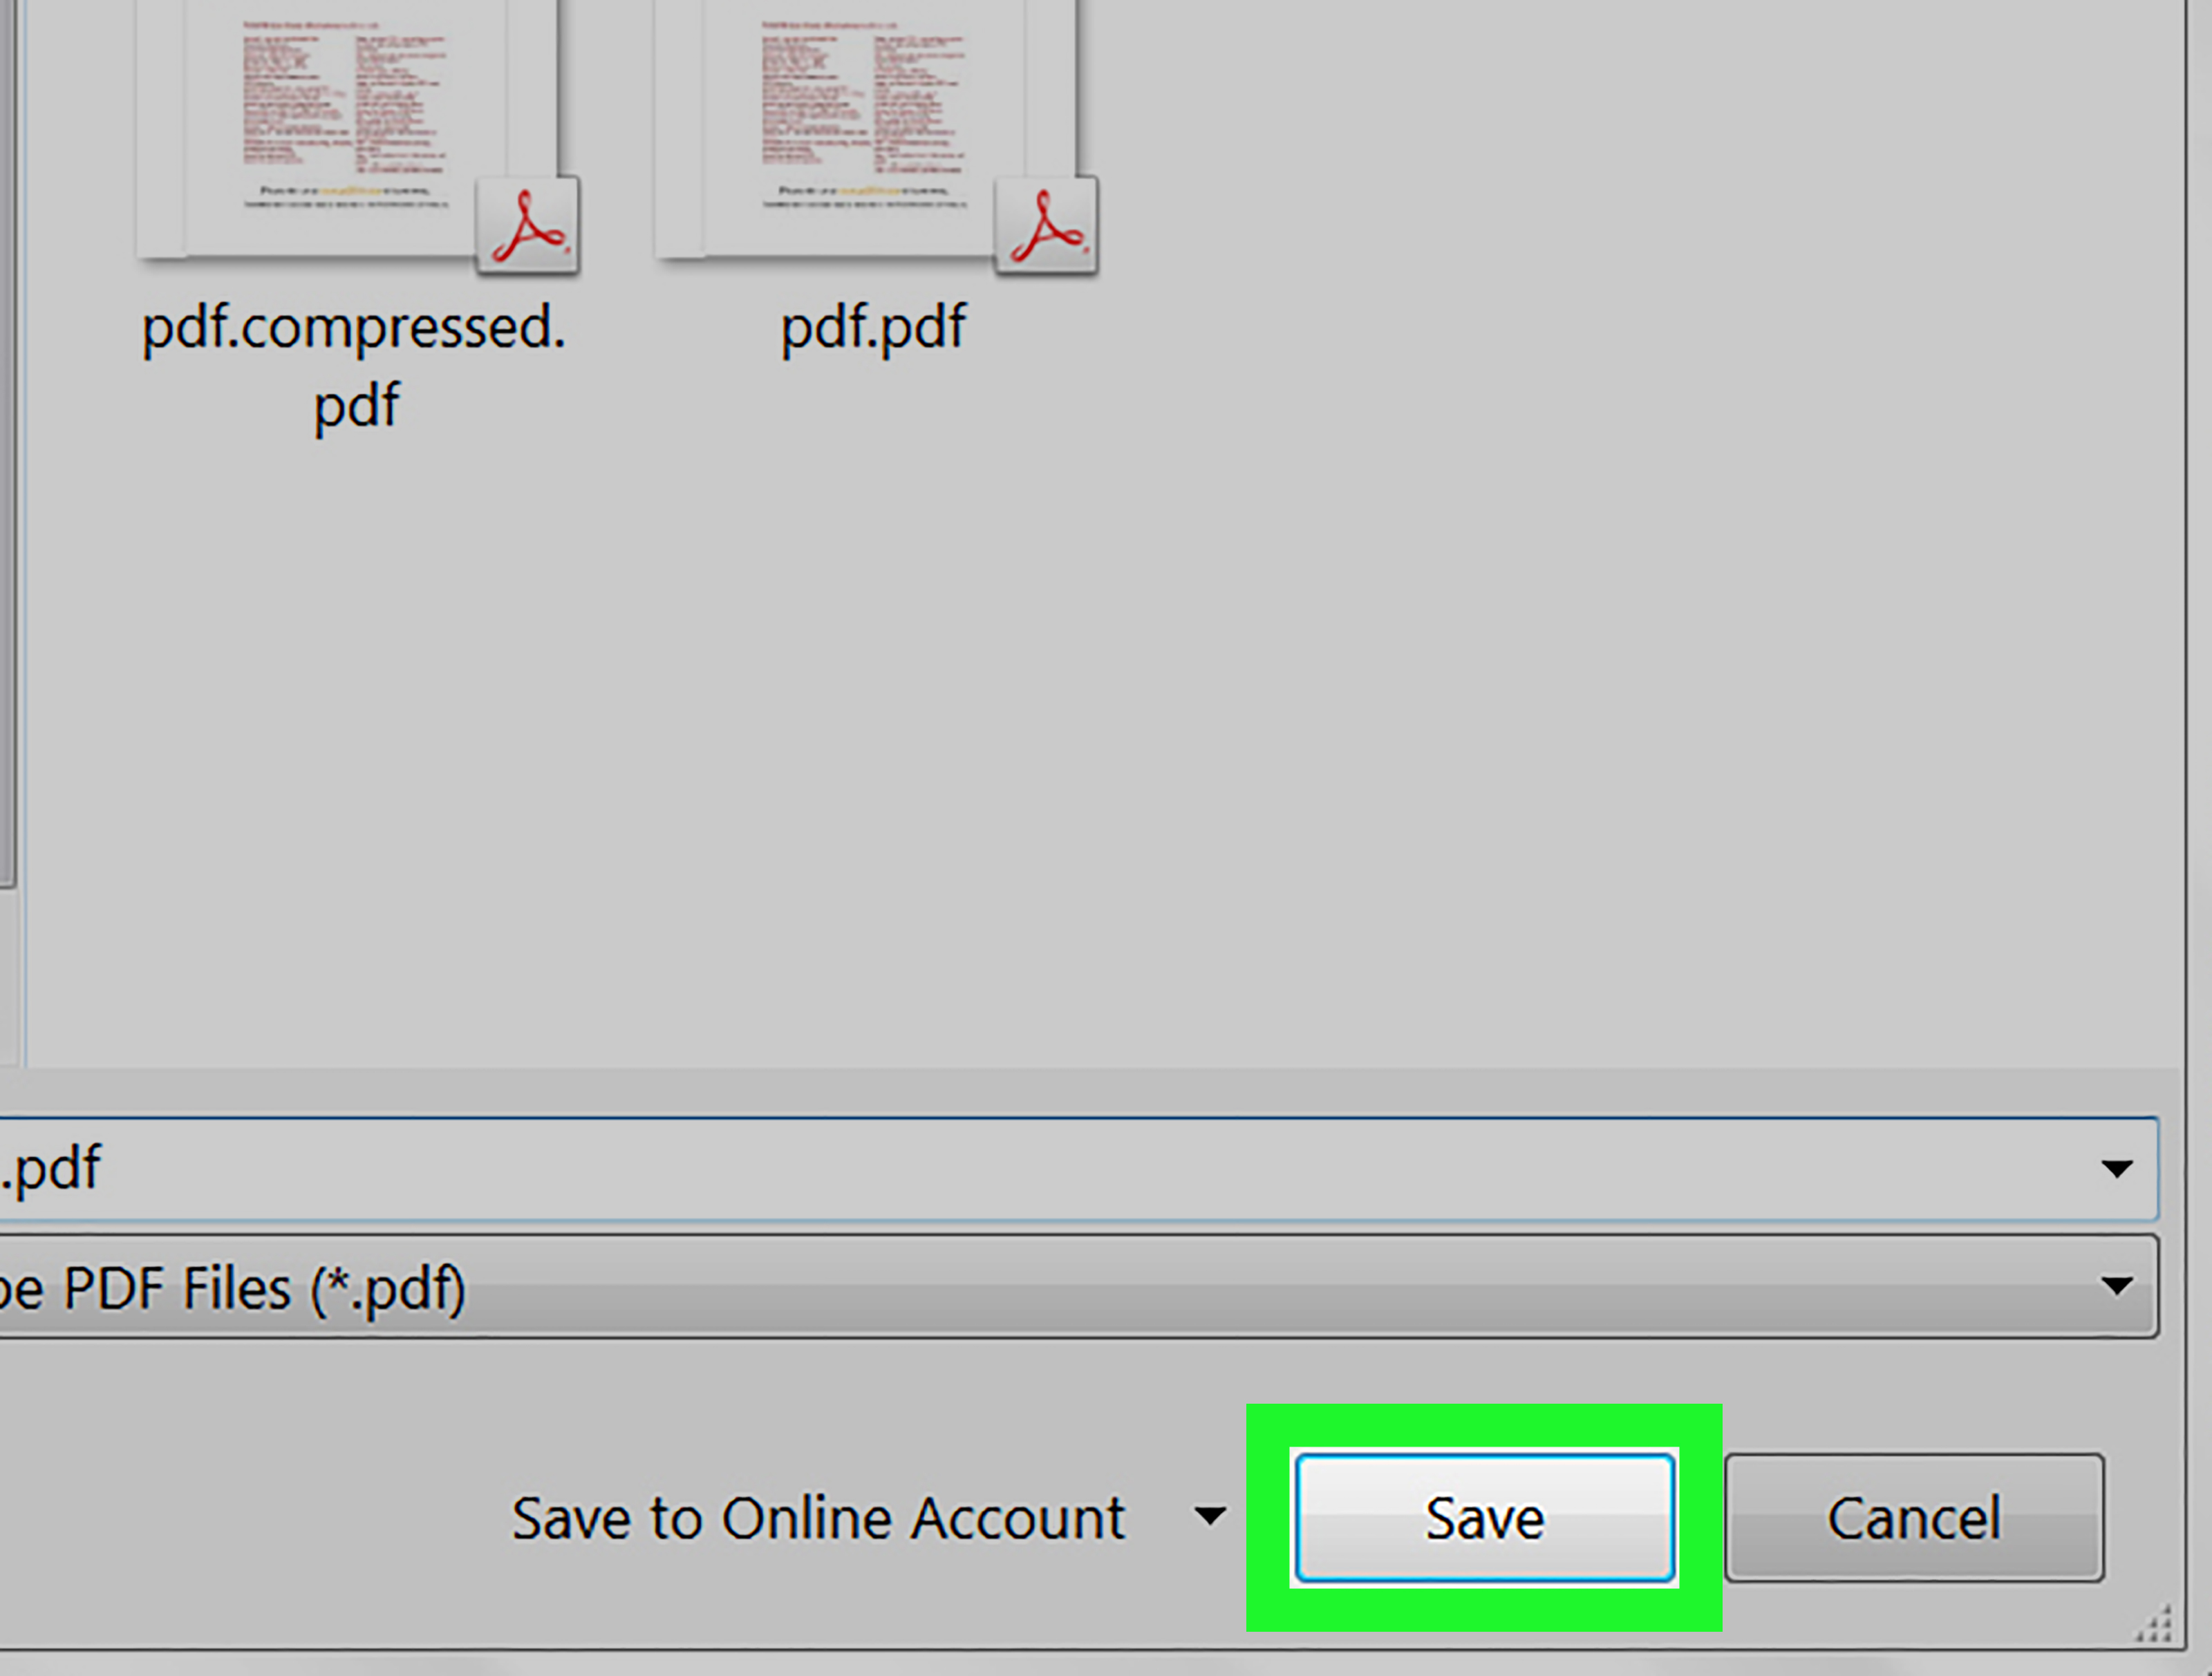
Mac users can open a PDF in Preview, choose File > Export, and select the Reduce File Size Quartz filter. Newer Preview options may also allow users to optimize images for screens, save images as JPEG, or create a linearized PDF for faster web loading.
This method is convenient, but the automatic filter can sometimes be aggressive. Fine print, screenshots, diagrams, or scanned signatures may look noticeably softer. Save the result under a new filename, inspect it carefully, and compare it with the original before replacing anything.
Research basis: Apple Preview PDF export and compression controls.
Remove Unnecessary Pages Before Exporting
One of the most reliable compression methods requires no sophisticated algorithm at all: delete content nobody needs. Remove blank pages, outdated appendices, duplicate charts, unused cover variations, speaker notes, comments, and hidden slides before creating the PDF.
If recipients need only five pages from a 90-page report, extract those pages into a separate PDF. Sending the relevant section reduces file size, protects unrelated information, and saves readers from hunting through a document the length of a minor Victorian novel.
When This Method Works Best
Re-exporting is ideal when you still have the original source file. It usually preserves searchable text, links, headings, and accessibility features more reliably than printing the document to a new PDF. It also gives you direct control over images before they become embedded inside the final file.
2. Optimize Images, Fonts, and Hidden PDF Data
If the source document is unavailable, use a PDF optimizer. Professional PDF editors can analyze the internal structure of a file and reduce specific categories such as images, fonts, objects, metadata, thumbnails, comments, attachments, and duplicate resources.
Adobe Acrobat, Foxit PDF Editor, and Nitro PDF Pro all provide optimization or file-reduction features. Their exact menus differ, but the basic strategy is similar: identify what occupies the most space, reduce unnecessary image data, and remove elements that do not contribute to the final document.
Research basis: advanced PDF optimization features in major editors.
Downsample Oversized Images
Downsampling reduces the number of pixels in an image. A photograph saved at 600 pixels per inch may be useful for detailed printing, but it is excessive for a PDF that will only be read on a screen. For many screen-oriented documents, images around 120 to 150 pixels per inch can look acceptable. Documents that may be printed often benefit from a more conservative setting, such as 200 to 300 pixels per inch.
These figures are starting points, not laws carved into a granite scanner. Small text inside screenshots, detailed maps, architectural drawings, product labels, and medical images may require higher resolution. Test representative pages before applying the same setting to the whole document.
Scanner manufacturers commonly recommend moderate resolutions for ordinary text documents. Around 200 dpi may be sufficient for basic image storage, while 300 dpi is frequently used for readable text and optical character recognition. Higher settings are appropriate when the source contains tiny characters or fine detail, but they also create larger files.
Research basis: image downsampling and scan-resolution guidance.
Choose Compression Based on the Image Type
Lossy compression, such as JPEG compression, can sharply reduce photographs because it discards visual data that people may not notice at normal viewing size. Lossless compression retains the original information and is often better for line art, monochrome text, diagrams, or archival material.
A mixed document may need mixed settings. Photographs can tolerate moderate JPEG compression, while black-and-white text scans may benefit from specialized monochrome compression. Applying one heavy-handed setting to every image can produce fuzzy text, halos around letters, or color gradients that look as if they have survived a sandstorm.
Research basis: lossy and lossless PDF image compression.
Optimize Scanned PDFs at the Source
For scanned documents, the best reduction may happen before the PDF is created. Select an appropriate resolution, use grayscale instead of full color when color adds no useful information, crop empty margins, straighten pages, and enable the scanner’s high-compression PDF option when suitable.
Canon and HP documentation both emphasize that scan resolution and compression settings affect file size. A black-and-white contract generally does not need the same treatment as a glossy color photograph. Choosing the correct scan mode can prevent a giant PDF instead of forcing you to repair one later.
Research basis: scanner compression and file-size controls.
Subset Fonts Instead of Removing Them Blindly
Embedded fonts help a PDF display consistently on computers that do not have those fonts installed. Removing every embedded font may save space, but it can also cause substitutions, missing symbols, or altered line breaks.
A safer approach is font subsetting, which embeds only the characters actually used. Limiting the number of typefaces in the source document also helps. A simple report rarely needs twelve font families unless its visual theme is “yard sale at a typography museum.”
Research basis: font embedding and file-size effects.
Remove Unused Objects and Metadata
An optimizer may remove embedded thumbnails, duplicate images, invalid bookmarks, unused links, private application data, old form information, hidden layers, and unnecessary metadata. These elements may not be visible on the page, but they can increase file size.
Be careful with attachments, comments, JavaScript, layers, form fields, and accessibility tags. Some may appear unnecessary while supporting an important workflow. Review the removal options instead of selecting every checkbox with the enthusiasm of someone deleting old vacation photos at midnight.
Research basis: removable PDF objects and optimizer settings.
Preserve Searchability and Accessibility
Do not convert a well-structured, searchable PDF into a flat image merely to make it smaller. Text-based PDFs allow searching, copying, screen-reader access, and often better zoom quality. Scanned PDFs may need optical character recognition so that the visible page image has an underlying text layer.
After optimization, confirm that headings, reading order, alternative text, form labels, links, and selectable text still work. Compression should remove waste, not remove access.
Research basis: PDF accessibility, searchable text, and OCR considerations.
3. Use a Dedicated PDF Compression Tool
When you need a quick result, a dedicated compressor can reduce PDF file size with only a few clicks. Desktop applications and online services typically offer preset compression levels such as low, medium, or high. Some tools also provide detailed controls for image quality, compatibility, font handling, and removable content.
Desktop Compression Tools
Desktop tools are usually the better choice for confidential, regulated, or very large documents because the file can remain on your computer. They also tend to provide more detailed optimization settings and batch processing.
A basic “reduce file size” command is appropriate when speed matters. Advanced optimization is better when you need to control image resolution, preserve print quality, or determine exactly what is being removed. Some applications can audit space usage first, showing whether images, fonts, content streams, or other objects are responsible for the bulk of the file.
Research basis: desktop reduced-size and advanced optimization workflows.
Online PDF Compressors
Online compressors are useful when you do not have PDF editing software. Upload the document, select a compression level, process it, and download the smaller copy. They are convenient for ordinary brochures, class handouts, menus, and public reports.
However, uploading a file means transferring it to another company’s system. Avoid using an unfamiliar online service for tax records, contracts, medical information, customer data, employee records, passwords, financial statements, unreleased products, or confidential legal documents. Review the provider’s privacy policy, deletion practices, security controls, and account requirements before uploading sensitive material.
For confidential PDFs, use trusted desktop software or an organization-approved service. The smallest file in the world is not a bargain if it comes with an accidental data breach.
Research basis: browser-based PDF compression availability and sharing constraints.
Pick the Right Compression Level
Low compression usually produces a modest reduction with minimal visible change. Medium compression is often the best default for business documents. High compression is useful when a strict upload limit matters more than perfect image fidelity.
Do not assume the strongest setting is automatically best. Compress once, inspect the result, and increase the strength only if necessary. Repeatedly compressing an already compressed PDF can compound quality loss, especially in photographs and scans.
Quick Comparison of the Three Methods
| Method | Best For | Main Advantage | Main Risk |
|---|---|---|---|
| Export again from the source | Word files, presentations, reports, and designs | Clean output with good structural preservation | Requires the original editable file |
| Optimize images, fonts, and objects | Large or complex existing PDFs | Detailed control over size and quality | Incorrect settings can remove useful content |
| Use a dedicated compressor | Fast, occasional compression | Simple and convenient | Online tools may create privacy concerns |
How to Check the Compressed PDF
Never judge a compressed PDF by file size alone. Open the document and inspect it at normal size and at 200 percent zoom. Review pages containing small text, charts, photographs, signatures, gradients, and detailed graphics.
- Confirm that every page is present and in the correct order.
- Check that text remains sharp and selectable.
- Test links, bookmarks, forms, and table-of-contents entries.
- Search for several words to confirm that OCR or searchable text still works.
- Inspect images for blur, blocky artifacts, banding, or color changes.
- Verify that unusual characters, mathematical symbols, and brand fonts display correctly.
- Run an accessibility check when the document must meet accessibility requirements.
- Print a sample page when the PDF will be printed.
Frequently Asked Questions
Can I reduce PDF file size without losing quality?
Sometimes. Lossless cleanup can remove duplicate objects, unused data, unnecessary metadata, and inefficient structures without visibly changing the document. Large reductions usually require image downsampling or lossy compression, which technically removes data even when the difference is difficult to notice.
Why did compressing my PDF barely change its size?
The file may already be optimized. It may also contain content that cannot be reduced safely, such as compressed photographs, embedded files, complex vector graphics, or required fonts. Use a space audit, when available, to identify the largest components.
Does zipping a PDF make it much smaller?
Usually not. Most PDF content is already compressed internally, so placing the file in a ZIP archive may produce only a small reduction. PDF optimization is generally more effective because it can resize images and remove internal waste.
Will printing a PDF to PDF reduce its size?
It sometimes does because the process rebuilds the document and may discard metadata or editing information. However, it can also flatten forms, remove links, damage accessibility tags, alter transparency, or increase file size. Use it as a last resort and inspect the result carefully.
What is the best image resolution for a small PDF?
For screen-only documents, approximately 120 to 150 pixels per inch may be sufficient. For documents that may be printed or processed with OCR, 200 to 300 pixels per inch is a safer starting range. Detailed artwork, maps, tiny text, and professional printing may require more.
Practical Experiences and Lessons From PDF Compression Workflows
The most useful lesson from real-world PDF cleanup is that the biggest file is not always the most complicated file. A polished 100-page report with mostly text may be smaller than a four-page brochure containing several unedited camera images. Page count matters, but the type of content matters more.
Experience 1: The Oversized Office Report
A common workplace scenario begins with a Word report that contains employee headshots, product photos, screenshots, and a decorative cover image. The document itself may be only a few megabytes, yet the exported PDF becomes 30 or 40 MB.
The first instinct is often to use the strongest online compression setting. That may work, but it can make screenshots difficult to read. A better workflow is to return to Word, compress every picture, delete cropped image data, and export using the minimum-size PDF option. This usually produces cleaner results because the images are optimized before the PDF is assembled.
The lesson is simple: when the source file is available, fix the source. Compressing the final PDF should be the second step, not the opening act.
Experience 2: The Giant Scanned Application
Another familiar problem is a scanned application packet that exceeds an upload portal’s size limit. The applicant scans ten black-and-white pages in full color at 600 dpi, creating a file large enough to frighten the website’s upload button.
Rescanning at 300 dpi in grayscale can reduce the size substantially while keeping signatures and typed information readable. Cropping excess background, straightening pages, and enabling high PDF compression can reduce it further. OCR can preserve searchability, although the recognized text should be checked when accuracy matters.
The important lesson is that scan settings are preventative medicine. Once every page has been captured as a giant color image, compression becomes a rescue operation. Choosing the proper mode at the scanner is faster and usually produces a better document.
Experience 3: The Beautiful Brochure That Became Blurry
Marketing brochures create a different challenge. Their photographs, gradients, logos, and small captions make them easy to damage with aggressive compression. A high-compression preset may cut a 25 MB brochure to 2 MB, but the logo edges may become soft and the product photos may develop visible blocks.
A better approach is gradual compression. Start with medium settings, inspect the most detailed pages, and lower image quality only when the file is still too large. Logos and diagrams should remain vector graphics whenever possible because vectors scale cleanly and are often more efficient than high-resolution screenshots of the same artwork.
The lesson is to judge quality at the content’s weakest point. A compression setting that looks fine on a large photograph may still destroy tiny text inside a chart.
Experience 4: The PDF That Was Already Small
Sometimes optimization produces almost no improvement. A text-heavy PDF may already contain subset fonts, compressed content streams, and no oversized images. Running it through three different compressors may save only a few kilobytes.
That is not a failure. It means the document was efficient from the beginning. Continuing to chase a smaller number can introduce compatibility problems without creating a meaningful benefit. A 700 KB report does not need an emergency diet simply because a compressor exists.
Experience 5: The Confidential Document
Convenience can overshadow privacy. An employee may upload a contract, identification document, or financial form to the first free compressor found in a search result. The file becomes smaller, but the user may know nothing about where it was processed, how long it was retained, or whether it was used for another purpose.
The safer practice is to use approved desktop software or a vetted organizational service for sensitive material. For public documents, online compression may be perfectly reasonable. For confidential records, privacy should be treated as part of document quality, not as an optional footnote.
The Most Reliable Routine
A dependable PDF reduction workflow is straightforward: keep the original, remove unnecessary content, optimize images in the source file, export with the appropriate quality setting, inspect the PDF, and use advanced compression only if the file remains too large. This sequence protects quality because each step is controlled and reversible.
In other words, do not attack the PDF with every compression button at once. Give it a sensible haircut, not an identity crisis.
Conclusion
The best way to reduce PDF file size depends on how the document was created and how it will be used. Re-exporting from the original application is usually the cleanest method. Advanced optimization offers the greatest control over images, fonts, metadata, and hidden objects. Dedicated compression tools provide the fastest solution when convenience matters.
Whichever method you choose, protect the original and inspect the result. A successful compressed PDF should open quickly, remain readable, preserve essential features, and fit the required upload or email limit. The ideal file is not merely smaller; it is smaller without making readers wonder whether they need new glasses.