Orchids have a flair for drama. One week they look like elegant botanical royalty, and the next week they are slumped in the pot like they just read their own bad reviews. The good news? A struggling orchid is not automatically a dead orchid. In fact, many orchidsespecially the popular Phalaenopsis, or moth orchidcan bounce back beautifully when you understand what the plant is trying to tell you.
This guide explains how to revive an orchid plant in 9 practical steps, from checking the roots to fixing watering habits, improving light, repotting correctly, and encouraging future blooms. Whether your orchid has yellow leaves, wrinkled foliage, limp stems, soggy bark, dry roots, or zero flowers, don’t panic. Put down the ice cubes, step away from the trash can, and let’s do a little orchid detective work.
Why Orchids Decline in the First Place
Most indoor orchids fail for surprisingly ordinary reasons: too much water, too little water, compacted potting mix, poor drainage, weak light, cold drafts, pests, or simple post-bloom fatigue. Orchids are not grown like typical houseplants. Many common orchids are epiphytes, meaning their roots naturally cling to trees and breathe in open air. When those roots are buried in dense, wet material, they suffocate. Imagine wearing wet socks inside plastic boots for a month. That is basically root rot with a houseplant budget.
Before you try to force your orchid to bloom again, focus on survival. A healthy orchid needs firm roots, a dry crown, bright indirect light, fresh airy medium, and a watering routine based on the plant’s conditionnot on a random calendar reminder called “Water Susan’s Fancy Flower.”
How to Revive an Orchid Plant in 9 Steps
Step 1: Check Whether the Orchid Is Still Alive
First, inspect the plant calmly. A salvageable orchid often still has at least one firm green leaf, a firm crown, and some living roots. The crown is the central area where leaves join the plant. If it is firm, green, and not smelly, there is hope. If the crown is black, mushy, foul-smelling, and collapsing, the orchid may be too far gone.
Look at the roots. Healthy orchid roots are usually firm and may appear green after watering or silvery-white when dry. Dead roots are brown, hollow, mushy, papery, or slimy. A plant with no healthy roots can sometimes recover, but it will need patience and careful humidity management. A plant with no roots, no leaves, and a rotten crown is not “resting.” It is probably finished auditioning for your windowsill.
Step 2: Remove the Orchid from Its Pot
If your orchid is wilting, yellowing, leaning, or sitting in old soggy bark, remove it from the pot so you can inspect the root system. Gently squeeze the sides of the pot if it is plastic. If roots are stuck, do not yank them like you are starting a lawn mower. Ease them out with your fingers or a dull tool.
Old orchid mix breaks down over time. Bark becomes crumbly, compacted, and moisture-retentive, which can create the perfect little swamp for root rot. Once the plant is out, shake away old bark, moss, or decomposed material. Rinse the roots with lukewarm water so you can clearly see what is alive and what is not.
Step 3: Trim Dead Roots and Damaged Tissue
Use clean, sterilized scissors or pruners to remove dead roots. Cut away roots that are mushy, black, brown and hollow, or clearly rotten. Keep roots that are firm, even if they look pale or slightly wrinkled. Some aerial roots may look odd, but they are often useful and should not be removed unless they are dead.
If a leaf is naturally yellowing from age, let it finish fading before removing it. Orchids often reabsorb nutrients from older leaves. However, if you see spreading rot, wet spots, or infected tissue, remove affected areas with sterile tools. Sterilize between cuts if disease is suspected. This is plant surgery, not a salad prep station.
Step 4: Repot in Fresh Orchid Mix
Never repot a struggling orchid into regular potting soil. Standard soil is too dense for most common indoor orchids and can suffocate the roots. Choose a fresh orchid mix made from bark, perlite, charcoal, sphagnum moss, or a blend designed for Phalaenopsis orchids. The goal is simple: moisture plus airflow.
Select a pot with excellent drainage. Clear plastic orchid pots are helpful because you can monitor root color and moisture. The new pot should be only slightly larger than the root mass. Orchids usually prefer a snug pot, not a giant mansion with unused real estate.
Place the orchid so the crown sits above the potting mix. Tuck fresh medium around the roots without burying the crown. Press gently to stabilize the plant, but do not crush the bark into dust. After repotting, water thoroughly and let the pot drain completely.
Step 5: Fix the Watering Routine
Watering is where many orchid rescue missions go sideways. The best method is not “a splash whenever you remember” or “daily devotion with a tiny cup.” Instead, water deeply, then drain completely. Take the orchid to the sink, use lukewarm water, soak the potting medium thoroughly, and allow water to run out through the drainage holes.
Do not let the pot sit in standing water. Wet feet are a fast route to rotten roots. Also avoid letting water collect in the crown, especially overnight, because trapped moisture can encourage crown rot. Morning watering is safest because leaves and crowns dry faster during the day.
How often should you water? It depends on temperature, light, humidity, pot size, and potting medium. Many orchids need water every 5 to 14 days. Instead of obeying a strict schedule, check the roots and medium. Green roots usually mean hydrated. Silvery roots and a lightweight pot usually mean it is time to water.
Step 6: Give Bright, Indirect Light
Light is orchid fuel. Without enough of it, your orchid may survive but refuse to bloom, which is basically the plant version of being employed but emotionally unavailable. Most Phalaenopsis orchids prefer bright, indirect light. An east-facing window is often ideal. A shaded south or west window can work if direct afternoon sun is filtered with a sheer curtain.
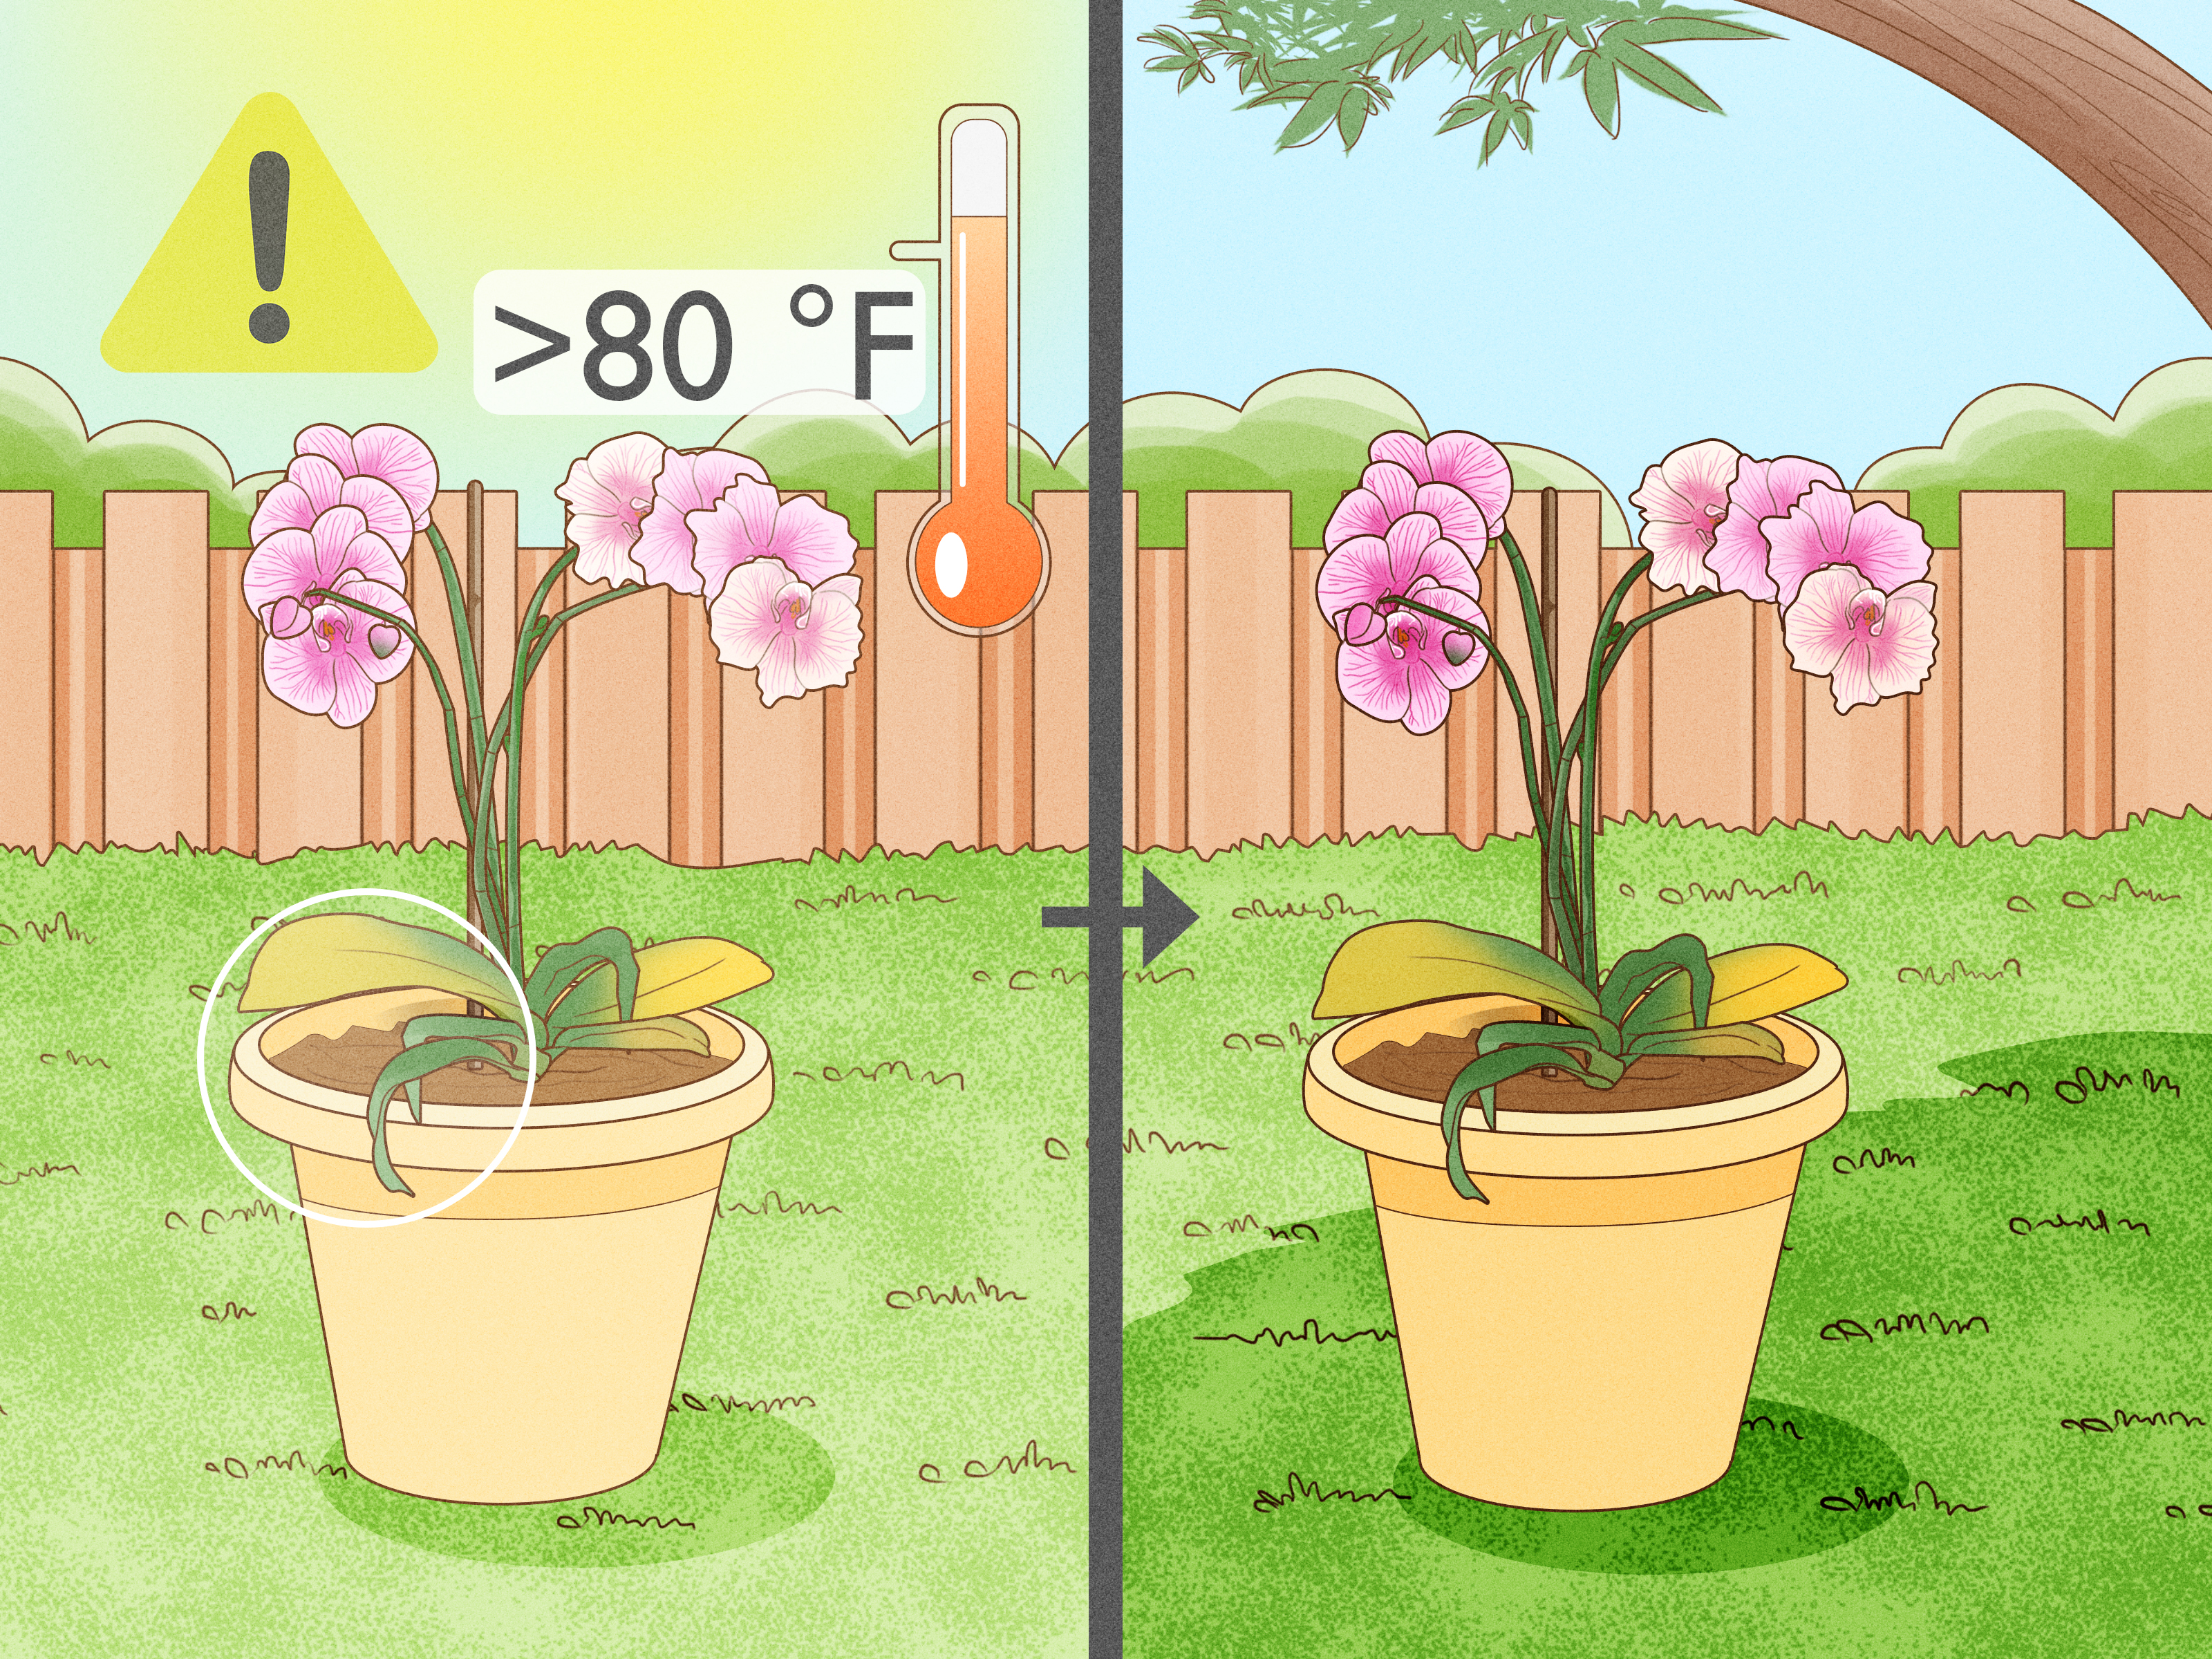
Leaf color gives clues. Deep dark green leaves may mean the orchid is not receiving enough light. Yellow-green leaves or scorched patches may mean too much direct sun. The sweet spot is bright but gentle lightenough to energize the plant without frying it like a botanical tortilla chip.
Step 7: Improve Humidity and Airflow
Orchids enjoy moderate humidity, but they also need airflow. A dry home can cause wrinkled leaves, stalled growth, and bud drop. You can raise humidity by placing the orchid on a pebble tray filled with water, making sure the bottom of the pot stays above the waterline. Grouping plants together can also help create a more humid microclimate.
Avoid sealing orchids in stagnant, wet conditions. High humidity without airflow invites fungal and bacterial problems. If your room is stuffy, a small fan running gently nearbynot blasting directly at the plantcan improve air movement. Think tropical breeze, not airport runway.
Step 8: Pause Fertilizer Until Recovery Begins
A weak orchid does not need a buffet. Fertilizer is useful when roots are healthy and the plant is actively growing, but it can stress damaged roots if applied too soon. After repotting or root trimming, wait until you see signs of recovery, such as new root tips or a new leaf.
Once growth resumes, feed lightly with a balanced orchid fertilizer diluted to half or quarter strength. Many growers follow the “weakly, weekly” idea: fertilize lightly during active growth and flush the potting mix with plain water periodically to prevent salt buildup. If your orchid is in very low light or not growing, fertilize less often.
Step 9: Watch for Pests, Rot, and Reblooming Signs
Inspect leaves, roots, the crown, and the undersides of foliage. Common orchid pests include scale, mealybugs, aphids, and spider mites. Mealybugs look like tiny white cottony clumps. Scale may appear as small brown or tan bumps. If you find a small infestation, isolate the orchid and remove pests with a cotton swab dipped in isopropyl alcohol. For bigger problems, use an appropriate houseplant-safe treatment according to the product label.
After your orchid stabilizes, shift your goal from “please don’t die” to “let’s bloom again.” Do not expect instant flowers. A rescued orchid may spend months rebuilding roots and leaves before it produces a spike. When it is healthy, give it consistent care, adequate light, and slightly cooler nights in the fall to encourage blooming.
Common Orchid Problems and What They Mean
Yellow Leaves
One yellow lower leaf can be normal aging. Several yellow leaves at once may point to overwatering, root rot, too much direct sun, cold damage, or stress after repotting. Check the roots before making a dramatic conclusion.
Wrinkled or Limp Leaves
Wrinkled leaves usually mean the plant is not getting enough water into its tissues. Oddly enough, both underwatering and overwatering can cause this. If roots are dry and shriveled, water more effectively. If roots are rotten, the plant cannot absorb water even if the pot is wet.
No Blooms
An orchid that will not bloom usually needs better light, stronger roots, seasonal temperature changes, or more time after its last flowering cycle. Focus on plant health first. Blooms are the reward, not the emergency room.
Brown, Mushy Roots
This is usually root rot from excess moisture, poor drainage, or decomposed potting medium. Remove dead roots, repot in fresh orchid mix, and water only when the plant is approaching dryness.
Orchid Revival Experience: What Actually Works in Real Homes
Reviving an orchid is partly science and partly learning not to panic every time a leaf looks at you funny. In real homes, the most common mistake is loving the plant too aggressively. People water because they care. Then they water again because the leaves look sad. Then the bark stays wet, the roots decline, and the orchid looks even sadder. At that point, the owner says, “It must need more water,” and the poor plant enters a tragic moisture-based soap opera.
One of the best real-world habits is to lift the pot. A freshly watered orchid feels heavier. A dry orchid feels noticeably lighter. This simple test often works better than guessing by the calendar. Clear pots are also useful because you can see whether roots are green, silver, plump, or damaged. Once you learn the look of hydrated roots, orchid care becomes less mysterious.
Another practical lesson: repotting feels scary the first time, but it is often the turning point. Many store-bought orchids are packed in old moss or bark that holds too much moisture in the center. From the outside, the plant looks fine. Inside the pot, the roots may be sitting in a damp little compost cave. Removing old media, trimming dead roots, and giving the plant fresh bark can feel like a spa day for the orchidminus the cucumber water.
Light is the second big breakthrough. A struggling orchid placed in a dim corner may stay alive but rarely thrive. Moving it closer to a bright east window can change everything. The plant may not bloom immediately, but new roots and leaves often appear first. That is the orchid saying, “Fine, I will participate in this relationship again.”
Humidity helps, but it should not become an excuse to keep the plant wet. A pebble tray, nearby plants, or a room humidifier can help during dry months. However, the crown and leaves should not stay wet overnight. Orchids like moisture in the air, not a puddle in their armpits.
Patience may be the most underrated orchid revival tool. A rescued orchid can take weeks to show progress and months to bloom. During that time, avoid constantly changing everything. Do not repot three times, move it to five windows, fertilize heavily, and whisper threats. Choose a sensible setup, monitor the roots, adjust slowly, and let the plant rebuild.
When the first new root tip appears, celebrate. New roots are a stronger success signal than flowers. Flowers are beautiful, but roots are the engine. Once your orchid grows healthy roots and firm leaves, reblooming becomes much more likely. That is the real secret of orchid revival: don’t chase flowers; grow the plant that can make them.
Conclusion
Learning how to revive an orchid plant starts with one rule: check the roots before you blame the leaves. Most orchid problems begin below the surface, where old potting mix, poor drainage, and overwatering quietly cause trouble. By removing the plant from its pot, trimming dead roots, repotting in fresh orchid mix, watering properly, improving light, and giving the orchid time to recover, you can often bring a struggling plant back to life.
Your orchid does not need perfection. It needs fresh air around the roots, bright indirect light, careful watering, moderate humidity, and a little patience. Treat recovery as a slow comeback story, not an overnight makeover. With consistent care, that sad grocery-store orchid may surprise you with new leaves, strong roots, and eventually another round of bloomsbecause orchids do enjoy a dramatic second act.