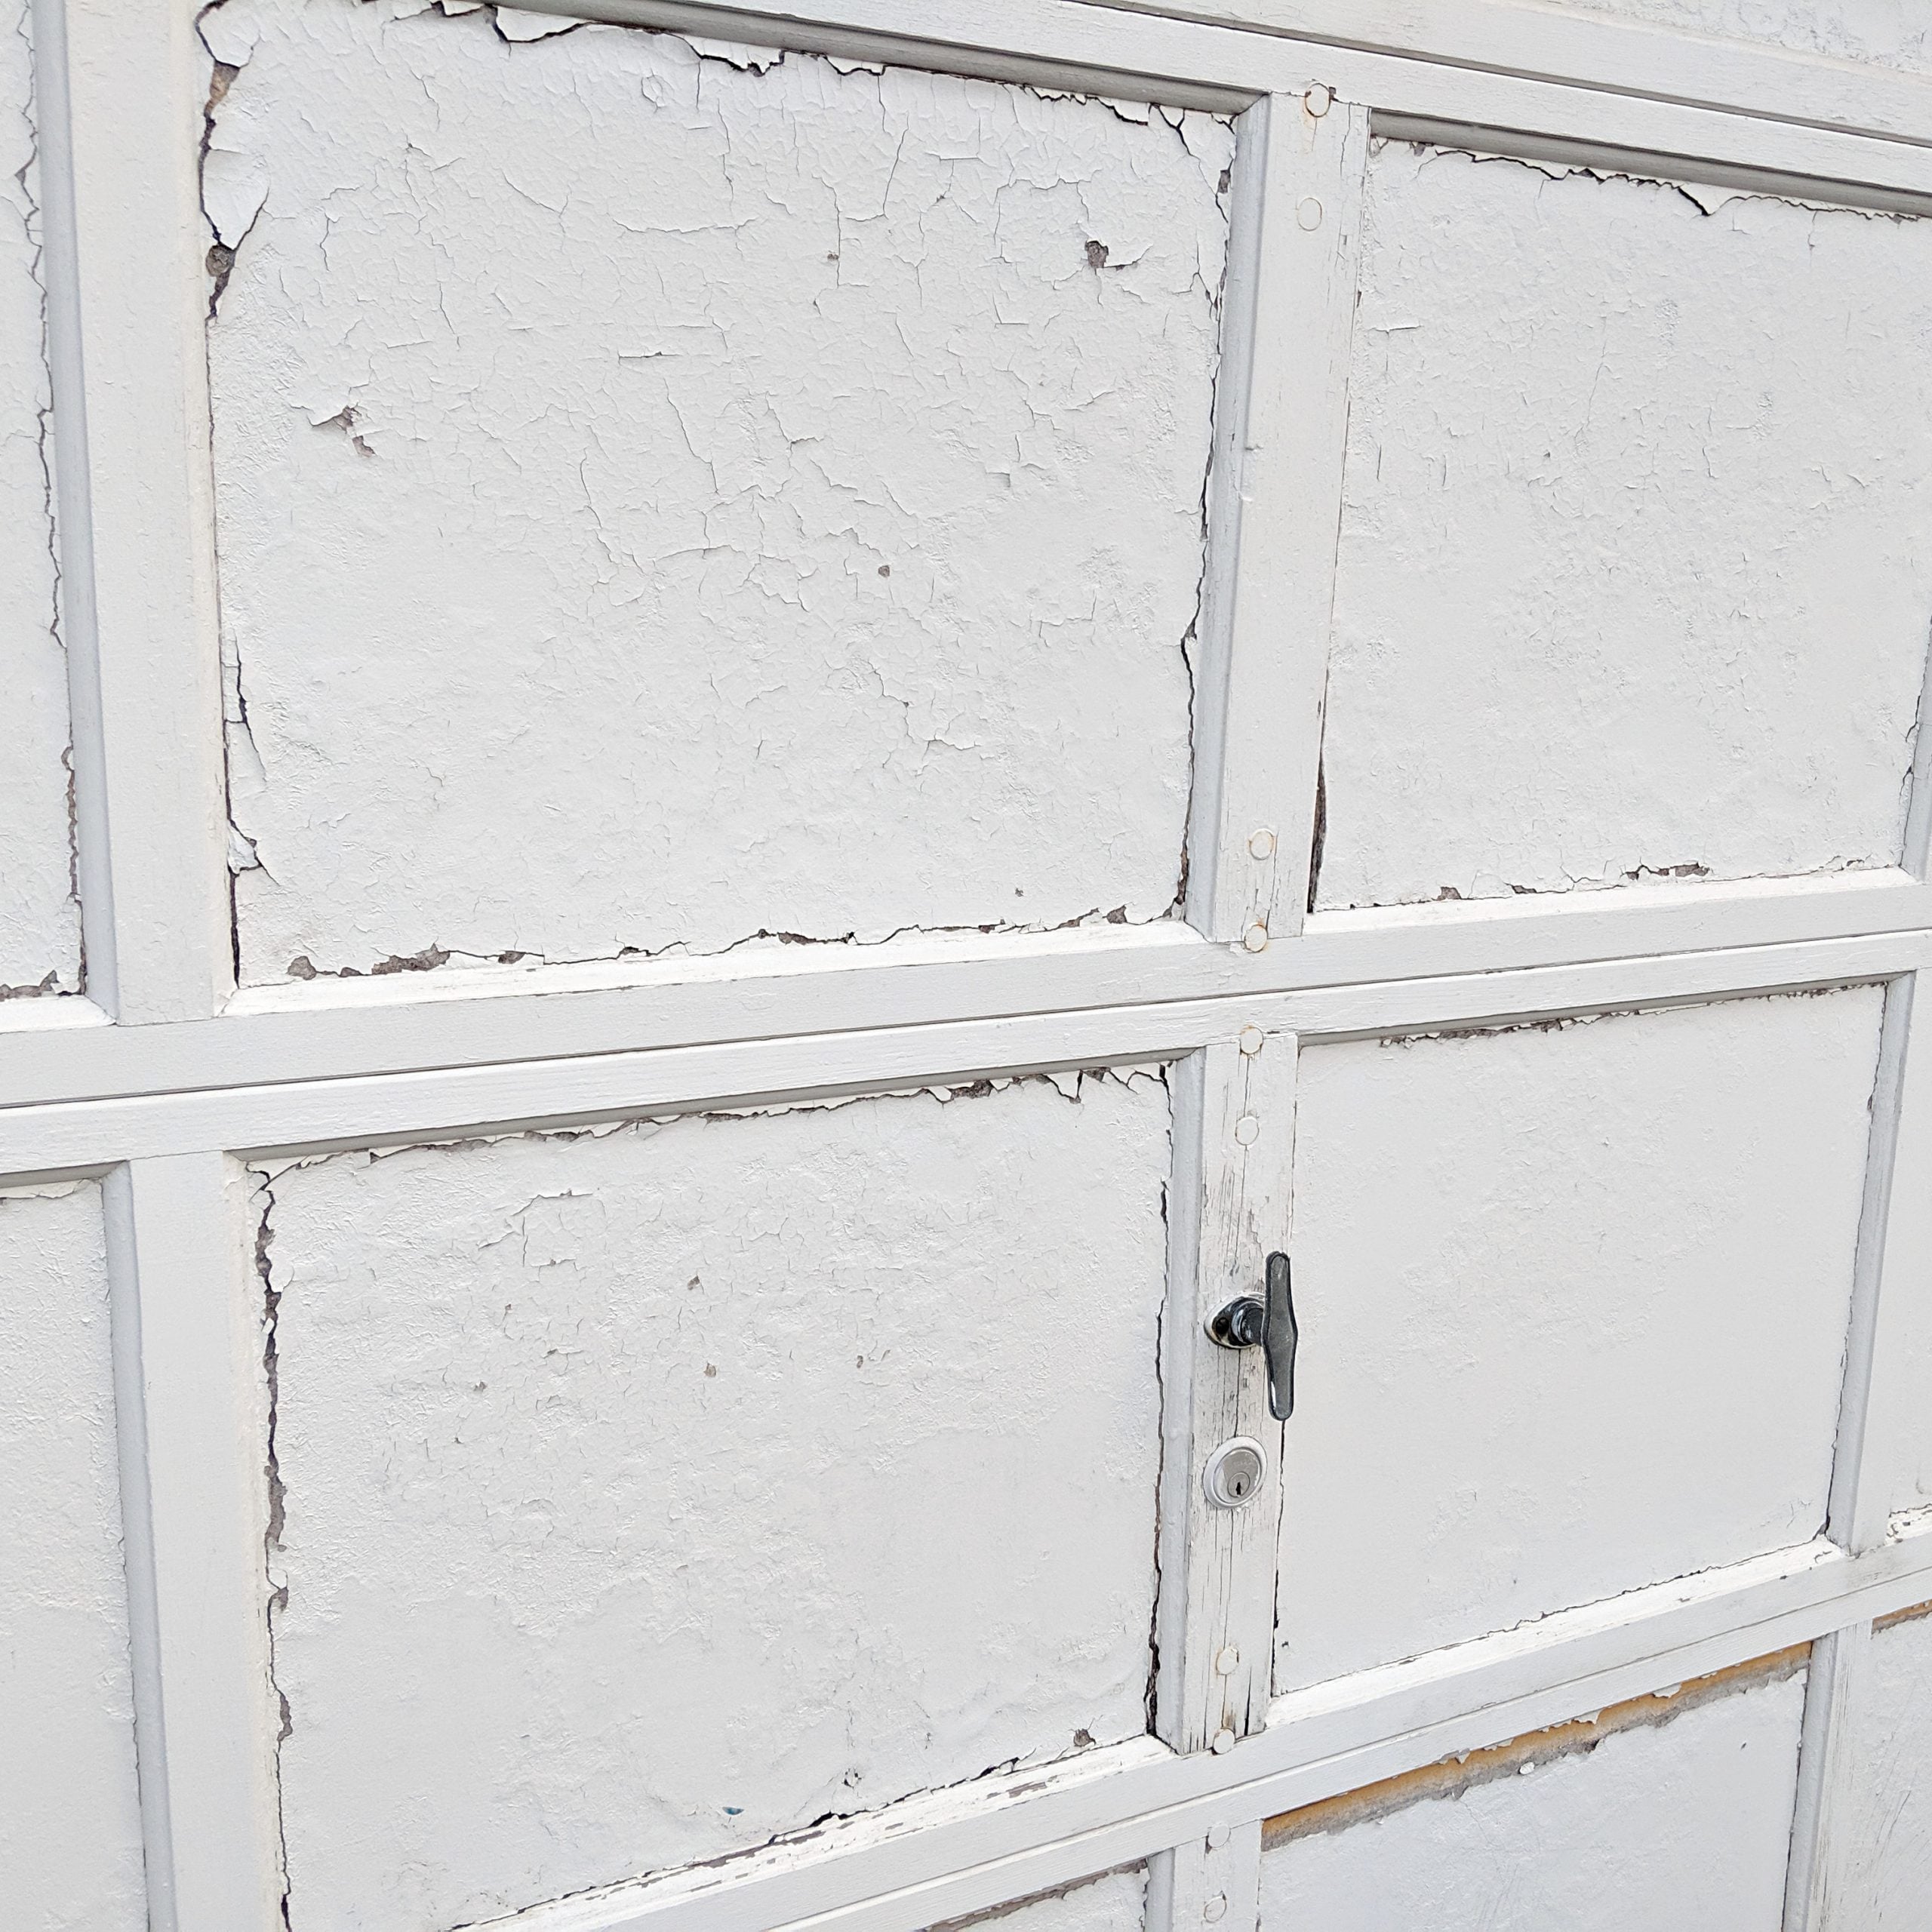
A garage door may be the largest moving object on your home, which also makes it one of the hardest exterior features to ignore. When its finish becomes faded, chalky, rusty, or simply stuck in the wrong decade, a fresh coat of paint can transform the entire facade without requiring a new dooror a suspiciously large home-improvement bill.
Painting a garage door is manageable for a careful DIYer, but the quality of the result depends far more on preparation than on fancy brushwork. The door must be compatible with field-applied paint, the surface must be clean and sound, and the coating must suit the door material. Follow this guide to achieve a smooth, durable finish that will not begin peeling before your celebratory pizza arrives.
Can Your Garage Door Be Painted?
Many steel, aluminum, wood, fiberglass, vinyl, and composite garage doors can be repainted. However, “many” is not the same as “every single one in the neighborhood.” Some manufacturers prohibit painting particular finishes, while others require an approved type of paint or limit how dark the new color can be.
Locate the door’s model information, usually found on an interior label, and review the manufacturer’s instructions. Do not cover or remove safety and identification labels. If the door is still under warranty, using an unapproved coating could affect that coverage.
Inspect the Door Before Reaching for a Brush
Close the door and inspect it from both sides. Painting is appropriate for cosmetic problems such as fading, minor surface rust, small scratches, and sound but dated paint. Call a garage door technician if you find broken springs, frayed cables, loose brackets, severe corrosion, warped sections, or a door that binds or will not remain balanced.
Paint is impressively good at changing color. It is much less talented at repairing structural damage.
Choose the Right Garage Door Paint and Primer
A high-quality exterior coating is essential because the door must tolerate sunlight, rain, temperature changes, dirt, and repeated movement. The correct product depends on the substrate and the manufacturer’s requirements.
Steel and Aluminum Garage Doors
For many factory-finished metal doors, manufacturers recommend premium 100% acrylic latex exterior paint in a flat, satin, or semi-gloss finish. Nevertheless, the door manual takes priority. Some metal-door manufacturers specifically warn against oil-based or alkyd-modified coatings because they may be incompatible with the factory finish.
Use a rust-inhibiting metal primer on cleaned bare steel and repaired rust spots. Apply a bonding or adhesion primer if the old finish is unusually glossy or if the selected topcoat requires one. Aluminum must be clean, oxidation-free, and primed with a product labeled for aluminum when bare metal is exposed.
Wood Garage Doors
Wood needs an exterior-grade primer and compatible acrylic latex topcoat. Prime bare areas, repaired sections, panel edges, and end grain carefully because these locations readily absorb moisture. Repair rot or open joints before painting. A coating cannot rescue soft, crumbling wood any more than a new hat can fix a leaky roof.
Vinyl, Fiberglass, and Composite Doors
These materials require closer attention to manufacturer instructions. Select paint specifically approved for the surface, and avoid aggressive sanding that could damage molded textures. Dark colors absorb more solar heat and may contribute to distortion, particularly on vinyl or insulated doors. Some manufacturers publish minimum light reflectance value requirements or approved color lists.
Which Sheen Works Best?
Satin offers a balanced appearance, hides modest surface imperfections, and remains relatively easy to clean. Semi-gloss provides more shine and washability but emphasizes dents, roller texture, and imperfect repairs. Flat paint is forgiving visually, although it usually collects dirt more readily. For most residential garage doors, satin is the comfortable middle ground.
Pick a Color That Works With the House
A garage door often occupies a large percentage of the street-facing exterior. That does not automatically mean it should become the loudest feature. Matching the siding helps a prominent garage recede, while matching the trim creates definition without turning the door into a billboard.
Test large color samples beside the siding, masonry, roof, trim, and front door. View them during morning, afternoon, and evening light. A charcoal sample that looks sophisticated indoors may look nearly black in full sunand may become surprisingly hot.
Before choosing a dramatic color, check homeowners association rules and the door manufacturer’s restrictions. When resale appeal matters, coordinated neutrals are generally safer than extremely bright colors. Save the electric orange for a front door, a flowerpot, or a sports car with questionable insurance premiums.
Tools and Materials
- Exterior paint compatible with the door material
- Appropriate exterior, bonding, or rust-inhibiting primer
- Mild detergent or exterior surface cleaner
- Bucket, sponge, and soft-bristle brush
- Paint scraper and wire brush for loose paint or rust
- Medium- and fine-grit sandpaper or sanding sponges
- Vacuum, clean rags, and tack-free dusting cloths
- Painter’s tape, masking paper, and drop cloths
- Two- to 2.5-inch angled synthetic-bristle brush
- Four- or six-inch roller with a smooth or lightly textured cover
- Paint tray and liners
- Safety glasses, gloves, and an appropriate dust mask or respirator
Estimate paint by multiplying the door’s width by its height, then add roughly 15% for recessed panels and waste. Double that area for two coats and check the product’s stated coverage. Textured doors consume more paint than smooth ones.
Choose the Right Painting Weather
Plan the job for mild, dry weather with low wind and no rain expected during the coating’s required drying period. A general working range of approximately 50°F to 85°F is suitable for many exterior paints, but always follow the label because modern formulations vary.
Do not paint a damp door, immediately after rain, during fog, or when nighttime temperatures will fall below the product’s limit. Avoid direct, intense sunlight, which can make paint dry before it levels and bonds properly. Remember that the metal surface may be considerably hotter than the reported air temperature. If the door feels like a skillet, postpone the project or work when it is shaded.
How To Paint a Garage Door Step by Step
1. Close the Door and Disable the Opener
Move vehicles, bicycles, tools, furniture, and anything else vulnerable to airborne paint away from the work area. Fully close the garage door before disconnecting power to the automatic opener. This prevents someone from operating the door while you are working.
If the door must be moved manually to reach section edges, follow its manual-release instructions. Never disconnect an opener while an unbalanced door is raised, and never work beneath a door that does not operate smoothly.
2. Wash Away Dirt, Grease, and Chalking
Mix a mild detergent or compatible exterior cleaner according to its directions. Scrub from top to bottom with a sponge or soft brush, paying attention to panel recesses, lower sections, handles, and areas near the weather seal. Rinse thoroughly with clean water so no soap film remains.
A pressure washer can speed up cleaning, but excessive pressure can damage finishes or force water into joints, insulation, and window seals. Use a gentle setting at a safe distance, or hand-wash the door if you are uncertain. Let the surface dry completely.
3. Remove Loose Paint and Treat Rust
Scrape away peeling paint without gouging the substrate. Feather rough paint edges with sandpaper so they do not show through the finished coat. On steel doors, remove loose rust with a wire brush or abrasive pad until the remaining surface is firm. Clean away all residue, then spot-prime exposed steel with a rust-inhibiting primer.
If corrosion has eaten through the metal or spread along seams and structural components, stop and consult a professional. Rust bubbles are often larger underneath than they appear on the surfacenature’s least delightful surprise package.
4. Scuff the Existing Finish
Lightly sand sound glossy paint to create a dull, uniformly receptive surface. The goal is to improve adhesion, not excavate the door. Use a finer abrasive on delicate, textured, fiberglass, or composite surfaces and follow the manufacturer’s preparation requirements.
Vacuum the dust, then wipe the door with a clean, damp cloth. Allow it to dry again. Paint applied over sanding dust may look acceptable initially, but it is essentially attached to a layer of powder rather than the door.
5. Mask Windows, Trim, and Weather Seals
Place a drop cloth over the driveway and garage floor. Mask windows, handles that cannot be removed, exterior trim, siding, keypad housings, and rubber weather seals. Remove decorative hardware when practical and photograph its position first to simplify reassembly.
Do not paint tracks, rollers, springs, cables, hinges at their pivot points, flexible seals, photo-eye sensors, or warning labels. Thick paint at panel joints may also cause sections to stick together.
6. Apply Primer Where Required
Prime bare material, repaired rust, stains, filler, and areas where the existing coating has been removed. Prime the entire door when required by the chosen coating system, when changing between incompatible finishes, or when adhesion is questionable.
Use an angled brush for recessed panel edges and details, followed by a roller on broad areas. Spread the primer thinly and evenly, eliminating drips before they set. Allow it to dry for the full time listed on the label. Dry to the touch does not always mean ready to recoat.
7. Paint the Recessed Panels First
Stir the paint thoroughly. Starting at the top, brush paint into the recessed panels, profiles, and corners of one manageable section. Immediately roll the flat center areas and surrounding rails and stiles while the brushed paint is still wet.
Maintain a wet edge and complete one panel or horizontal section before moving on. Use thin coats rather than trying to achieve instant coverage. Heavy paint sags on vertical surfaces, collects in corners, and turns crisp panel details into soft blobs.
8. Roll the Broad Surfaces
Use a smooth or short-nap roller for smooth doors and a slightly thicker cover for textured surfaces. Roll with light, consistent pressure, finishing each section in the same direction. Inspect the door from an angle for holidays, ridges, drips, and trapped debris.
A paint sprayer can produce a fine finish, but it requires extensive masking and careful technique. Keep the sprayer moving, maintain a consistent distance, and overlap passes according to the equipment instructions. For most homeowners, brushing the details and rolling the flats offers better control with less neighborhood-wide color coordination.
9. Apply a Second Coat
Allow the first coat to dry for the manufacturer’s specified recoat time. Apply a second thin coat if needed for uniform color, sheen, and protection. Dark color changes, porous wood, and strongly contrasting old finishes commonly require two finish coats.
Remove painter’s tape while the final coat is still slightly soft, unless the tape manufacturer directs otherwise. Score any paint bridge with a sharp utility knife to avoid tearing the finish.
10. Let the Paint Cure Before Operating the Door
Keep the door closed and disabled until the coating has dried sufficiently for operation. Check seams and weather seals to ensure they have not bonded to the new paint. Reinstall decorative hardware, reconnect the opener, and test the door from a safe position.
Paint may feel dry within hours but continue curing for days. During that period, avoid washing, scrubbing, or repeatedly handling the finish.
Common Garage Door Painting Mistakes
- Skipping the manual: The wrong paint or color may damage the door or affect its warranty.
- Painting over dirt: Dust, wax, grease, and chalking prevent reliable adhesion.
- Ignoring rust: Corrosion continues beneath paint when loose material is not removed and exposed steel is not protected.
- Painting in direct sun: A hot surface can cause lap marks, poor leveling, and premature drying.
- Applying one heavy coat: Thick paint creates runs, soft edges, slow curing, and sticking joints.
- Coating moving hardware: Paint can interfere with operation and makes future service needlessly messy.
- Opening the door too soon: Sections and seals may stick, scrape, or transfer paint.
<li
How To Maintain the New Finish
Wash the door periodically with mild soap, a soft cloth, and clean water. Inspect the lower panels and edges for chips, scratches, and early rust, especially in coastal climates or regions that use road salt. Repair small defects promptly before moisture travels beneath the coating.
Store a small amount of labeled touch-up paint in a tightly sealed container away from freezing temperatures, direct sunlight, children, and ignition sources. Take unwanted leftover paint to an approved recycling or household hazardous-waste location rather than pouring it into a drain or onto the ground.
Frequently Asked Questions
Do I have to sand a garage door before painting?
You do not usually need to remove every trace of sound factory paint. However, peeling edges must be feathered, rust must be treated, and a glossy finish generally benefits from light scuff sanding. Follow the door and coating manufacturers’ directions.
Do I need a separate primer?
Primer is essential on exposed metal, bare wood, repairs, stains, and surfaces with questionable adhesion. A separate full coat may not be required over every clean, sound factory finish if the selected paint is approved for direct application. “Paint and primer” products do not eliminate specialized rust or bonding primers when those are needed.
Can I paint the garage door black?
Possibly, but confirm that the manufacturer permits it. Dark colors absorb heat and can contribute to distortion, excessive movement, or finish problems on certain materials. They also emphasize dust, dents, and water spots.
Should I brush, roll, or spray the paint?
Brushing and rolling are usually the simplest combination: brush detailed areas and roll broad panels. Spraying is faster on large doors and can look exceptionally smooth, but it requires experience, protective equipment, favorable wind, and extensive masking.
Experience-Based Lessons From Real-World Garage Door Projects
The most consistent lesson from successful garage door painting projects is that the “boring” work produces the visible quality. Two doors may receive the same premium paint, yet the carefully cleaned and sanded door can look fresh years later while the rushed one begins peeling around handles and lower panels. Spending an extra hour on surface preparation is rarely exciting, but neither is watching expensive paint detach in decorative flakes.
Another practical lesson is to divide the project into realistic stages. Cleaning and repairs can be completed on the first dry day, followed by primer and finish coats as the product schedule allows. Trying to wash, sand, mask, prime, apply two coats, and operate the door before dinner encourages shortcuts. Paint labels are not being dramatic when they list drying and recoat times.
Lighting also changes how the finish appears. While working straight in front of the door, it is easy to miss a thin area or roller ridge. After every section, step several feet to the side and look across the surface. Low-angle light reveals defects that disappear from a head-on view. A portable work light placed safely inside the garage can also expose missed edges around recessed panels.
Small rollers tend to provide better control than full-size wall rollers on paneled doors. A four-inch roller fits between decorative profiles, reduces accidental overlap, and makes it easier to maintain a wet edge. Keep the angled brush nearby to catch drips in corners immediately. Once a drip has dried into a tiny stalactite, enthusiasm alone will not flatten it; it must be sanded and recoated.
Color samples deserve more attention than most homeowners initially give them. A useful approach is to paint sample boards rather than tiny squares directly on the door. Move the boards beside the siding, brick, trim, and driveway throughout the day. This avoids choosing a shade based only on fluorescent store lighting, which has helped create many colors best described as “not what we expected.”
Section joints are another trouble spot. Forcing paint deeply between closed sections or loading flexible seals with paint can make the door stick. Thin, controlled coats preserve the gaps and profiles. If the manufacturer permits repositioning the door to expose edges, move it only through the approved manual procedure, keep hands away from pinch points, and never use a questionable door as an overhead work platform.
Finally, record the project. Photograph the paint label, color formula, primer, sheen, and garage door model number. Write the completion date on the leftover paint container. Years later, when a bicycle handle chips one panel, this small record can prevent a long search for “that gray color, except it was a warm gray, unless it was greige.”
Conclusion
Learning how to paint a garage door is mainly an exercise in patient preparation. Verify that the door can be painted, select a compatible exterior coating, clean and dull the surface, repair rust or damage, and apply multiple thin coats in suitable weather. Protect the operating hardware, allow plenty of drying time, and let the manufacturer’s instructions settle any disagreement between generic advice and your particular door.
Done carefully, this affordable exterior painting project can make the garage look newer, improve curb appeal, and protect the underlying material. The transformation may be dramatic, but the winning formula is reassuringly ordinary: clean surface, correct products, thin coats, and no arguments with the weather.