Removing an old furniture finish can feel like negotiating with a stubborn raccoon: messy, unpredictable, and somehow much harder than the internet promised. Sanding may seem like the obvious solution, but it can erase crisp details, damage thin veneer, and scatter questionable old paint dust around the workshop.
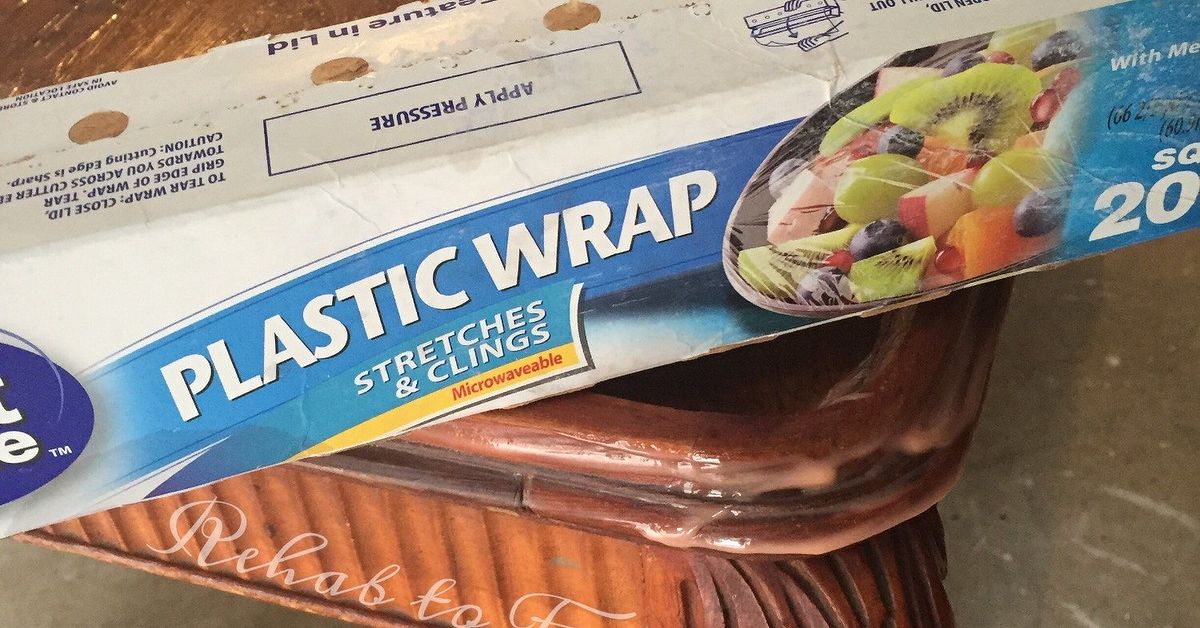
Pairing Citristrip with Saran Wrapor any suitable disposable plastic wrapis a popular alternative. Citristrip softens paint, varnish, shellac, lacquer, and polyurethane, while the plastic covering slows evaporation and helps the gel remain workable for a longer period. The result can be easier scraping, fewer dried patches, and less aggressive sanding afterward.
The plastic-wrap method is a practical DIY technique rather than a substitute for the product label. Results vary with the coating, temperature, wood species, application thickness, and previous repairs. A test patch remains the smartest first move, especially when the history of the piece is a complete mystery.
Why Citristrip and Plastic Wrap Work Well Together
Citristrip Paint & Varnish Stripping Gel is formulated to remove several common finishes from wood, metal, and masonry. The current product is marketed without methylene chloride or N-methylpyrrolidone, commonly called NMP. Its thick consistency also helps it cling to vertical surfaces instead of immediately racing toward the floor like orange pancake syrup.
The gel must stay wet long enough to penetrate and soften the coating. When applied too thinly or exposed to warm, dry air, it may become gummy before the finish is ready to release. Covering the wet gel with plastic wrap limits direct air exposure and can extend its useful dwell time. Experienced restorers and woodworking publications commonly use this technique for stubborn finishes or projects that need several hours of contact time.
Plastic wrap does not make the stripper stronger. It simply creates a more favorable working environment. Think of it as a tiny spa treatment for an exhausted dresserexcept the facial mask is orange gel and the relaxing conclusion involves a putty knife.
Know What You Are Stripping Before You Begin
Suitable Surfaces
The manufacturer recommends the gel for coatings on wood, metal, and masonry. It may remove dried latex paint, oil-based paint, varnish, lacquer, polyurethane, and shellac. However, Citristrip is not recommended for plastic, fiberglass, or composite decking because the remover may damage synthetic materials. Always protect nearby plastic trim, laminate, flooring, hardware inserts, and decorative components.
Solid Wood Versus Veneer
Solid wood usually tolerates careful chemical stripping better than aggressive sanding. Veneered furniture can also be stripped, but it requires extra restraint. Excess liquid, forceful scraping, or prolonged saturation may loosen damaged veneer or expose failing glue joints. Test a hidden area, use a plastic scraper, and stop immediately if the veneer begins lifting.
Possible Lead Paint
Paint on older furniture, doors, trim, and architectural salvage may contain lead. The U.S. Environmental Protection Agency recommends lead-safe practices when disturbing old coatings and notes that chemical strippers can reduce flying chips and dust compared with uncontrolled dry sanding. Chemical removal still creates contaminated sludge, so the work area, tools, clothing, and waste must be handled carefully. Consider professional testing or a lead-safe contractor when the coating may be hazardous, particularly around children or pregnant people.
Tools and Materials
- Citristrip Paint & Varnish Stripping Gel
- Disposable natural-bristle or chip brush
- Plastic food wrap or polyethylene painter’s film
- Chemical-resistant gloves selected according to the current label
- Chemical splash goggles
- Long sleeves and protective clothing
- Plastic putty knives or scrapers
- Nylon detailing brushes and wooden picks
- Synthetic abrasive pads
- Odorless mineral spirits or the manufacturer-recommended after-wash
- Absorbent rags and disposable shop towels
- Drop cloths, disposable sheeting, and a waste container
A citrus fragrance does not turn a paint remover into orange-scented hand lotion. Safety data for Citristrip warns of possible skin and eye injury and directs users to work outdoors or in a well-ventilated area while wearing appropriate protection. OSHA guidance likewise notes that solvents in paint removers can affect the skin, eyes, and respiratory tract.
How to Use Citristrip and Saran Wrap
Step 1: Perform a Test Patch
Choose an inconspicuous location, such as the back of a leg or the underside of a tabletop. Apply the complete process to this small area before covering the entire piece. The test reveals how quickly the coating softens, whether the wood changes color, whether veneer glue appears unstable, and which cleanup method removes the residue most effectively.
Step 2: Prepare the Work Area
Move the project outdoors or into a space with strong cross-ventilation. Protect the floor with chemical-resistant disposable sheeting. Remove knobs, hinges, drawers, and other hardware whenever practical. Keep children, pets, food, open flames, and enthusiastic relatives offering unrequested advice away from the area.
Do not rely on a household dust mask for chemical vapors. Follow the current label and safety data sheet when deciding whether respiratory protection is needed. A respirator must have the correct cartridges, fit properly, and be used according to its instructions.
Step 3: Apply a Generous Coat
Stir or mix the product as directed on its current label. Use a disposable brush to spread a thick, even layer over a manageable section. Do not stretch a small amount across a large surface. The manufacturer explains that the remover should be several times thicker than the paint film; a thin translucent coating is more likely to dry and become gummy.
Work with the shape of the furniture. On a tabletop, divide the surface into sections. On a dresser, handle one side or a few drawer fronts at a time. Smaller zones give you better control when the finish begins releasing.
Step 4: Add the Plastic Wrap
Place plastic wrap directly over the freshly applied gel. Overlap adjacent sheets slightly so air cannot easily reach the surface. Gently smooth the wrap to remove large air pockets, but avoid pressing so firmly that the stripper squeezes away from corners and edges.
Wrap complicated profiles with smaller pieces rather than one heroic sheet that sticks to itself, your gloves, the brush, and possibly your left elbow. On vertical areas, use painter’s film cut to size. Keep the plastic away from synthetic components that were not included in the test patch.
Step 5: Let the Stripper Dwell
The manufacturer states that Citristrip can remain wet and active for up to 24 hours, but that does not mean every project should automatically sit overnight. Begin checking the test area at the minimum time indicated on the current label. Lift one corner of the wrap and gently test the finish with a plastic scraper.
The coating is ready when it wrinkles, bubbles, separates, or slides away with moderate pressure. If the scraper merely creates a clean orange trench while the finish remains stubbornly attached, replace the wrap and allow more time.
Step 6: Remove the Wrap in Sections
Do not uncover the whole project at once. Peel back only the section you are ready to scrape, leaving the rest covered. This prevents exposed gel from drying while you work.
Fold the used wrap inward to contain the residue and place it in the designated waste container. Avoid dragging contaminated plastic across cleaned wood.
Step 7: Scrape Gently
Hold a plastic scraper at a low angle and push in the direction of the wood grain. Let the chemical do the work. Excess pressure can gouge softened wood, break veneer edges, or flatten carved details. Publications specializing in home restoration consistently recommend plastic scrapers for loosening finishes while reducing surface damage.
For moldings, corners, and carvings, use nylon brushes, wooden skewers, or appropriately shaped plastic tools. Avoid sharp metal picks unless you are willing to accept scratches with the confidence of someone who will later call them “intentional distressing.”
Step 8: Repeat Where Necessary
One application may remove a modern clear coat, while a century of paint decisions may require several rounds. Scrape away the softened material before applying another coat. A second application works better on the remaining finish than on a thick blanket of old sludge.
Step 9: Clean the Residue
After the bulk of the finish has been removed, use a clean synthetic abrasive pad with Citristrip After Wash or odorless mineral spirits, according to the manufacturer’s directions. Wipe repeatedly with clean rags rather than redistributing dissolved finish around the surface. The wood must be free of waxy or oily residue before sanding, staining, priming, or painting.
Step 10: Allow the Surface to Dry
Give the piece enough time to dry completely. Drying time varies with humidity, wood thickness, ventilation, and cleanup solvent. When the surface no longer feels cool, tacky, or oily, perform light finish sanding as needed. Do not rush into stain while solvent remains in the wood; blotchy color is a remarkably effective way to turn one project into two projects.
Practical Dwell-Time Checkpoints
The following ranges are starting checkpoints rather than guarantees. The current product label always takes priority.
| Finish or Condition | First Check | What to Expect |
|---|---|---|
| Thin shellac or lacquer | About 30–60 minutes | Finish may soften or smear quickly. |
| Single varnish or polyurethane layer | About 1–2 hours | May wrinkle, loosen, or scrape away in ribbons. |
| Several paint layers | About 2–6 hours | Top layers may release before primers or older coatings. |
| Thick or unknown finish system | Several hours, checked periodically | Multiple applications may be safer than one unattended marathon. |
Independent product testing has found that Citristrip’s gel consistency helps it remain on vertical surfaces, although multiple coatings and difficult substrates can increase both dwell time and cleanup effort.
Common Problems and How to Fix Them
The Citristrip Turned Into Gummy Paste
The layer may have been too thin, the wrap may not have sealed the surface, or the gel may have remained exposed too long after uncovering. Apply a fresh coat over the gummy residue, replace the plastic, wait until the material softens, and scrape a small section at a time.
Only the Top Layer Came Off
Different coatings soften at different rates. Remove the released layer, clean away heavy residue, and repeat the application on what remains. Old primers, industrial coatings, cured adhesives, and unusual repair products may resist a consumer-grade stripper.
The Wood Looks Dark or Blotchy
Some discoloration is actually old stain or finish remaining in the grain. Other blotches may come from uneven dwell time, residue, moisture, metal contamination, or previous repairs. Let the surface dry before diagnosing it. Additional cleaning or a carefully controlled second application may correct the appearance.
The Scraper Is Gouging the Wood
Reduce pressure, lower the scraper angle, and confirm that the finish is fully softened. Replace damaged scraper edges. Soft woods and wet veneer require especially gentle handling.
The Surface Still Feels Waxy
Continue cleaning with fresh pads and clean solvent approved by the manufacturer. A single rag quickly becomes saturated and starts painting the residue back onto the project. Use several rags and allow full drying before applying a new finish.
Safety and Disposal
Use chemical-resistant gloves, eye protection, protective clothing, and adequate ventilation. Do not eat, drink, or smoke in the work area. Wash exposed skin and hands thoroughly after handling the product. The Citristrip safety data sheet classifies the gel as capable of causing serious eye damage and skin irritation, despite its comparatively mild odor.
Collect used gel, stripped finish, contaminated wrap, pads, and disposable rags rather than washing them into a sink, storm drain, or yard. The manufacturer advises taking leftover product and empty containers to an appropriate household hazardous-waste facility when one is available and otherwise following federal, state, and local requirements. Disposal rules may become stricter when lead paint or another hazardous coating is involved.
Conclusion
Using Citristrip with Saran Wrap can make finish removal slower, gentler, and more manageable than attacking furniture with a power sander from the opening bell. The wrap helps preserve moisture, the thick gel softens the coating, and a plastic scraper removes much of the mess without unnecessarily grinding away the underlying material.
The best results come from preparation rather than brute force: test first, apply a truly generous coat, keep it covered, check it periodically, uncover only what you can immediately scrape, and clean the residue thoroughly. Some finishes will lift in satisfying ribbons. Others will surrender one grumpy layer at a time. Both outcomes are normal.
Real-World Experience: What the Process Actually Feels Like
The first surprise in a Citristrip-and-plastic-wrap project is how little action may be visible from above. The furniture sits under a shiny plastic blanket looking exactly as it did an hour earlier. This is when impatience usually arrives carrying a scraper. Peeling back a tiny corner is much smarter than exposing the entire surface. When the finish is ready, the scraper should push through it with steady resistance rather than requiring a wrestling match.
Flat surfaces are generally the most rewarding. A generously coated tabletop can release long curls of softened varnish that make the job appear suspiciously easy. Edges, corners, decorative grooves, and turned legs restore humility. Gel collects in recesses, wrap bridges over deep profiles, and old finish hides in grain lines as though it has signed a long-term lease. Small pieces of plastic wrap work better than trying to force one sheet around every curve.
Another common experience is the “orange oatmeal stage.” This occurs when softened finish, stripper, pigment, and decades of grime combine into a sticky paste. The mess is not necessarily a sign of failure. It often means the coating has softened and needs to be removed promptly. Keeping a container beside the workpiece lets you wipe the scraper after every pass. A clean scraper cuts through sludge far more effectively than one carrying a small geological formation on its edge.
Timing can also vary across a single piece. The center of a drawer front may be ready while the edges remain stubborn because the gel was applied more thinly there. Sun-damaged areas may respond differently from protected areas. A refinished tabletop may contain modern polyurethane over old stain, while the legs still wear their original shellac. Treating every section according to its actual response produces better results than insisting that the entire item follow one timer.
The most frustrating projects are those where the gel removes the upper finish but leaves dark material deep in the grain. Repeatedly scraping harder rarely solves that problem. A second controlled application, followed by careful work with a nylon brush and an approved cleanup solvent, is usually more productive. Letting the piece dry overnight also reveals whether the dark appearance is permanent stain, wet wood, or remaining residue.
Finally, experienced refinishers learn to stop chasing perfection. If the piece will be repainted, every microscopic trace of the original color may not need to disappear. The surface must be stable, clean, dry, and compatible with the new coating, but it does not have to look like freshly milled lumber. If the goal is a natural stained finish, more complete removal is necessary because leftover coating can block stain absorption.
The practical lesson is simple: Citristrip and plastic wrap reward patience, generous application, and organized cleanup. They punish thin coats, forgotten sections, and heroic scraping. Give the chemistry enough time, and your arms will have considerably less work to do.