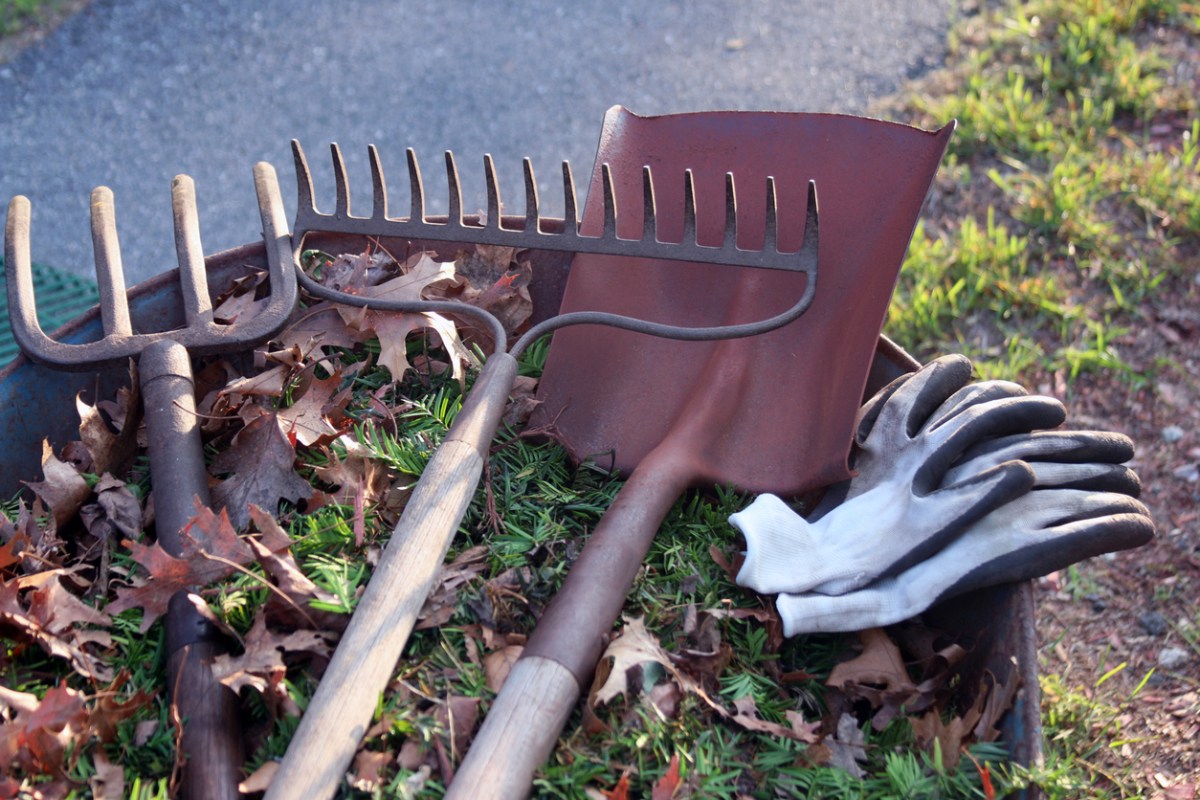
Gardening tools lead a rough life. Shovels are driven into rocky soil, pruners are coated with sticky sap, and trowels are routinely abandoned beside the tomato bed as though they have no feelings. Then, when spring arrives, we expect every tool to perform like it just graduated from a luxury hardware spa.
Fortunately, basic gardening tool care does not require an elaborate workshop or a mysterious collection of professional equipment. A stiff brush, a few clean rags, mild soap, disinfectant, lubricating oil, and a suitable sharpening file will handle most routine maintenance. A few minutes after each gardening session can prevent rust, reduce wear, protect plants from disease, and make digging or pruning noticeably easier.
Editor’s note: This independently written educational guide explores the topic associated with Bob Vila. It is not produced by, affiliated with, or endorsed by BobVila.com. Always follow the instructions supplied by your tool’s manufacturer.
Why Gardening Tool Maintenance Matters
A garden tool may look uncomplicated, but its condition directly affects how well it works. A sharp shovel enters compacted soil with less effort. Clean pruning shears make smoother cuts. A lubricated pivot lets a pair of loppers open without requiring an argument and both hands.
Proper maintenance also protects your plants. Soil, sap, and plant debris can remain on blades and digging tools. That material may carry fungi, bacteria, viruses, or other plant pathogens from one part of the garden to another. Cleaning removes visible debris, while disinfecting helps reduce microscopic contamination after you have worked with diseased plants.
Regular garden tool care provides several practical benefits:
- Tools remain sharper and easier to control.
- Metal surfaces are less likely to rust or corrode.
- Wooden handles are less likely to dry out, crack, or splinter.
- Pruners create cleaner cuts that damage less plant tissue.
- Moving parts open and close more smoothly.
- Small problems are found before they become expensive failures.
- Well-maintained tools can remain useful for many gardening seasons.
The Basic After-Use Cleaning Routine
The best maintenance program is not a heroic once-a-year rescue mission. It is a simple routine performed regularly. You do not have to polish your shovel until it reflects your hopes and dreams. You simply need to remove the dirt, dry the metal, and store the tool properly.
1. Remove Soil and Plant Debris
Begin by scraping or brushing away loose soil. A stiff nylon brush works well for most tools, while a wire brush can help with stubborn buildup on uncoated steel. A wooden or plastic scraper is useful for dried mud that refuses to leave voluntarily.
If the tool is especially dirty, rinse it with a hose or wash it in a bucket of warm water containing a small amount of dish soap. Clean around bolts, springs, blade joints, and the sockets where handles meet tool heads. These small spaces are excellent hiding places for moisture and debris.
Avoid leaving tools submerged longer than necessary. Prolonged soaking can encourage rust on carbon steel and may swell unsealed wooden handles.
2. Remove Sap and Sticky Residue
Pruners, loppers, and hedge shears often collect resinous sap. If ordinary soap does not remove it, use a manufacturer-approved blade cleaner or a small amount of rubbing alcohol on a cloth. Apply the cleaner to the affected surface rather than flooding the entire tool.
Work carefully around sharp edges, and wear protective gloves. Once the sap softens, wipe it away with a clean rag or fine steel wool suitable for the blade finish. Never mix cleaning products, particularly bleach, alcohol, ammonia, or other household chemicals.
3. Dry Every Surface Thoroughly
Drying is not an optional decorative flourish. Water left on steel can quickly start corrosion, particularly in a humid shed or garage. Wipe the tool with a clean towel and allow joints or recessed areas to air-dry completely before oiling or storage.
Pay special attention to spring-loaded pruners, cultivators with narrow spaces between tines, and tools whose metal heads are attached to wooden handles. Moisture can remain trapped where it is difficult to see.
When and How to Disinfect Garden Tools
Routine washing is usually sufficient after ordinary garden work. Disinfection becomes important when pruning or removing diseased plant material, working with plants known to be vulnerable to the same disease, or moving tools between different properties.
Always clean visible dirt and sap from a tool before disinfecting it. Organic debris can prevent a disinfectant from making complete contact with the blade.
Using Rubbing Alcohol
For hand pruners and other small cutting tools, rubbing alcohol containing at least 70 percent isopropyl alcohol is a convenient option. Wipe, spray, or briefly dip the blade so the entire cutting surface is wet. Follow the product directions, observe the recommended contact time, and let the tool dry.
Alcohol is flammable. Keep it away from flames, sparks, heaters, and hot power equipment. Store it in its original labeled container.
Using a Diluted Bleach Solution
A freshly prepared solution of one part household bleach to nine parts water may be used on certain tools. However, bleach is corrosive to metal. Limit contact time, rinse the tool with clean water afterward, dry it immediately, and apply a light protective oil.
Because bleach can damage finishes and cutting edges, many gardeners prefer alcohol for pruners. Check the tool manufacturer’s recommendations before applying any disinfectant.
Disinfecting Between Plants
When dealing with a confirmed or suspected plant disease, sanitation may be needed before moving to the next plant. In some situations, such as removing infected branches from a tree, an extension professional may recommend cleaning the blade between individual cuts.
Research the specific disease rather than assuming every problem requires the same treatment. Plant diseases are complicated little troublemakers, and the correct sanitation procedure can vary.
How to Sharpen Gardening Tools
A sharp tool requires less force, offers better control, and usually produces cleaner results. Dull pruners may crush stems instead of slicing them. A dull hoe tends to bounce over weeds as if politely asking them to move.
Wear safety glasses and sturdy gloves before sharpening. Secure the tool so it cannot slip, and move the file away from your body. If a blade is badly chipped, bent, cracked, or unusually valuable, take it to a professional sharpening service.
Sharpening Shovels, Spades, and Hoes
Clean the tool before inspecting its cutting edge. Look for the original bevel, which is the angled surface forming the edge. Use a flat mill file to restore that existing angle rather than inventing a dramatic new one.
- Clamp the tool securely with the cutting edge accessible.
- Hold the file at the same angle as the original bevel.
- Push the file in one direction along the edge.
- Use smooth, even strokes and check your progress frequently.
- Remove only enough metal to restore a consistent working edge.
- Wipe away filings and apply a light coat of protective oil.
Digging tools do not need to be razor-sharp. A durable working edge is safer and less likely to become damaged by stones.
Sharpening Pruners and Loppers
Bypass pruners have one sharpened blade that passes beside a thicker counter blade. Sharpen the beveled cutting blade while keeping the flat side mostly flat. Filing both sides like a kitchen knife may change the blade geometry and prevent the pruner from cutting correctly.
Anvil pruners work differently, with a cutting blade closing against a flat surface. Because designs vary, consult the manufacturer’s directions before sharpening. A small diamond sharpener, sharpening stone, or fine file is often easier to control than a large file.
After sharpening, wipe the blades clean, lubricate the pivot, and test the tool on a small disposable branch. It should cut cleanly without twisting, tearing, or requiring unreasonable hand pressure.
How to Remove Rust Without Ruining the Tool
Light surface rust does not necessarily mean a tool is ready for retirement. Start with the gentlest method likely to work. Fine steel wool, sandpaper, or a wire brush can remove minor corrosion. Wipe the surface clean as you work so you can see whether healthy metal has been exposed.
For more extensive rust, the affected metal may be soaked in white vinegar for a limited period. Inspect it regularly instead of forgetting it in a bucket for three days. Once the rust loosens, scrub the surface, rinse thoroughly, neutralize and clean it according to the chosen product’s directions, and dry it immediately.
Finish by applying a thin layer of mineral oil, machine oil, or another manufacturer-approved rust inhibitor. Avoid applying used motor oil to garden tools because residues may be transferred to soil and plants.
Deep pitting, cracks, severe thinning, or structural corrosion may make a tool unsafe. A shovel head that resembles antique lace should not be trusted with a difficult digging job.
Caring for Wooden Tool Handles
Wooden handles can last for decades when kept clean, dry, and smooth. Inspect them regularly for rough grain, splinters, cracks, looseness, and dark areas that may indicate moisture damage.
Use medium-grit sandpaper to remove splinters and weathered fibers, then finish with a finer grit for a comfortable surface. Wipe away all sanding dust. Apply a thin coat of boiled linseed oil, tung oil, or another finish recommended for tool handles. Allow it to penetrate, wipe away the excess, and let the handle cure according to the label.
Do not use a tool with a severely cracked or loose handle. Replacement is far less exciting than an emergency-room story, but that is precisely the point.
Oily rags must be handled carefully because some drying oils generate heat while curing. Follow the finish manufacturer’s disposal directions, and never leave oil-soaked rags crumpled in a pile.
Lubricating Pivots, Springs, and Moving Parts
Pruners, loppers, shears, and folding saws depend on moving components. After cleaning and drying, place a drop or two of light machine oil on the pivot, spring contact points, locks, and other moving joints specified by the manufacturer.
Open and close the tool several times to distribute the lubricant. Wipe off the excess so it does not collect dust or drip onto plants. Check bolts, screws, and nuts for looseness, but do not overtighten them. A pivot that is clamped too tightly can make a sharp tool feel dull.
Maintaining Power Gardening Equipment
Lawn mowers, hedge trimmers, string trimmers, tillers, blowers, and chainsaws require model-specific maintenance. Read the owner’s manual instead of relying on one universal routine.
Before inspecting a blade or cutting attachment, disconnect the power source. Remove the battery from cordless equipment, unplug corded equipment, or follow the manufacturer’s procedure for disabling a gasoline engine. Wear gloves because a stationary blade can still cut.
Common seasonal maintenance may include:
- Removing grass, soil, and plant material from housings and guards.
- Inspecting blades, cords, belts, fasteners, and safety shields.
- Cleaning or replacing air filters where applicable.
- Checking engine oil according to the manual.
- Sharpening or replacing damaged blades.
- Cleaning battery contacts with an approved method.
- Storing batteries within the temperature range specified by the manufacturer.
- Following approved fuel-storage or winterization procedures.
Never spray water directly into motors, battery compartments, electrical connections, or air intakes unless the manual specifically permits it.
The Best Way to Store Garden Tools
Store clean, dry tools in a sheltered, ventilated location. Wall hooks, racks, pegboards, and tool cabinets keep equipment organized and prevent sharp edges from becoming floor-level surprises.
Long-handled tools should be hung or stored upright with their metal heads off the floor. Do not leave wooden handles in direct contact with damp soil or concrete, both of which can expose the wood to moisture. Fit protective covers over saws, axes, pruning knives, and other sharp tools.
Keep fertilizers, pesticides, pool products, and corrosive chemicals away from metal tools. Even sealed containers may release vapors that encourage corrosion. Store cleaning agents in their original containers where children and pets cannot reach them.
A Practical Garden Tool Maintenance Schedule
After Every Use
- Brush off soil and plant debris.
- Remove sap from cutting blades.
- Dry wet metal surfaces.
- Inspect for damage or loose hardware.
- Return tools to a dry storage location.
After Working With Diseased Plants
- Remove all visible organic material.
- Disinfect blades with an appropriate product.
- Observe the required contact time.
- Rinse if necessary, then dry and lightly oil the tool.
Monthly During the Gardening Season
- Lubricate pivots and moving joints.
- Sharpen frequently used cutting and digging tools.
- Check wooden handles for cracks and splinters.
- Tighten loose fasteners.
- Inspect storage areas for leaks or excessive humidity.
At the End of the Season
- Deep-clean and disinfect the entire tool collection.
- Remove rust and sharpen working edges.
- Condition wooden handles.
- Lubricate metal surfaces and moving components.
- Repair or replace damaged tools.
- Winterize power equipment according to its manual.
- Store everything clean, dry, protected, and organized.
Common Gardening Tool Care Mistakes
Putting Tools Away Wet
Moisture is one of the fastest routes to rust. Even stainless steel components can stain or corrode under unfavorable conditions.
Disinfecting Before Cleaning
A disinfectant cannot reliably reach the tool surface when soil and plant debris are in the way. Clean first, disinfect second.
Sharpening at the Wrong Angle
Changing the original bevel can weaken an edge or interfere with the way two blades meet. Follow the existing geometry.
Using Too Much Oil
A heavy layer attracts dust and creates a sticky mess. A thin, evenly wiped film is usually enough.
Ignoring a Loose Handle
A wobbling tool head will not repair itself out of gratitude. Stop using the tool until the handle is tightened, repaired, or replaced.
Leaving Tools Outdoors
Rain, dew, sunlight, and temperature changes can quickly age metal, plastic, rubber, and wood. Your garden loves weather. Your tools prefer a roof.
Experience-Based Lessons From Caring for Gardening Tools
The most important lesson in garden tool maintenance is that convenience determines consistency. A beautifully organized maintenance cabinet on the other side of the property may look impressive, but it will not help if cleaning a trowel requires a ten-minute expedition. Keeping a stiff brush, drying rag, small bottle of oil, and disinfectant near the tool-storage area makes the routine much easier to follow.
A two-minute cleanup after gardening is usually more effective than a two-hour restoration project in spring. Fresh soil brushes away easily. Old mud hardens around joints and sockets. Fresh sap wipes from a pruner blade; dried sap behaves more like construction adhesive with a personal grudge. Immediate cleaning saves time even when the tool does not look particularly dirty.
It is also useful to separate ordinary cleaning from disease-control sanitation. A shovel used in healthy soil may only need brushing and drying. Pruners used to remove a suspiciously blackened branch deserve more attention. Treating every tool as though it has visited a contagious-disease ward wastes disinfectant, while ignoring genuinely contaminated blades can move a plant problem around the yard.
Sharpening offers another practical revelation: dullness often develops so gradually that the gardener adapts without noticing. You squeeze the pruner harder, swing the hoe more aggressively, and lean your entire personality onto the shovel. After sharpening, the difference can feel absurd. The tool suddenly performs the job instead of negotiating about it.
However, sharper does not always mean better. A spade needs a tough working edge, not the delicate edge of a carving knife. Over-sharpening removes useful metal and creates an edge that may fold or chip when it meets a stone. The goal is efficient function, not winning an imaginary shovel-shaving competition.
Handle care is frequently neglected because damage begins quietly. Wood becomes rough, the grain rises, and a tiny crack appears near the socket. A little sanding and oil at this stage can restore comfort and slow deterioration. Waiting until the handle flexes during use turns a maintenance job into a replacement job.
Organization also changes how well tools are maintained. When every item has a visible storage location, missing equipment is noticed quickly. A hand fork left beside the compost pile can be rescued before a week of rain turns it orange. Pegboards and labeled hooks may sound excessively responsible, but they prevent the annual spring ritual known as “buying another trowel because the first four have joined the wilderness.”
Finally, tool maintenance creates an opportunity to inspect equipment before it fails. Loose pivot bolts, cracked grips, bent tines, worn springs, and damaged electrical cords are easier to address on a quiet afternoon than in the middle of planting day. This inspection is especially important for power equipment, where a minor defect can become a serious safety hazard.
The experienced gardener eventually learns that caring for tools is not separate from gardening. It is part of the same cycle. Healthy soil supports healthy plants, and dependable tools support the gardener doing the work. Clean them before dirt becomes concrete, sharpen them before your wrists complain, and store them where rain cannot conduct experiments on them.
Conclusion
Learning how to care for gardening tools comes down to a dependable sequence: clean, disinfect when necessary, dry thoroughly, sharpen correctly, lubricate lightly, inspect for damage, and store in a protected location. None of these steps is difficult, and most take only a few minutes.
Those minutes pay off every time a shovel enters the soil cleanly, a pruner slices through a stem without crushing it, or a favorite hand tool survives another season without rust. Give your equipment basic, regular attention and it will spend more time working in the gardenand less time auditioning for the scrap pile.